Mango cream cold foam has been one of those toppings I didn’t expect to keep making, but here we are.
The first time I tried a mango foam drink at Starbucks, I knew I wanted to recreate it at home, especially because it’s one of those seasonal flavors that disappears way too fast.
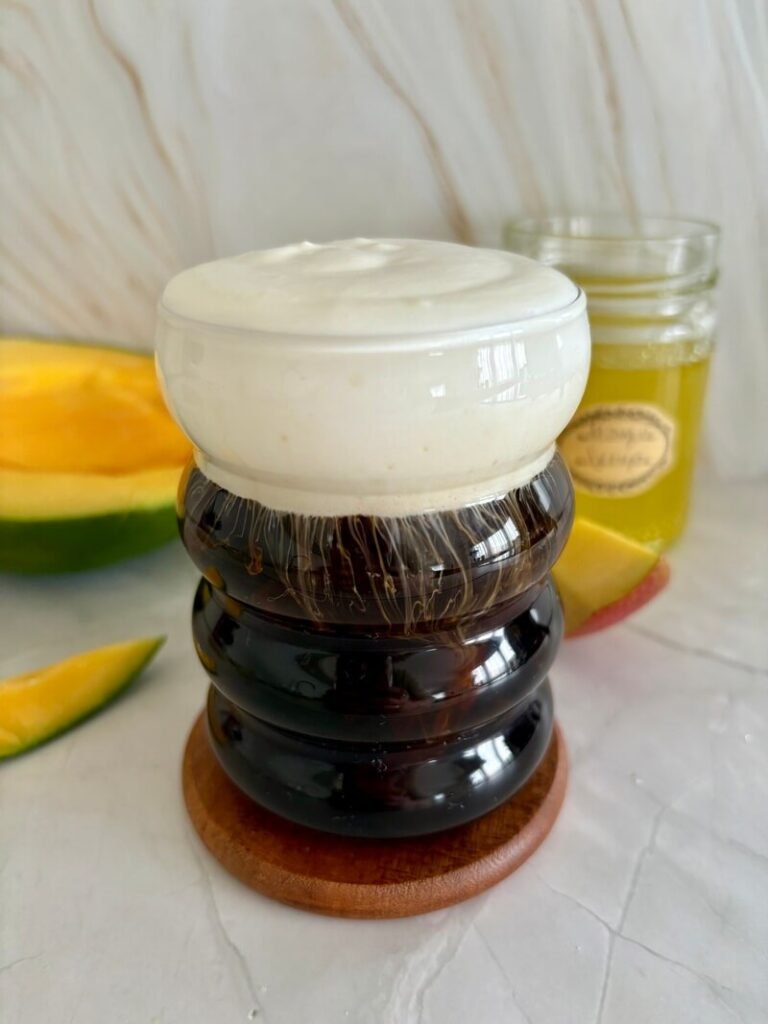
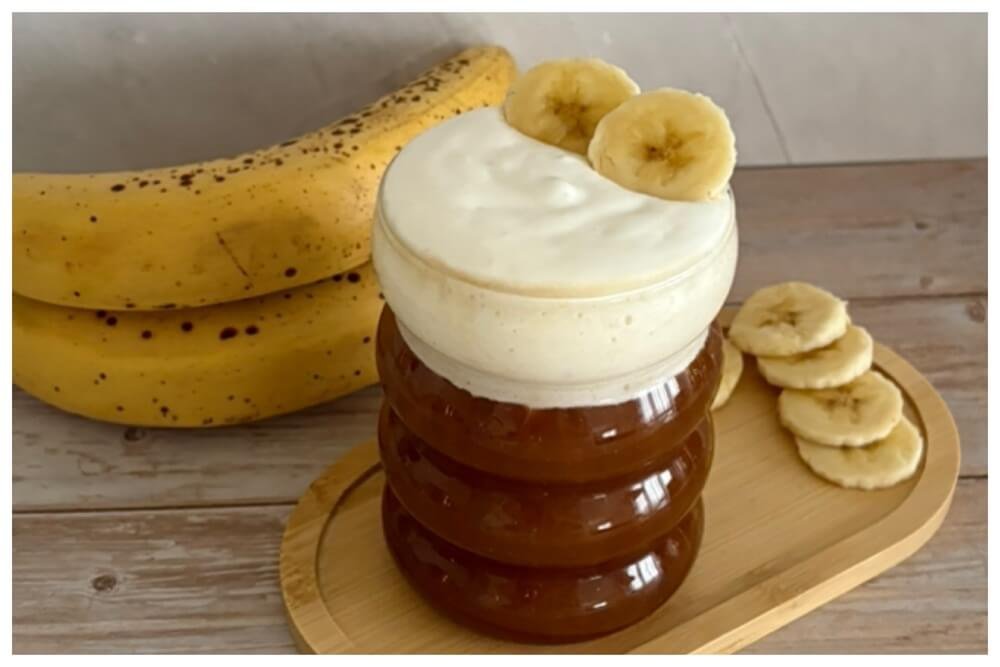
This version has that same creamy texture with a light mango flavor that sits right on top of your drink. I tested this a few times because mango syrup can easily make the foam too thin.
This ratio keeps it thick, smooth, and pourable. If you already have mango syrup ready, this comes together in minutes and tastes like something straight off the Starbucks menu.
Why This Mango Cream Cold Foam Works
If you’ve ever tried making a Starbucks copycat cold foam before, you probably noticed that adding flavored syrup can change the texture.
The heavy cream is what holds everything together. It gives the foam structure so it doesn’t just dissolve into your drink.
The milk lightens it so it’s not too thick, while still keeping that signature cold foam feel.
The mango syrup is where things can go wrong. Too much, and the foam won’t hold. Too little, and you won’t taste it.
This balance gives you that same style of foam you’d expect from a Starbucks mango drink, but without it collapsing the second it hits your coffee.
Mango Cream Cold Foam Ingredients
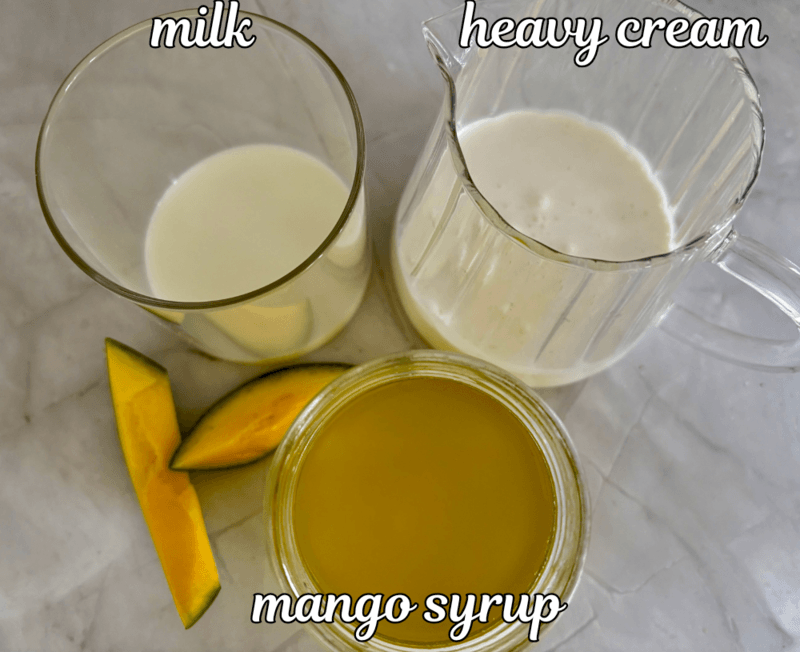
- 3 tbsp heavy cream
- 2 tbsp 2% milk
- 1 tablespoon mango syrup
I kept this simple on purpose. Since this is a Starbucks copycat version, the goal is to let the mango syrup do most of the flavor work.
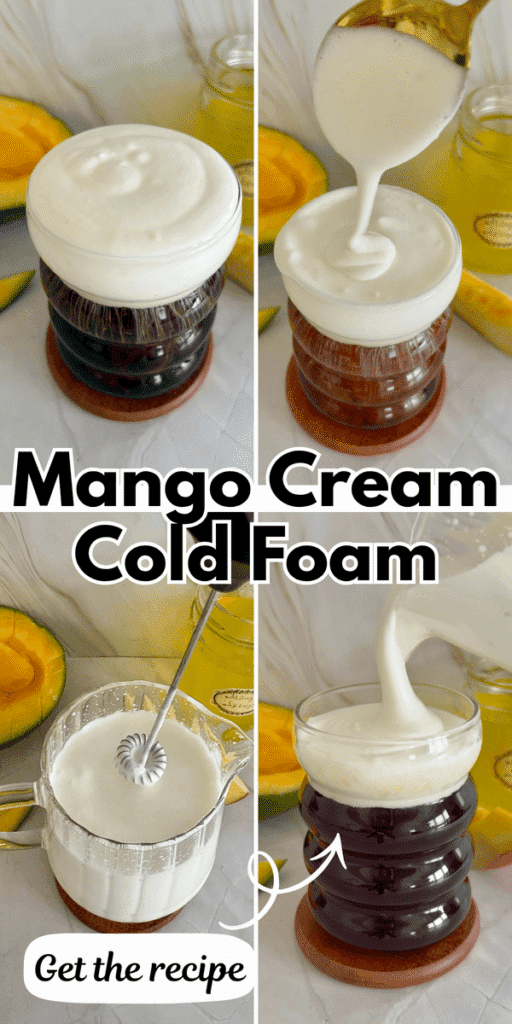
How to Make Mango Cream Cold Foam
Step 1: Add everything to your frother or blender
Start by pouring the heavy cream into your frother or a small blender.
Add the milk next, then finish with the mango syrup.
I like adding the syrup last so it blends evenly right away. If it goes in first, it can sit at the bottom and take longer to mix properly.
If you’re using a handheld frother, this still works perfectly. That’s actually what I use most of the time.
Step 2: Froth until thick and creamy
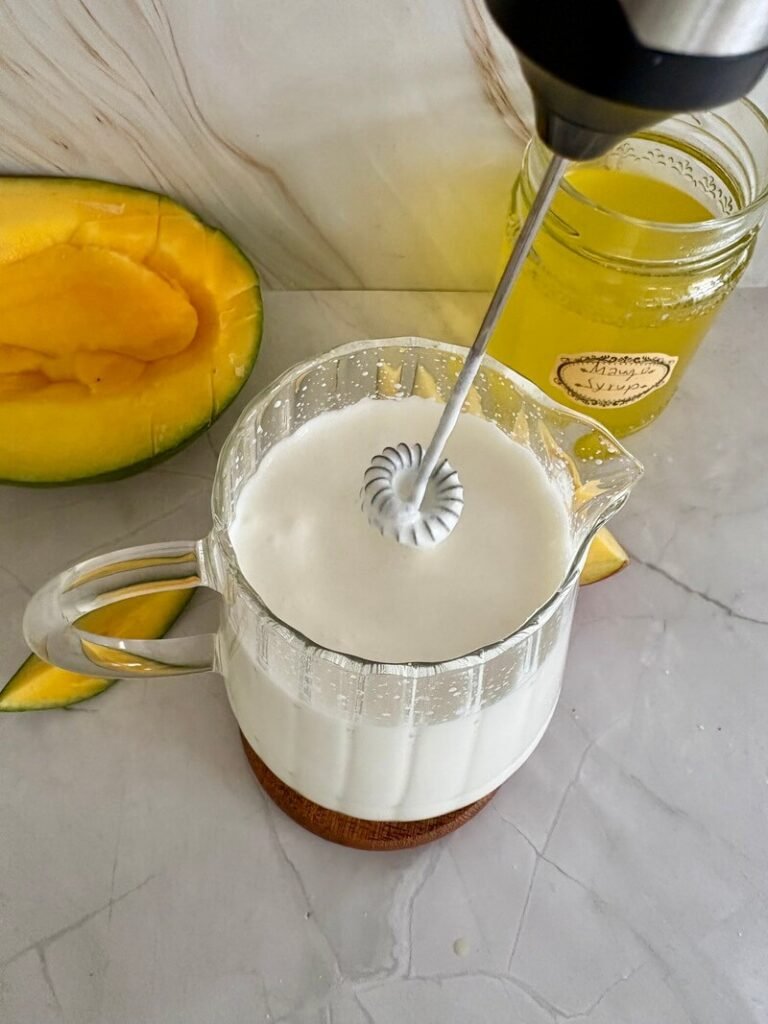
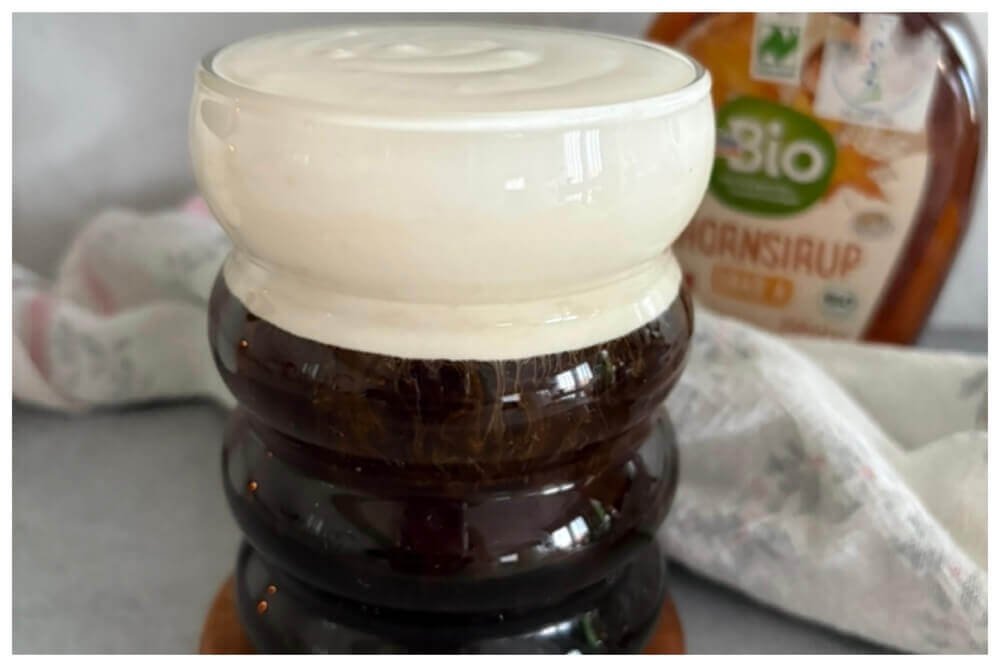
Turn on your frother and let it run for about 20–30 seconds.
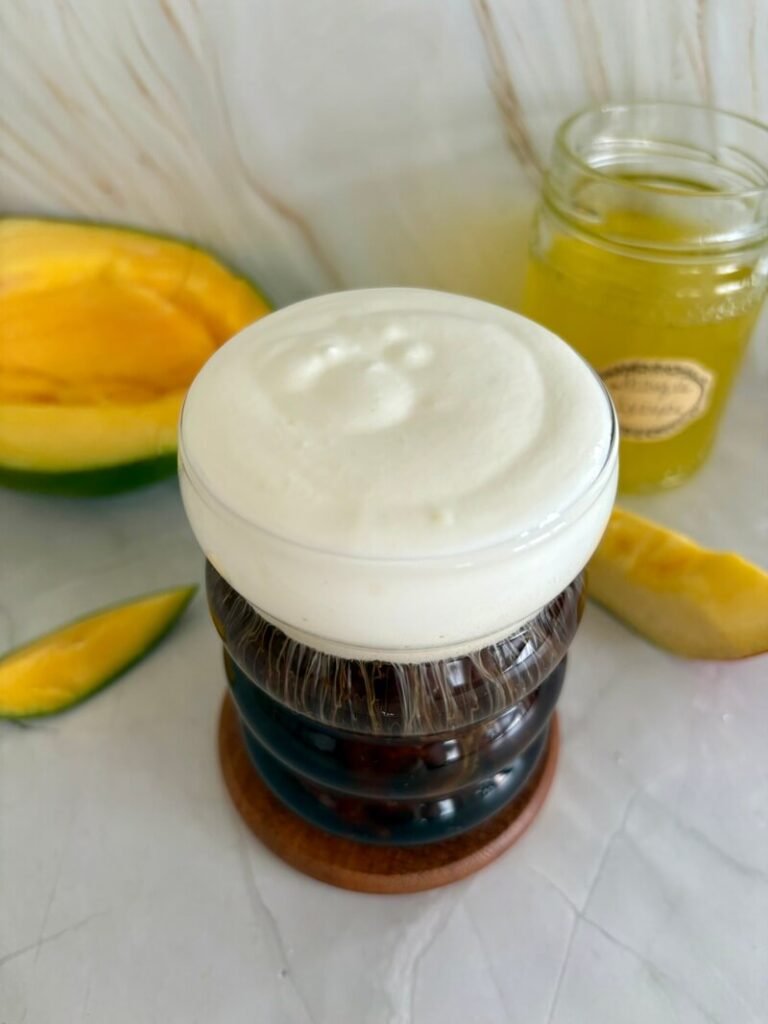
You’re looking for that thick but still pourable consistency. It should look smooth and slightly glossy, similar to what you’d get on a Starbucks cold foam drink.
The first few times I made this, I stopped too early. It looked fine, but once I poured it, it disappeared into the drink.
If that happens, just froth it a bit longer. It makes a huge difference.
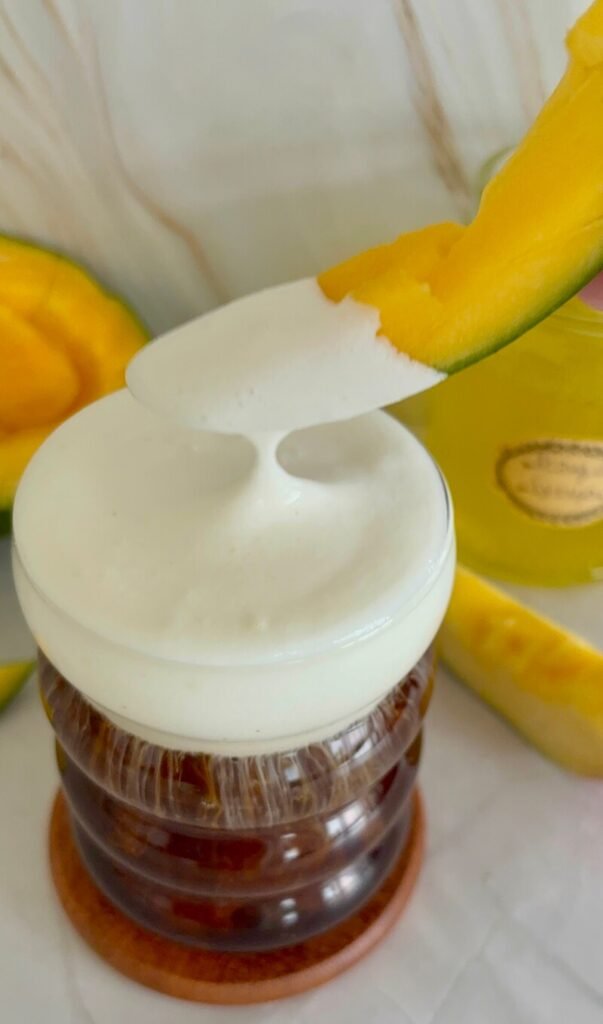
Step 3: Check the texture before using
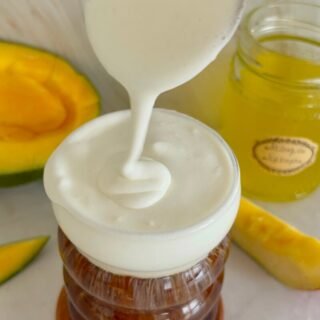
Before pouring, take a quick second to check the consistency.
It should slowly fall off a spoon, not run like milk.
If it feels too thick, add a small splash of milk and mix again.
If it’s too thin, give it another quick froth.
This step is what gets it closer to that Starbucks-style foam instead of something that just blends into your drink.
Step 4: Pour it over your iced drink
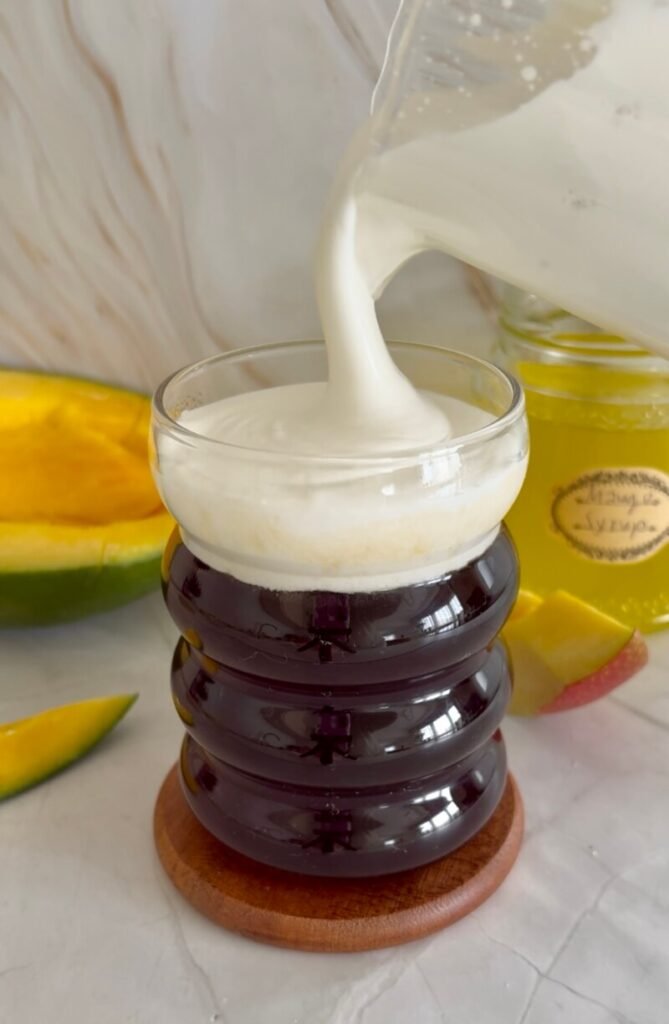
Make your iced coffee, cold brew, or matcha first.
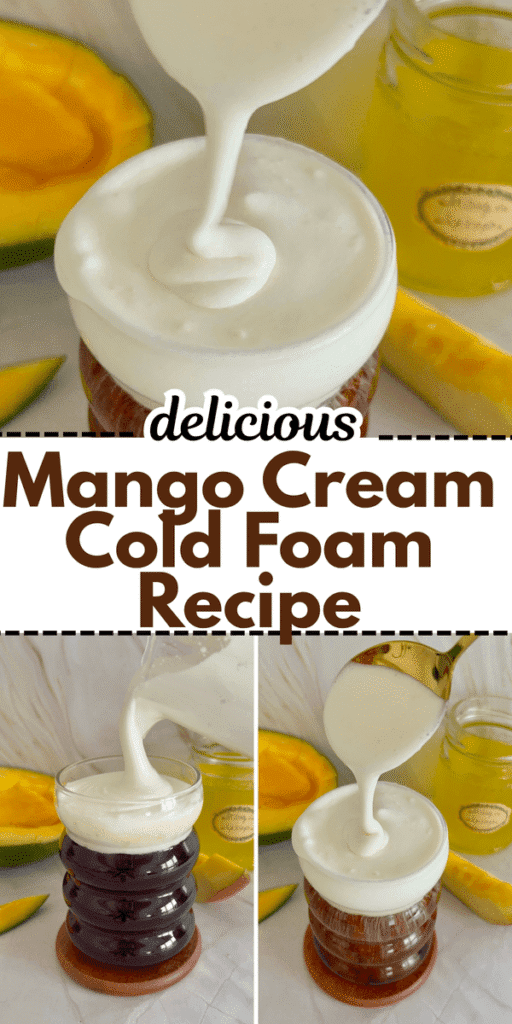
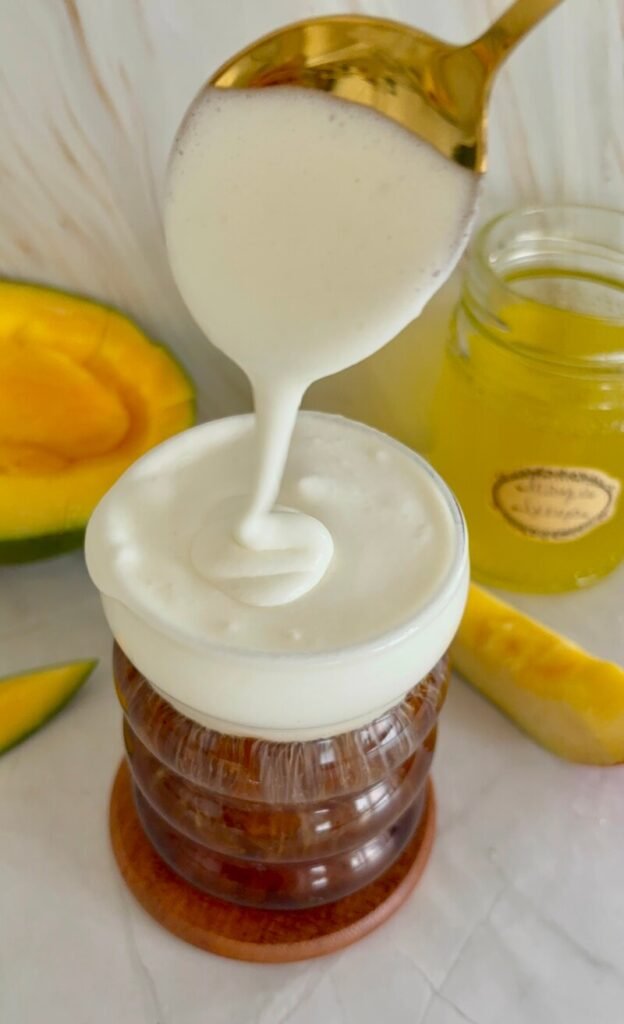
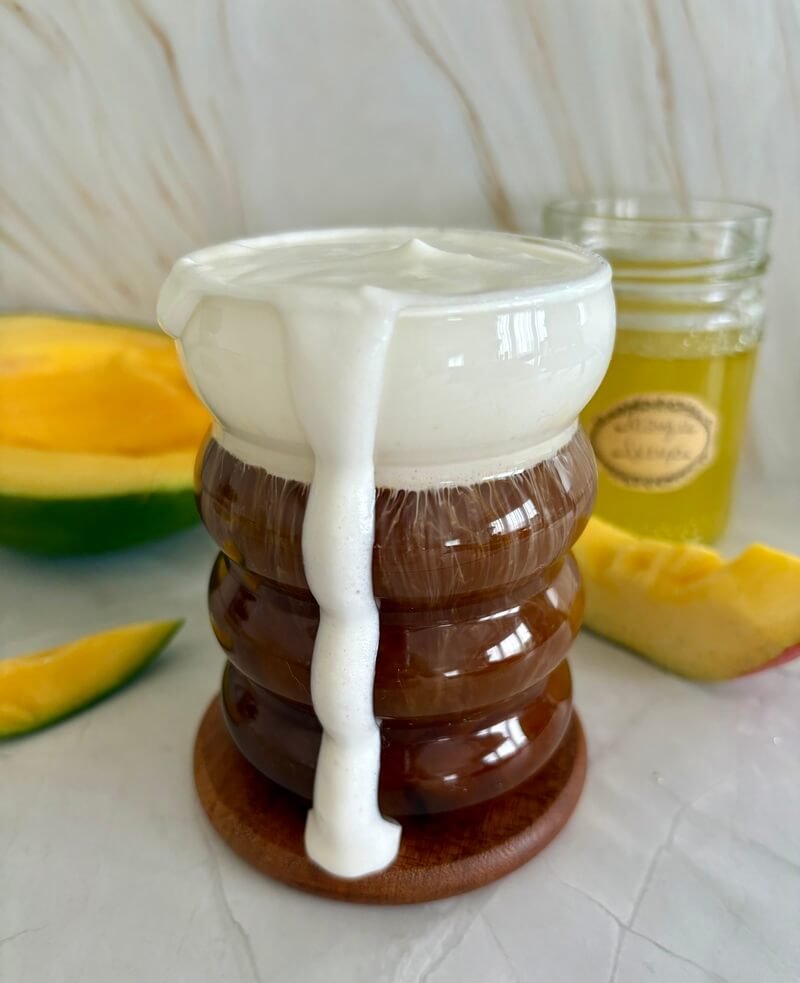
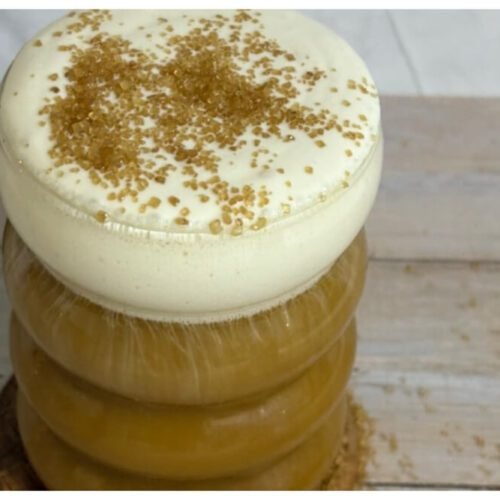
Then slowly pour the mango cream cold foam over the top.
I usually pour it gently over the back of a spoon if I want that layered look you see in Starbucks drinks. It sits on top at first, then slowly mixes in as you sip.
That first sip, where you get both the foam and the coffee together, is exactly what makes this worth it.
Step 5: Optional swirl or layering tip
If you don’t care about the layered look, you can lightly swirl the foam into your drink.
I do this when I want the mango flavor to come through in every sip instead of just the top layer.
Both versions work. It just depends on how you like your drinks.
Tips for the Best Mango Cream Cold Foam
One thing I noticed is that different mango syrups behave differently. Some are thinner, some are thicker, and some are much sweeter.
If your syrup is very thin, you might need to froth a bit longer.
If it’s very sweet, you can slightly reduce the amount.
Cold ingredients matter more than you think. I always use cold cream and milk because it helps the foam whip up faster and hold its shape longer.
That’s one of the small details that makes this feel more like a proper Starbucks copycat instead of just flavored milk on top.
How to Use Mango Cream Cold Foam
I’ve tried this on a few different drinks, and some combinations stand out.
Iced coffee is the easiest option. The mango adds a light fruity flavor that changes the whole drink without overpowering it.
Cold brew works really well, too, especially if you like that contrast between strong coffee and something creamy on top.
Matcha is probably my favorite. It gives you that same vibe as the mango matcha drinks you see at Starbucks, but you can control how sweet it is.
Common Mistakes to Avoid
One mistake is overfilling your frother. This mixture expands a bit, so give it some space.
Another is using too much syrup. It might seem like more flavor is better, but it actually makes the foam collapse.
Also, don’t skip checking the texture before pouring. That quick step saves you from ending up with foam that disappears instantly.
How to Store Mango Cream Cold Foam
This is best made fresh, but if you have leftovers, you can store it in the fridge for a day.
Before using it again, give it a quick re-froth to bring back the texture.
It won’t be exactly the same as fresh, but it still works.
Check out more cold foam recipes:
Mango Cream Cold Foam
Ingredients
- 3 tbsp heavy cream
- 2 tbsp 2% milk
- 1 tbsp mango syrup
Instructions
- Add heavy cream, milk, and mango syrup to a frother or blender.
- Froth for 20–30 seconds until thick and creamy.
- Check the consistency. It should be thick but pourable. Adjust if needed by adding a splash of milk or frothing longer.
- Pour over iced coffee, cold brew, or matcha.
Notes
- Use cold ingredients for best results.
- Don’t add too much mango syrup or the foam may not hold.
- Best served fresh, but can be refrigerated and re-frothed once.
- Works especially well as a Starbucks copycat topping for iced chai and matcha drinks.

Marina is the writer behind CozyCornerCharm. She grew up on Turkish coffee, later discovering specialty brewing through her first V60, which inspired her ongoing coffee journey. She has written for Craft Coffee Spot, Home Grounds, and Barista HQ and now shares her experience here on her own coffee corner.

Leave a Reply