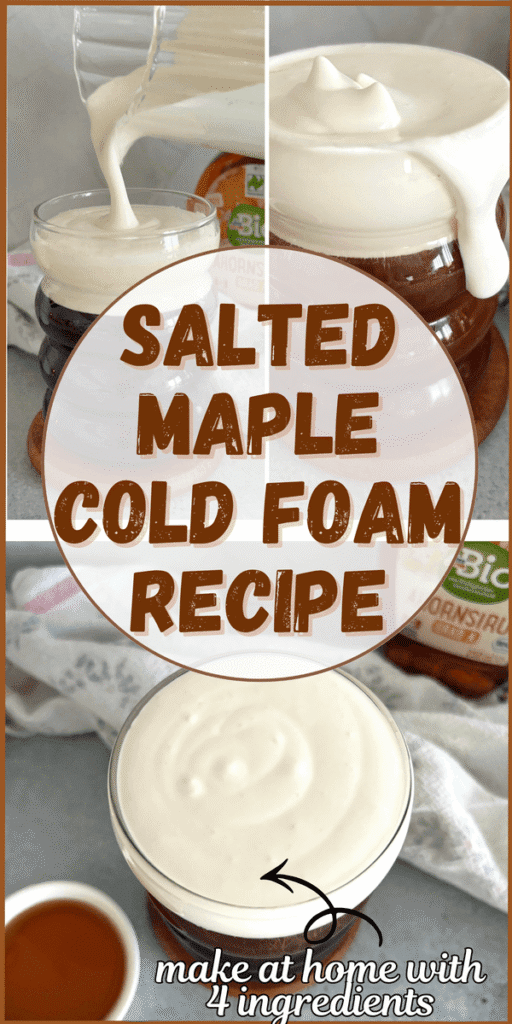
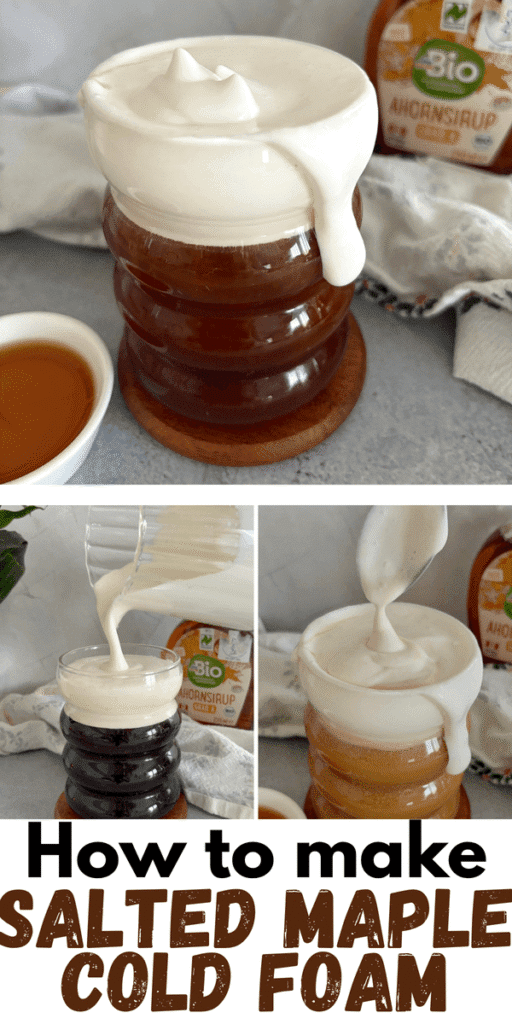
Salted maple cold foam is one of those little upgrades that completely changes your coffee.
I started making it when I wanted something similar to Starbucks cold foam, but with a warmer, deeper flavor.
Maple works so well with coffee, and adding a bit of salt makes it taste richer. Once you try it, regular cold foam starts to feel a bit plain.
The best part is how easy it is to make at home with just a few ingredients. You don’t need any special skills, just a way to froth milk and a couple of minutes.
I’ll walk you through everything step by step so you can get that creamy, slightly sweet foam that sits right on top of your drink.
Why This Salted Maple Cold Foam Works so Well

There’s something about maple and coffee that feels right the second you taste it.
Maple syrup brings a deeper sweetness compared to vanilla or simple syrup. It has that warm, caramel-like flavor that blends into cold brew or iced coffee without taking over.
Adding salt is what makes this foam stand out. It doesn’t make it salty in an obvious way. Instead, it balances the sweetness and brings out more flavor in both the maple and the coffee underneath.
I’ve noticed that without the salt, it can taste a bit flat. With it, everything feels more layered.
The texture matters just as much as the flavor. You want the foam to be thick enough to sit on top, but still soft enough to slowly mix into the drink as you sip.
Salted Maple Cold Foam Ingredients
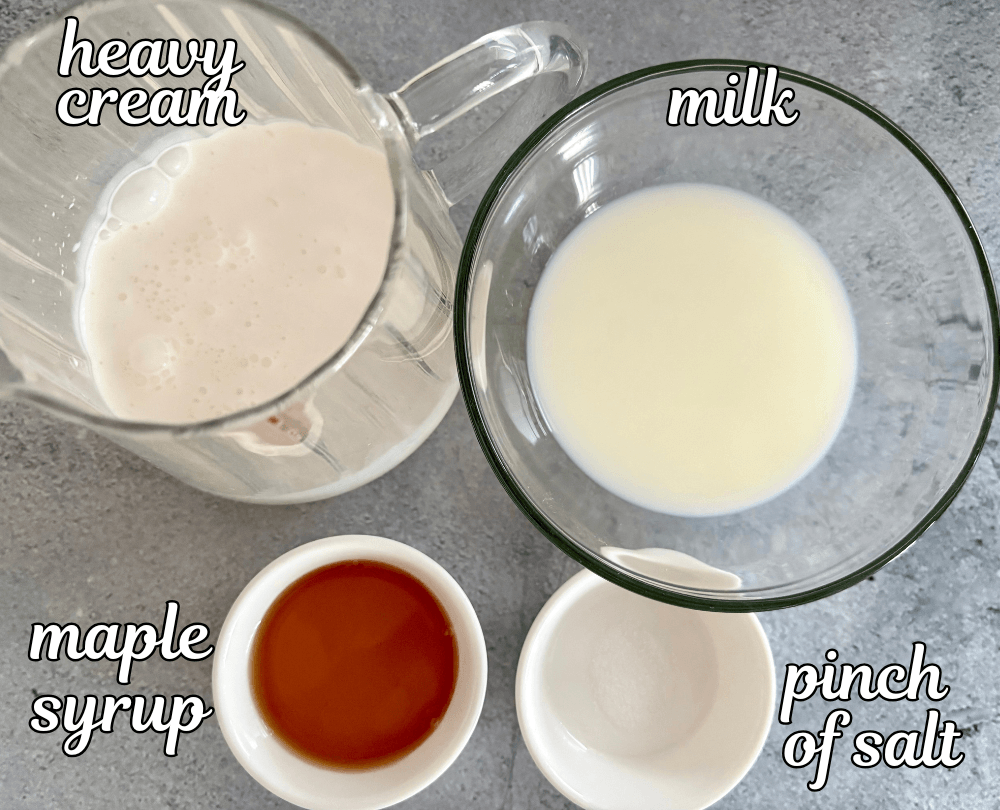
You only need a few simple ingredients, but each one plays a role in how the foam turns out.
Start with heavy cream. This is what gives the foam structure. I usually use about three tablespoons per serving.
Milk helps lighten the foam so it’s not too thick. Whole milk works best because it adds a bit of richness.
Maple syrup is the main flavor here. Try to use real maple syrup instead of pancake syrup because the flavor difference shows.
A small pinch of salt balances everything out and brings more depth.
If you want, you can add a drop or two of vanilla extract, but it’s optional.
How to Make Salted Maple Cold Foam
Step 1: Add the cream and milk
Pour heavy cream and milk into a small jar, glass, or frothing cup.
I always start with this base because it gives the foam the right texture.
If you notice your foam turning out too thin later, this is the step to adjust by adding a bit more cream.
Step 2: Mix in the maple syrup and salt
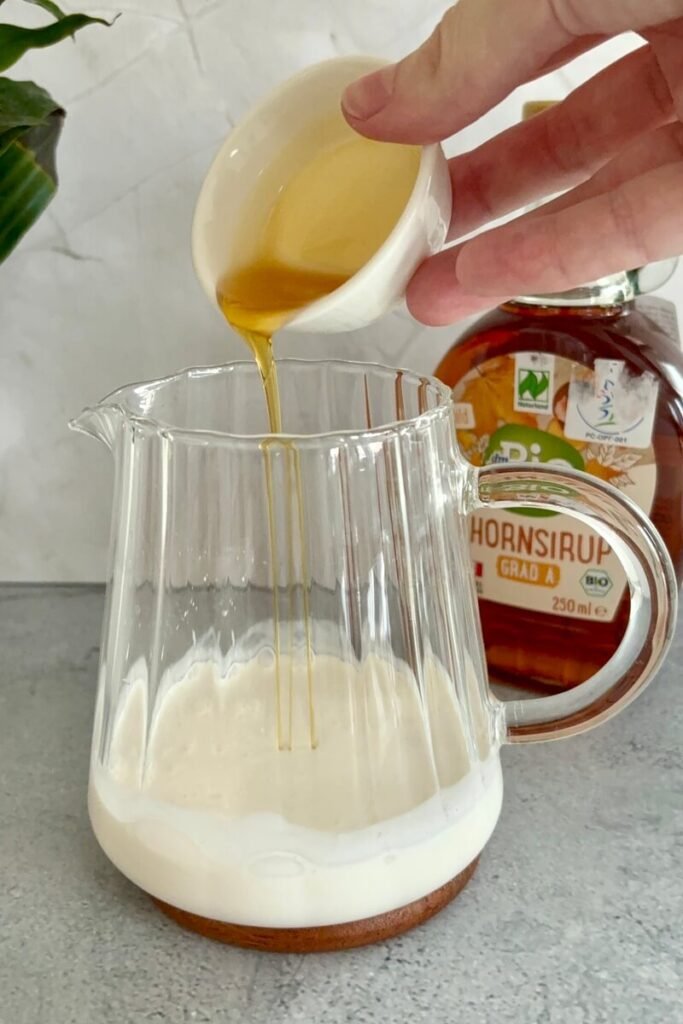
Add one tablespoon of maple syrup.
Then add a small pinch of salt. I usually go with something in between for sweetness because the maple flavor comes through clearly without being too much.
Stir it slightly so everything starts to combine before frothing.
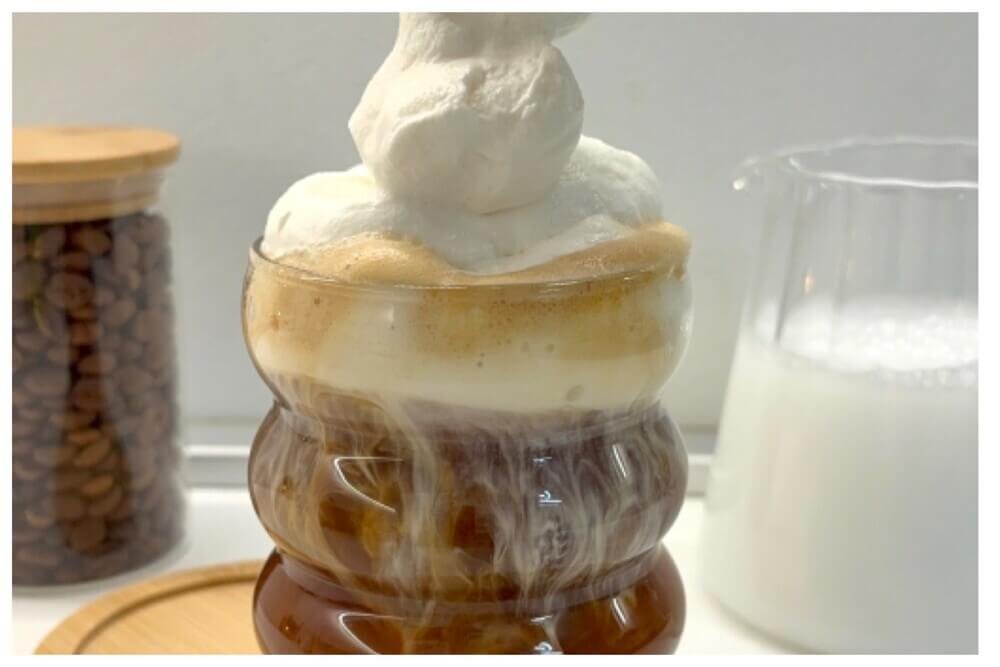
Step 3: Froth until thick and creamy
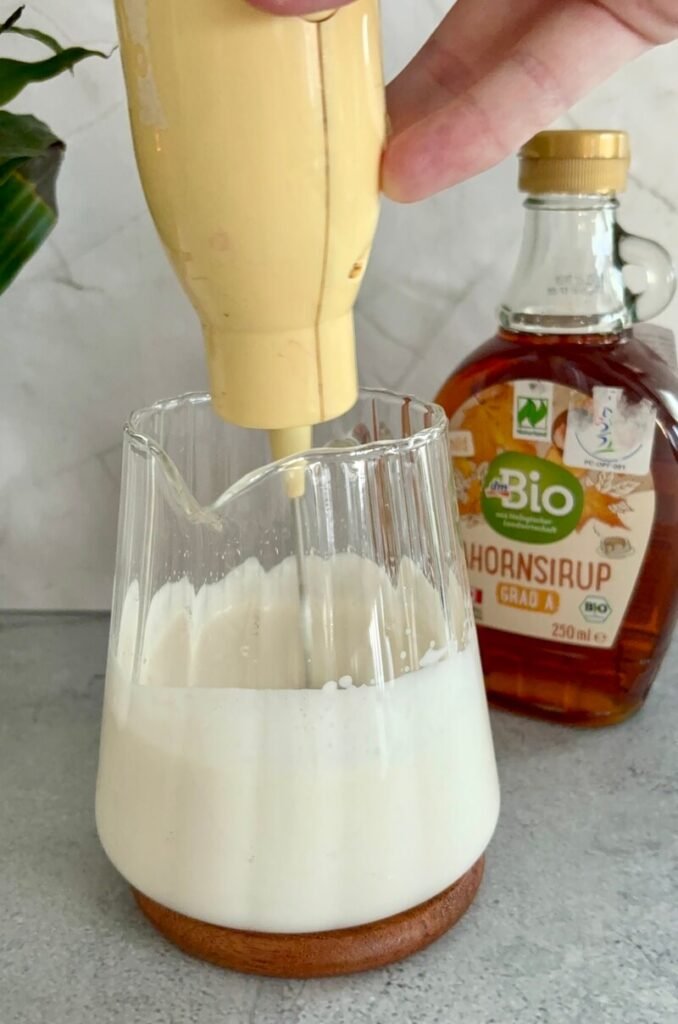
Use a handheld milk frother, a jar, or a French press to froth the mixture.
Check here for four ways to make cold foam at home.
You’re looking for a creamy texture that slowly drips off a spoon, not stiff peaks.
Step 4: Let the foam settle briefly
Give the foam about 10–15 seconds to settle after frothing.
This helps the bubbles even out and makes the texture smoother when you pour it.
I’ve found that pouring it right away sometimes gives a slightly airy top, while waiting just a few seconds makes it more consistent.
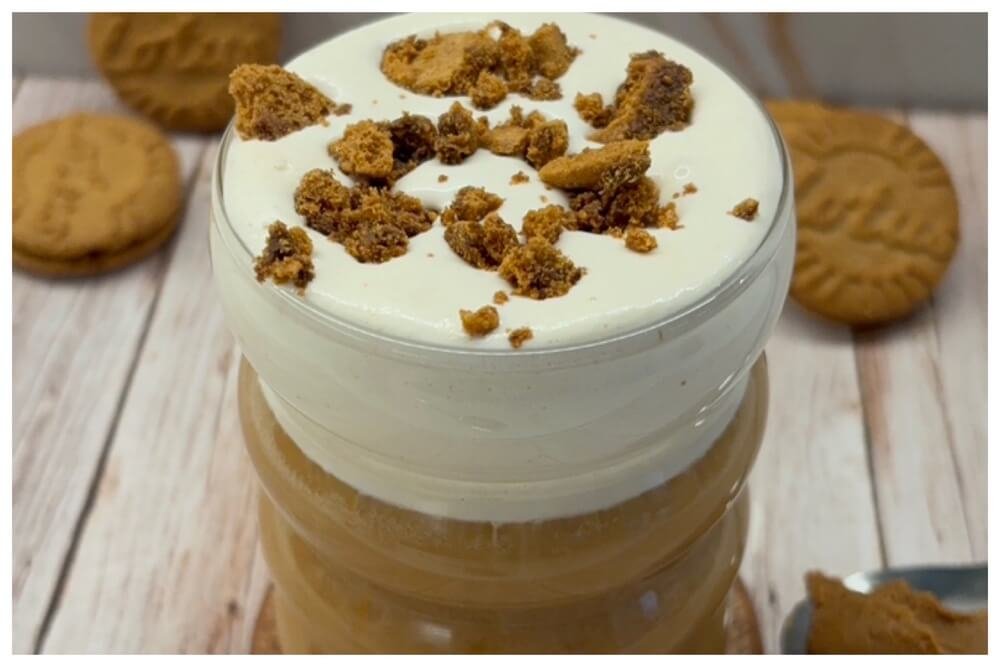
Step 5: Pour over your coffee
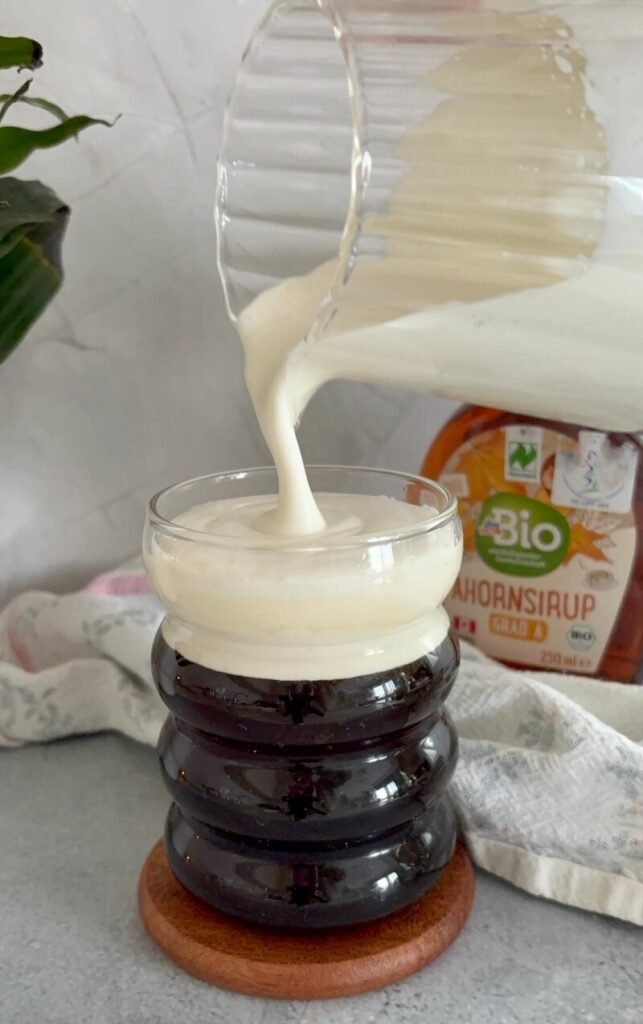
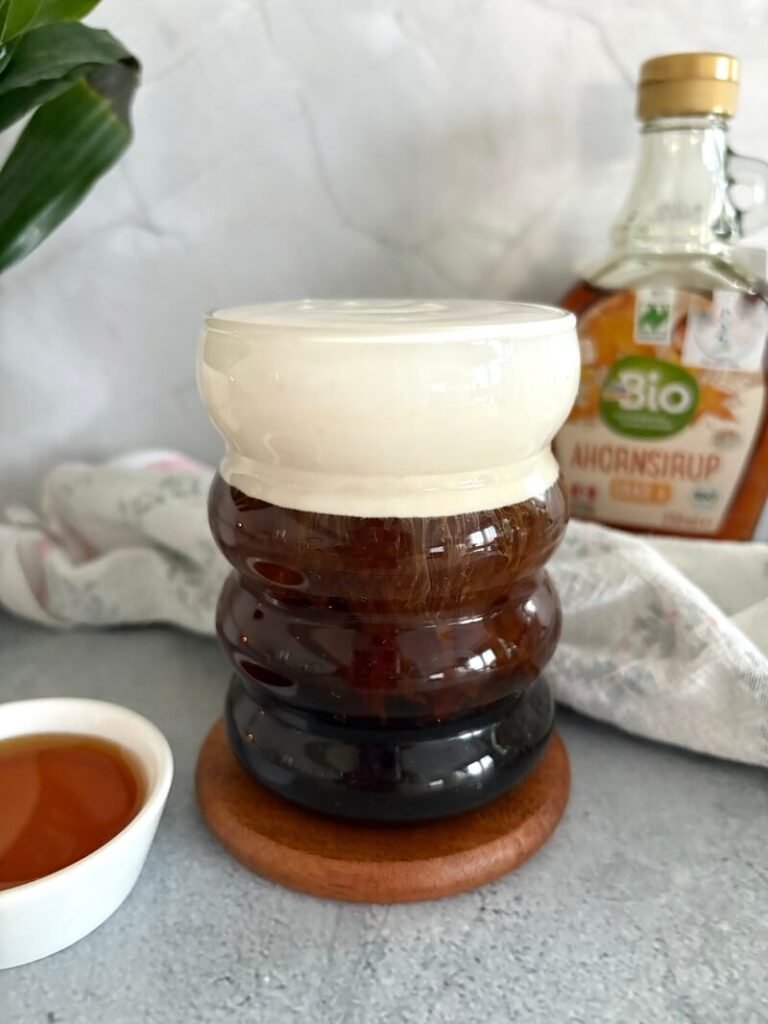
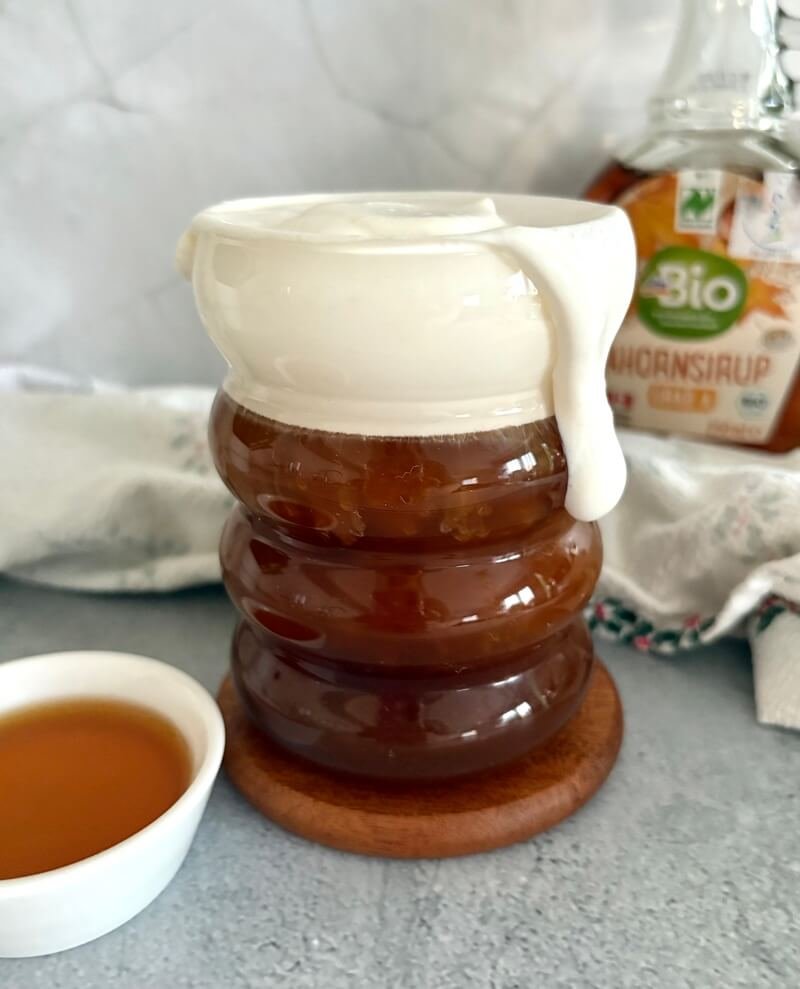
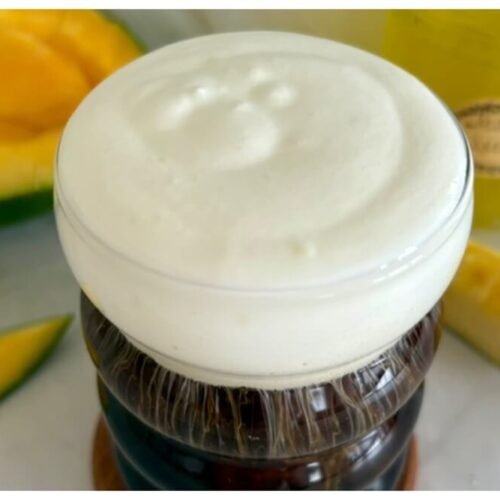
Fill your glass with ice and cold brew or iced coffee, leaving a bit of space at the top. Slowly pour the salted maple cold foam over the surface.
It should sit on top and then slowly mix into the drink as you sip.
That first sip where you get both foam and coffee together is exactly what you want.
How to Build Your Drink for the Best Flavor
I usually go with cold brew because it lets the maple flavor stand out more, but iced coffee works just as well.
Pro tip: If your coffee is already sweetened, you might want to slightly reduce the maple syrup in the foam.
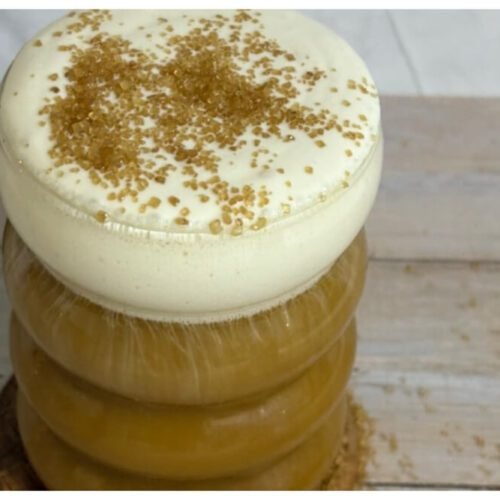
Sometimes I add a small drizzle of maple syrup on top or a tiny pinch of salt just before serving. It’s a small detail, but it makes the drink feel a bit more finished.
Tips for the Best Salted Maple Cold Foam

Cold ingredients foam better, so keep your cream and milk chilled before starting. It really helps the foam hold its shape longer.
Don’t over-froth the mixture. If it gets too thick, it won’t pour properly and will just sit in a clump on top.
Taste the foam before pouring. If you want a stronger maple flavor, add another teaspoon of maple syrup and froth briefly again.
If your foam isn’t thick enough, increase the heavy cream slightly next time. That’s usually the easiest fix.
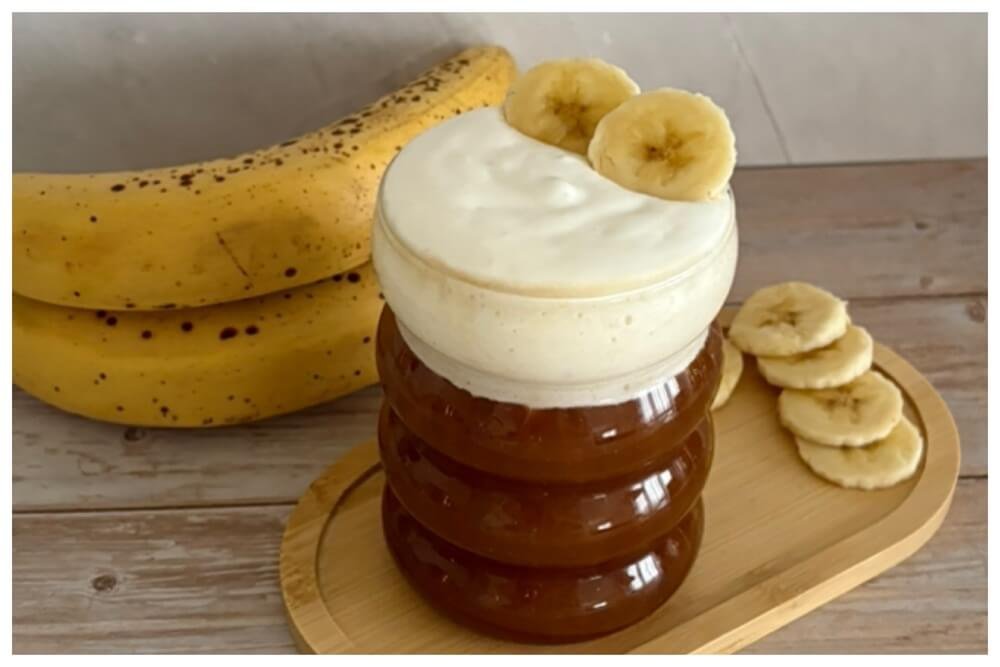
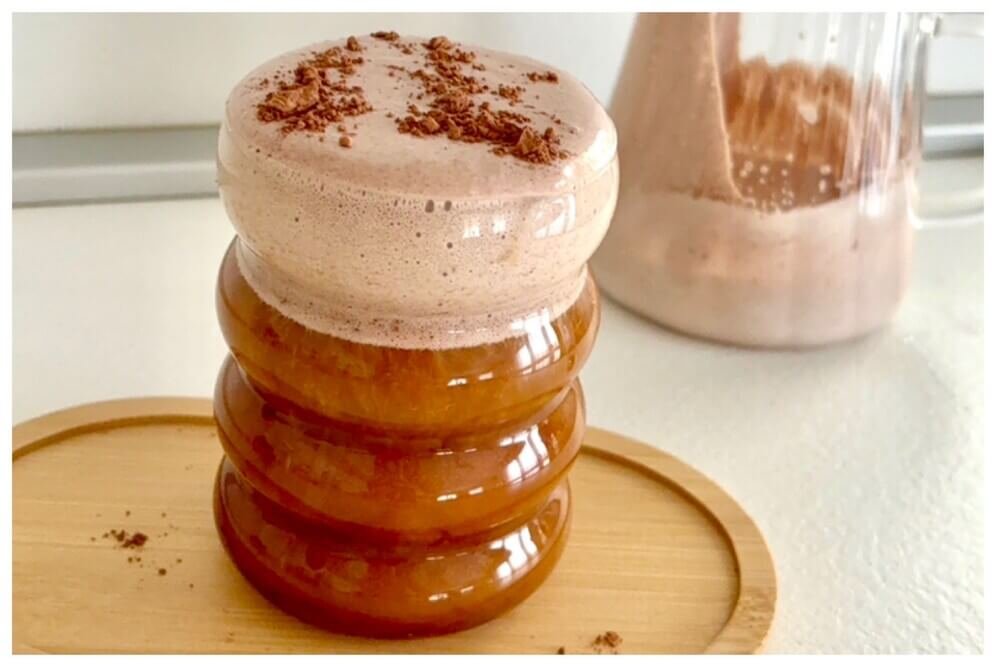
Salted Maple Cold Foam Variations to Try
You can mix in a little brown sugar along with the maple syrup if you want a deeper flavor.
For something closer to a dessert drink, a small amount of caramel syrup works really well with maple.
For a stronger maple flavor, add an extra teaspoon of maple syrup. Keep in mind that adding more syrup can make the foam slightly thinner.
A dairy-free version also works using coconut cream and a plant-based milk. The texture changes a bit, but it still turns out good.
You can also use this foam on iced lattes instead of cold brew if you want something a bit creamier overall.
How to Store Leftover Cold Foam
Cold foam is best used right away, but you can store leftovers in the fridge for up to 24 hours. Keep it in a sealed container.
Before using, give it a quick stir or a short froth to bring the texture back.
I usually avoid making a large batch because it loses that light texture over time.
Where this fits into your coffee recipes
Check out more cold foam recipes:

Salted Maple Cold Foam
Ingredients
- 3 tbsp heavy cream
- 2 tbsp milk I used whole milk
- 1 tbsp maple syrup
- pinch of salt
Instructions
- Add heavy cream and milk to a jar or frothing cup.
- Add maple syrup and salt.
- Froth until thick and creamy.
- Let it sit for a few seconds to smooth out.
- Pour over iced coffee or cold brew and serve immediately.
Notes
- Use cold ingredients for best results.
- Adjust maple syrup depending on sweetness preference.
- Do not over-froth, or it will become too thick.
- Best used immediately, but can be stored up to 24 hours in the fridge.

Marina is the writer behind CozyCornerCharm. She grew up on Turkish coffee, later discovering specialty brewing through her first V60, which inspired her ongoing coffee journey. She has written for Craft Coffee Spot, Home Grounds, and Barista HQ and now shares her experience here on her own coffee corner.
[…] salted maple cold foam […]