Coconut cold foam has quickly become one of those little upgrades that makes a regular iced coffee feel way more special.
I started making it at home when I realized how much I was paying for coconut drinks at coffee shops, and honestly, this version tastes just as good, if not better.
It’s light, slightly sweet, and has that creamy coconut flavor that works so well with espresso or cold brew.
What I like most is how easy it is to customize. You can keep it simple or adjust the sweetness, thickness, or coconut intensity depending on your drink.
Once you get the base right, you’ll find yourself adding it to everything. It works especially well with iced lattes and cold brew, and it pairs perfectly with recipes like coconut latte or toasted coconut cream cold brew.
Why Coconut Cold Foam Works So Well
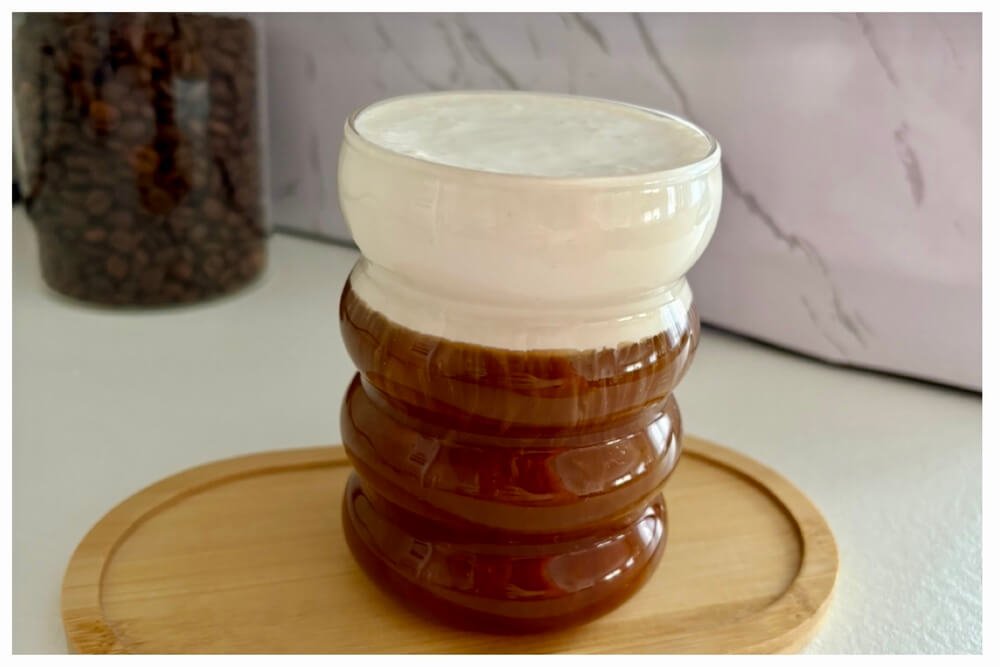
Coconut cold foam isn’t just about flavor, it’s about texture. When it’s made right, it sits on top of your drink in a creamy layer instead of sinking right away.
Here’s why this recipe works:
- The combination of cream and milk creates structure
- A small amount of sweetener helps stabilize the foam
- Proper frothing gives it that airy, café-style finish
Coconut on its own can be a bit tricky to foam, so balancing it with the right ingredients makes all the difference.
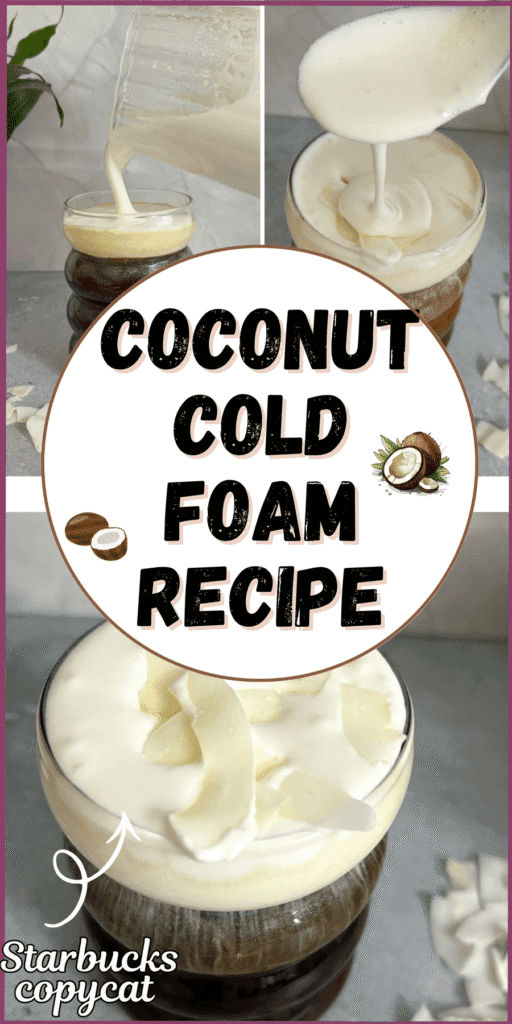
Coconut Cold Foam Ingredients
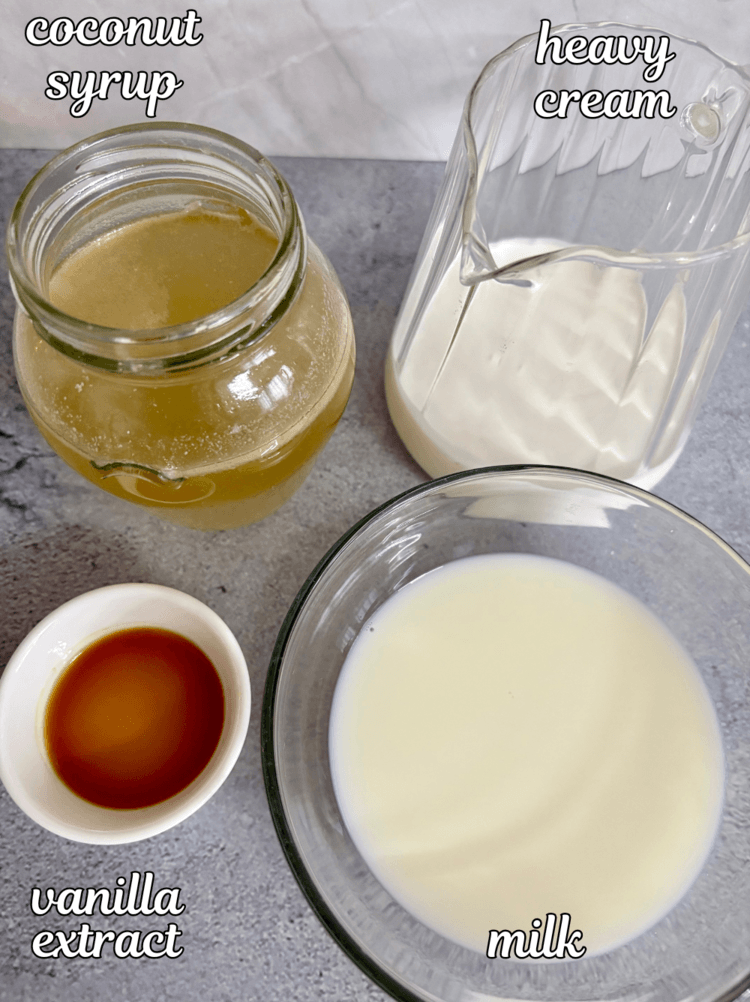
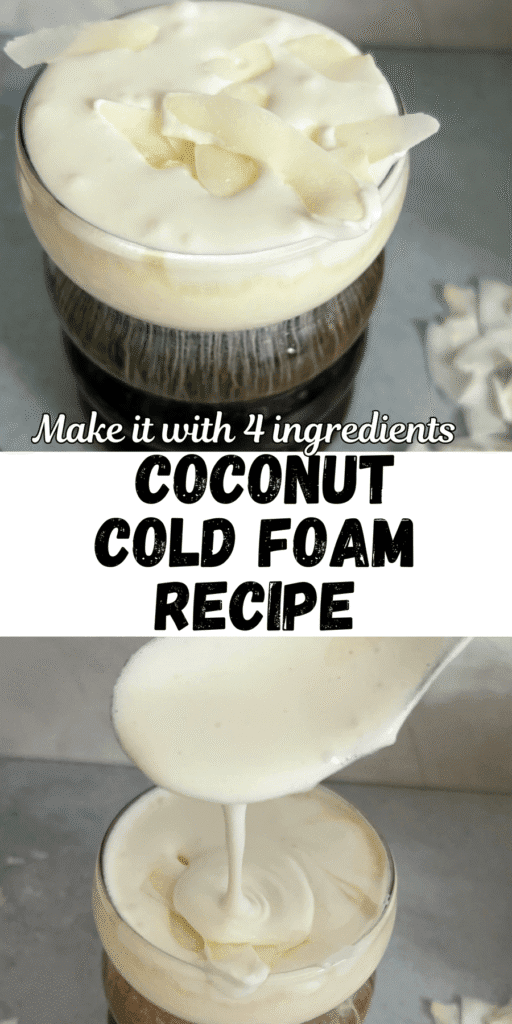
To make a thick and creamy coconut cold foam, you only need a few simple ingredients:
- 3 tbsp heavy cream
- 2 tablespoons milk (full-fat works best)
- 1 tbsp coconut syrup
- Optional: ½ teaspoon vanilla extract
Pro tip: If you want a stronger coconut flavor, you can use coconut milk, but keep the cream for structure.
How to Make Coconut Cold Foam Step-by-Step
Step 1: Add everything to a frothing container
Pour the heavy cream, milk, and syrup into a small jar, cup, or milk frother.
If you’re adding vanilla or salt, include it here.
Step 2: Froth until thick and airy
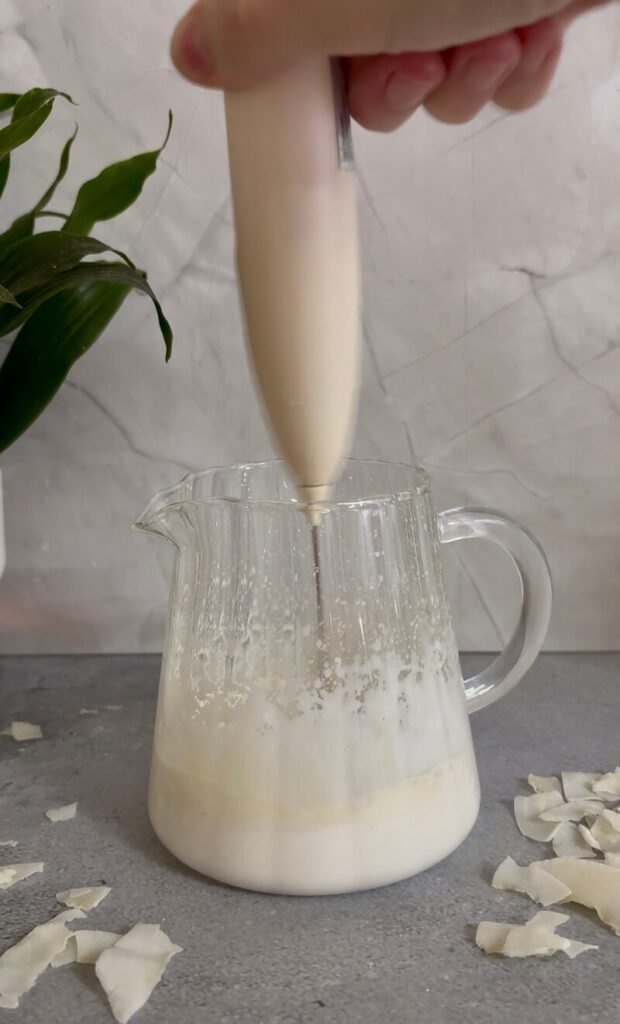
You can use four different methods to froth cold foam. Check how to make cold foam at home here.
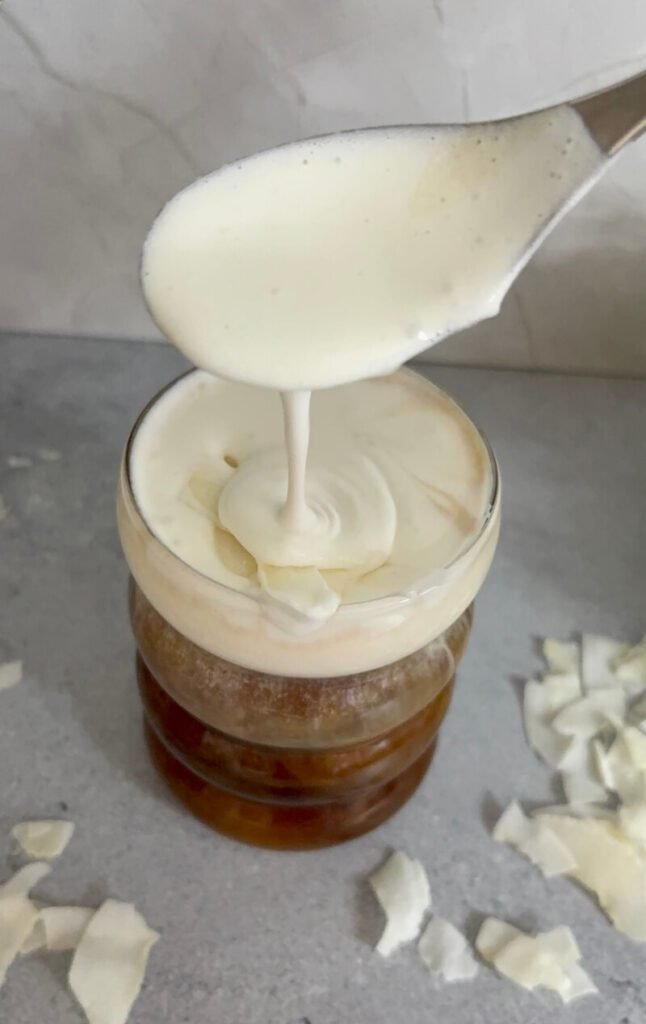
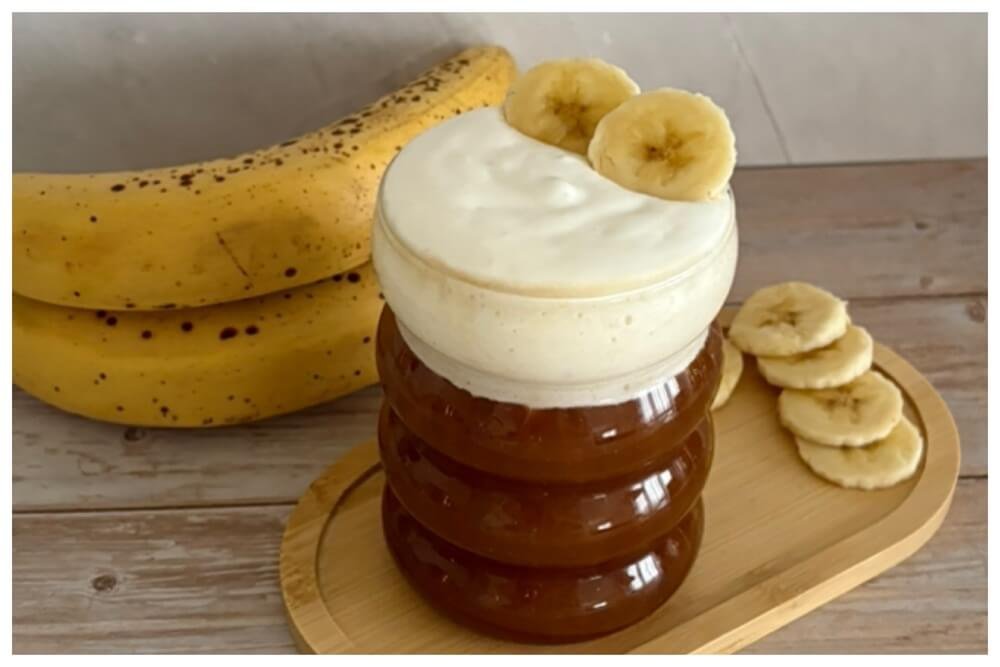
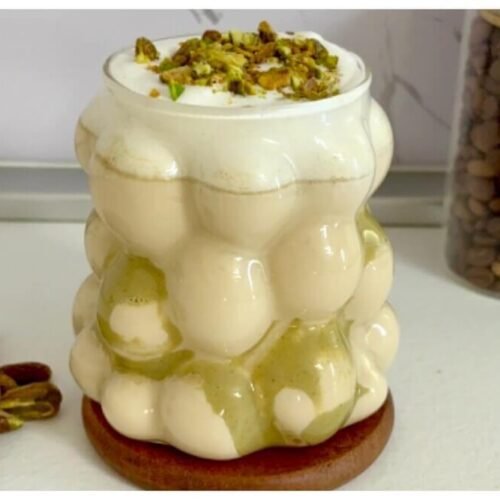
You’re looking for a thick but pourable texture. It should look creamy and slightly fluffy, not stiff like whipped cream.
Step 3: Let it settle for a few seconds
Give the foam about 10–15 seconds to settle. This helps the texture even out and makes it easier to pour.
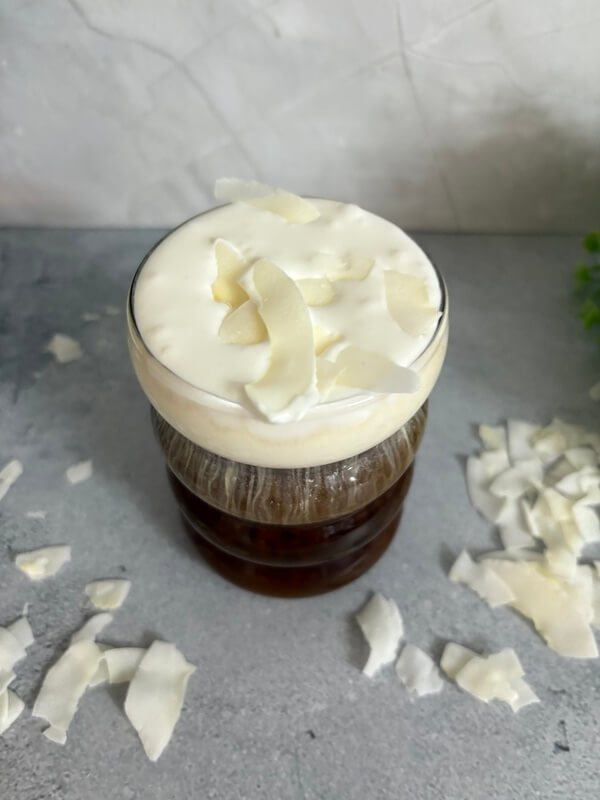
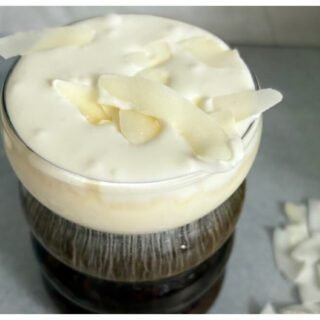
Step 4: Pour over your drink
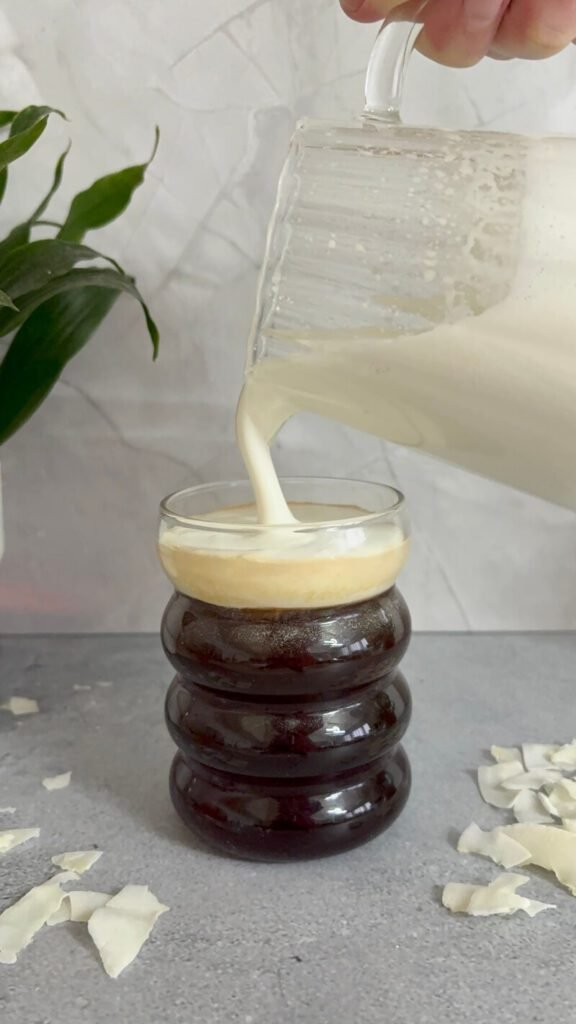
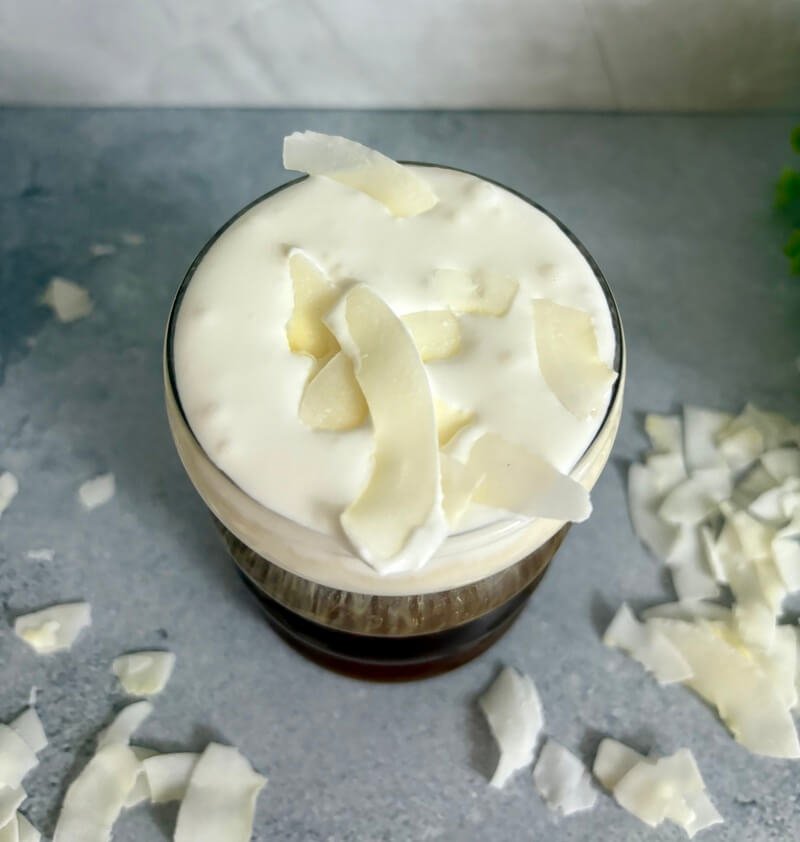
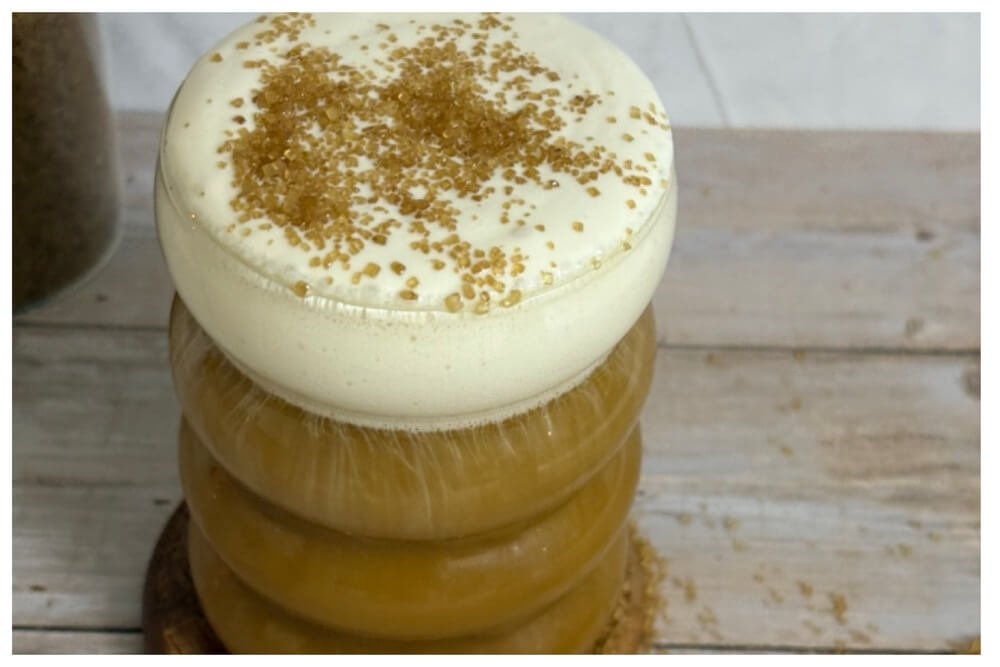
Slowly pour the coconut cold foam over your iced coffee, latte, or cold brew.
It should float on top and slowly blend in as you drink.
Best Drinks to Pair with Coconut Cold Foam
This foam works with a lot of drinks, but these combinations stand out:
- Iced espresso or iced latte
- Cold brew coffee
- Iced matcha
- Vanilla iced coffee
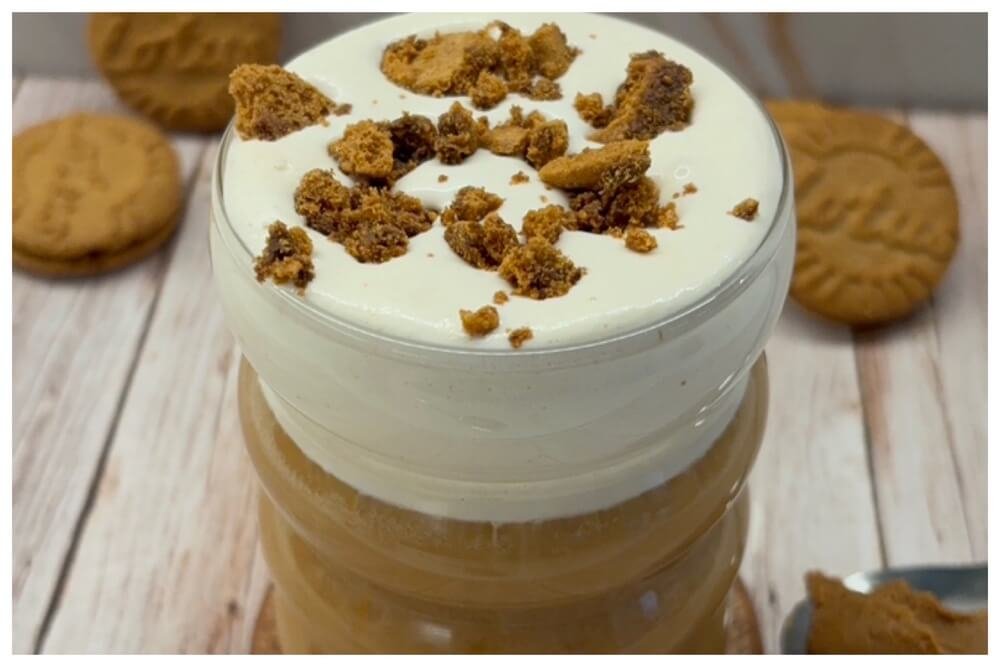
- Brown sugar latte
Tips for the Best Coconut Cold Foam
Getting that café-style texture comes down to a few small details:
- Use full-fat milk: Lighter versions won’t foam as well and can taste watery.
- Don’t skip the cream: The cream helps hold everything together.
- Froth just enough: Over-frothing can make it too thick. You want it soft and pourable.
- Adjust sweetness carefully: Start with less syrup, then add more if needed. Coconut flavor can get lost if it’s too sweet.
- Use cold ingredients: Cold liquids foam better and hold their structure longer.
Easy Variations to Try
Once you’ve made the basic version, you can switch it up depending on your drink.
- Vanilla Coconut Cold Foam: Add a bit more vanilla extract for a softer flavor that works well with iced lattes.
- Toasted Coconut Cold Foam: Use toasted coconut syrup or add a drop of coconut extract for a deeper flavor. This pairs really well with your toasted coconut cream cold brew.
- Coconut Caramel Foam: Replace half of the coconut syrup with caramel syrup for a coconut-caramel flavor.
- Dairy-Free Version: Skip the heavy cream and use coconut cream and coconut milk. It won’t be as stable, but it still works and tastes great.
- Protein Coconut Cold Foam: Mix in a small amount of vanilla protein powder. It thickens the foam and adds extra flavor.
Common Mistakes to Avoid
Even though this recipe is simple, a few things can go wrong:
Foam is too thin: You probably used low-fat milk or not enough cream.
Foam sinks immediately: It wasn’t frothed enough or the texture is too liquid.
Too thick to pour: You over-frothed it. Add a splash of milk and stir gently.
Not enough coconut flavor: Use coconut syrup or a bit of coconut extract to boost it.
How to Store Coconut Cold Foam
Coconut cold foam is best made fresh, but you can store it for a short time.
- Keep it in the fridge for up to 24 hours
- Stir or lightly re-froth before using
- Avoid freezing—it ruins the texture
If you’re making multiple drinks, you can prep a slightly larger batch and keep it chilled.
How to Customize Coconut Cold Foam for Different Drinks
One of the reasons I keep coming back to this recipe is how easy it is to adjust depending on what I’m making.
- For cold brew, keep it slightly thicker so it sits on top
- For iced lattes, make it a bit lighter so it blends more
- For dessert-style drinks, add more syrup or flavor
Once you try it a few times, you’ll get a feel for what works best with each drink.
Check out more cold foam recipes:
Coconut Cold Foam
Ingredients
- 3 tbsp heavy cream
- 2 tbsp milk
- 1 tbsp coconut syrup
- ½ tsp vanilla extract optional
Instructions
- Add heavy cream, milk, and coconut syrup to a frothing container.
- Add vanilla extract if using.
- Froth using a handheld frother, electric frother, or shake in a jar.
- Froth for 10–20 seconds until thick and airy.
- Let the foam settle briefly.
- Pour over iced coffee, latte, or cold brew.
Notes
- For stronger coconut flavor use coconut milk.
- Adjust sweetness to taste
- Don’t over-froth—keep it pourable
- Best used fresh, but can be stored up to 24 hours in the fridge

Marina is the writer behind CozyCornerCharm. She grew up on Turkish coffee, later discovering specialty brewing through her first V60, which inspired her ongoing coffee journey. She has written for Craft Coffee Spot, Home Grounds, and Barista HQ and now shares her experience here on her own coffee corner.
Leave a Reply