I didn’t expect cream cheese cold foam to become a regular thing in my kitchen, but here we are.
I first tried it out of pure curiosity after seeing it on café menus, and I honestly thought it would be heavy or strange. It’s not.
It’s smooth, lightly sweet, and has that soft tang that makes iced coffee taste more interesting instead of just sugary. Now I make it at home whenever I want something different from vanilla foam or plain milk.
If you like drinks that feel a little special but are still easy to make, this one is worth learning. You don’t need fancy tools or hard-to-find ingredients. Just a blender or milk frother and five minutes.
I’ll walk you through every step, plus how to fix common mistakes and adjust the flavor to your taste.
What Cream Cheese Cold Foam Actually Is
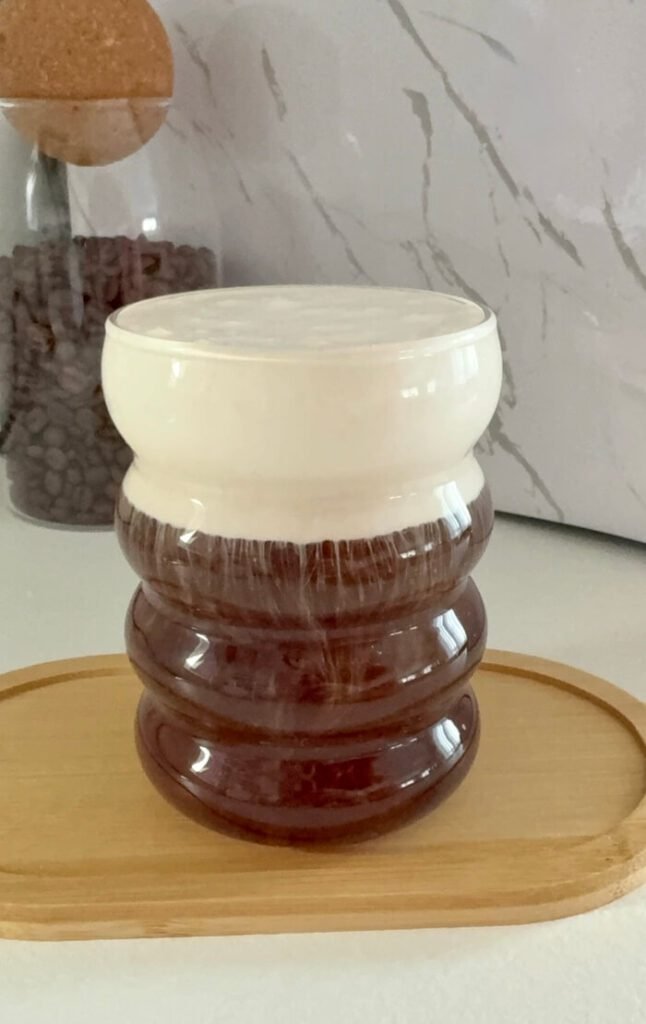
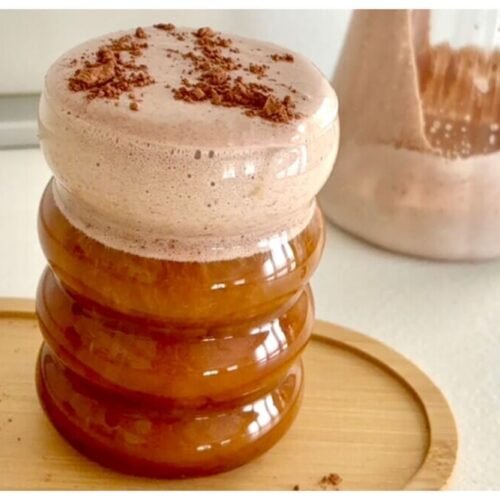
Cream cheese cold foam is a thick, pourable topping made by blending cream cheese with milk, sweetener, and vanilla. It sits on top of iced coffee or cold brew and slowly mixes in as you drink.
It’s different from regular cold foam in a few ways:
- It is thicker.
- It tastes slightly tangy.
- It holds its shape longer.
That tiny bit of tang is what makes it work so well with coffee. It cuts through bitterness and balances sweet syrups. If you usually find flavored foam too sugary, this version feels more grown-up and balanced.
Cream Cheese Cold Foam Ingredients
Before we get into the steps, it helps to know why each ingredient is there.
Cream cheese: This is the base. Full-fat works best because it blends more smoothly and gives better texture.
Milk: This thins the mixture so it can foam. Whole milk is ideal, but 2% works too.
Sweetener: Sugar, vanilla syrup, or simple syrup all work. Use what you already have.
Vanilla extract: Optional, but highly recommended. It softens the tang from the cream cheese.
Salt (tiny pinch): This sounds odd, but it makes the flavor rounder.
Cream Cheese Cold Foam Tools
You do not need anything fancy.
Best options:
- Handheld milk frother
- Small blender
- Bullet-style blender
- Immersion blender
Note: A jar with a lid can work in a pinch, but it will not be as thick.
Check here for four easy ways to make cold foam.
Step-by-step: how to make cream cheese cold foam
These are the full steps, exactly how I make it at home.
Step 1: Soften the cream cheese
Take your cream cheese out of the fridge about 10–15 minutes before starting.
Cold cream cheese = lumpy foam.
Pro tip: If you forget, microwave it for 8–10 seconds. It should be soft, not melted.
Step 2: Add ingredients to your blender or cup

Add:
- Cream cheese
- Milk
- Sweetener
- Vanilla
- Tiny pinch of salt
Pro tip: Start with less milk. You can always add more later.
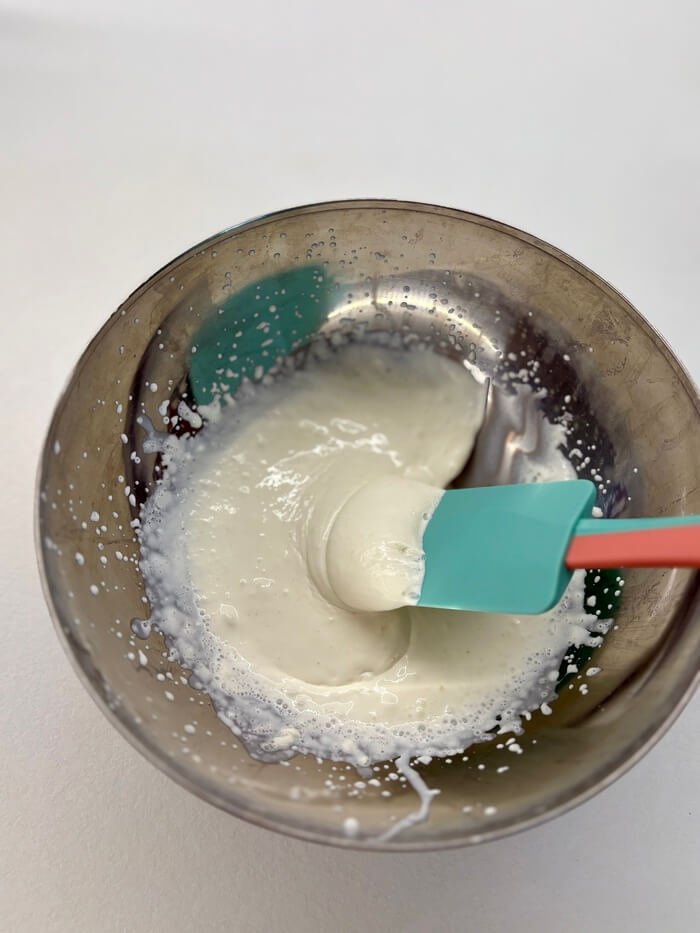
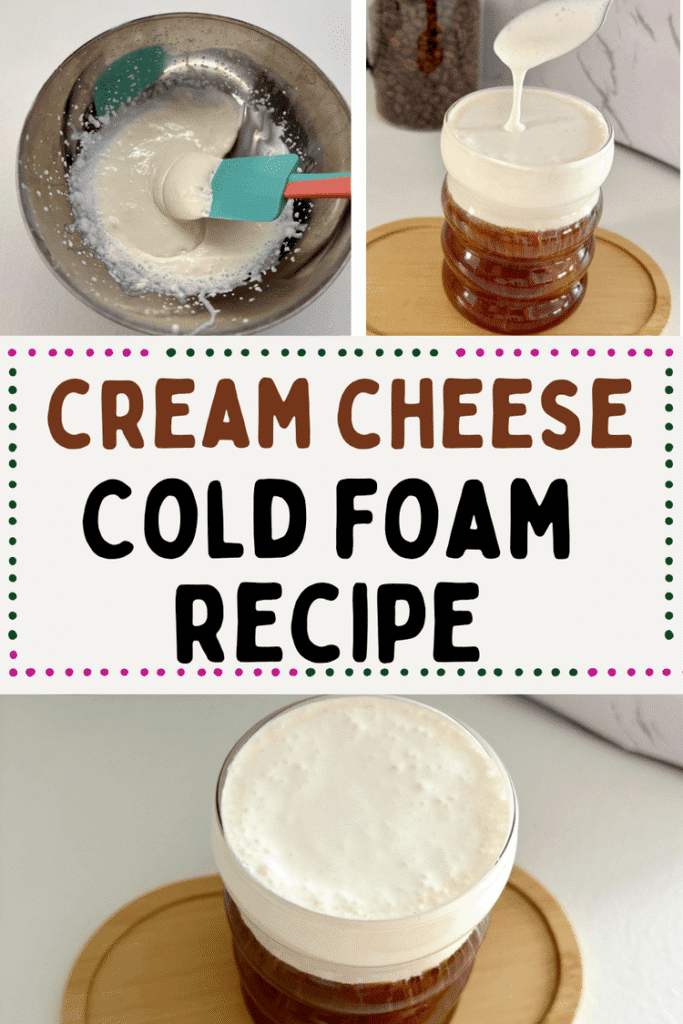
Step 3: Blend or froth until smooth
Blend for 20–30 seconds.
Stop and check:
- No lumps
- Smooth texture
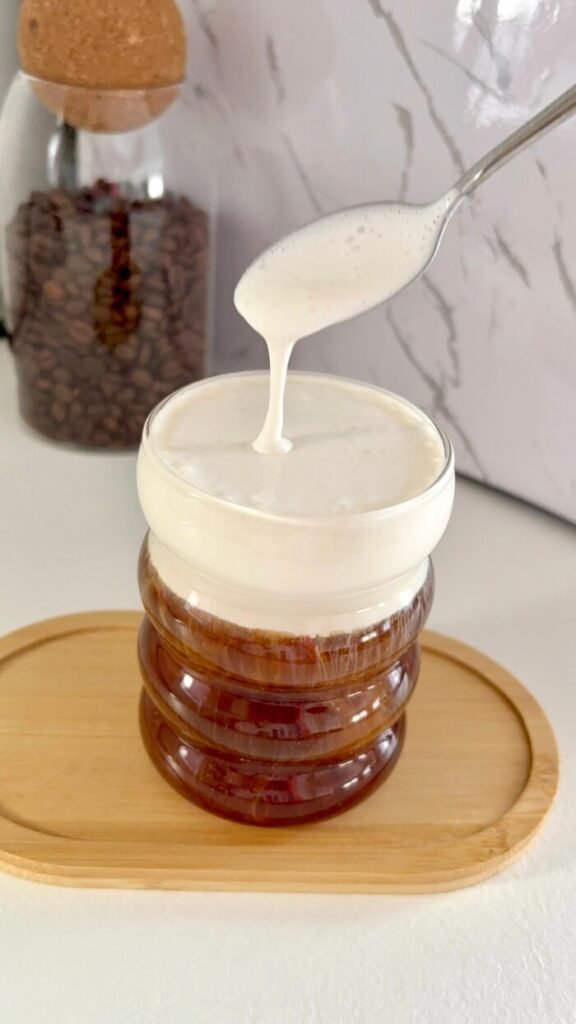
- Slightly thick but still pourable
If it looks grainy, keep blending.
Step 4: Adjust thickness
Too thick? Add 1 tablespoon of milk.
Too thin? Add 1 teaspoon more cream cheese and blend again.
This part is personal. I like mine thick enough to float but not stiff.
Step 5: Taste and adjust sweetness
Dip a spoon in.
Not sweet enough? Add more sweetener.
Too tangy? Add a little more vanilla or sugar.
If you’re adding more ingredients, blend again for 5 seconds.
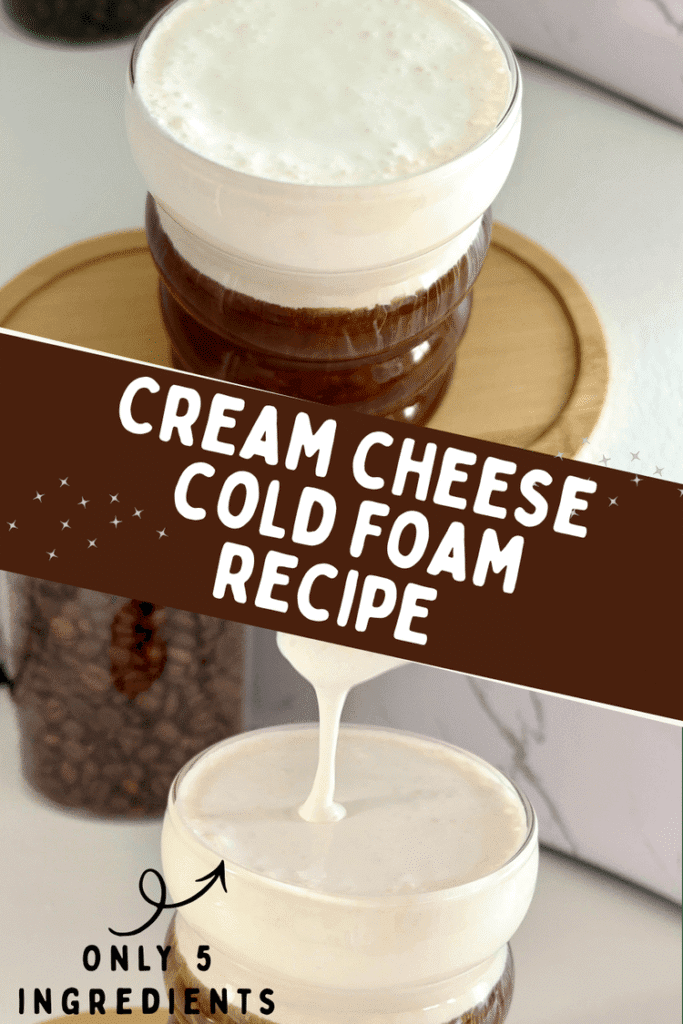
Step 6: Pour over your drink
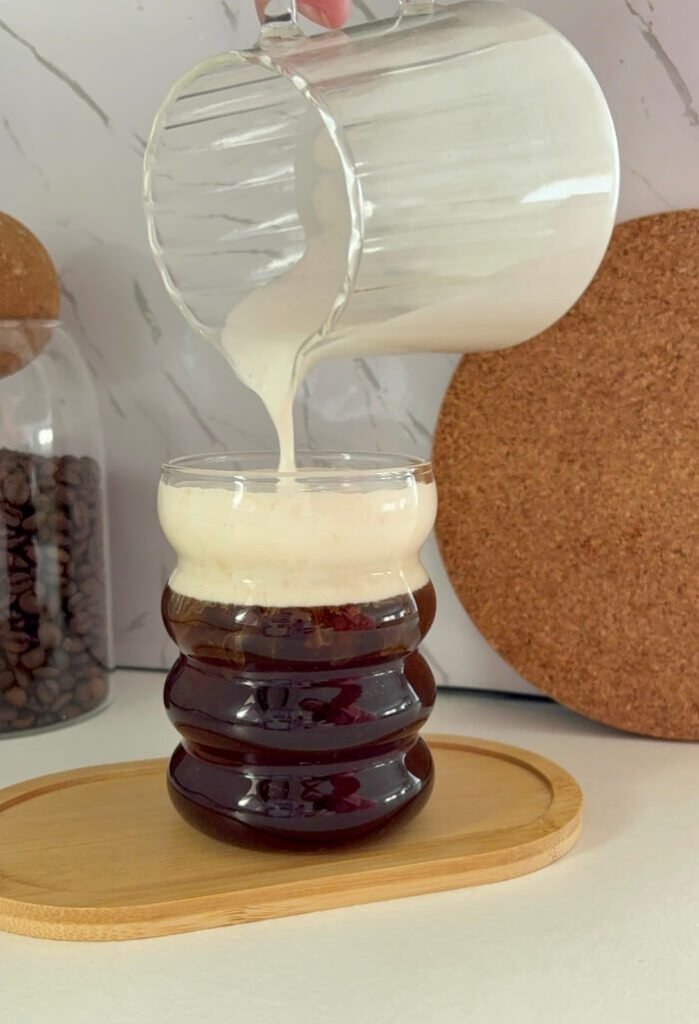
Make your iced coffee or cold brew first.
Then slowly spoon or pour the foam on top.
Watch it float. That part never gets old.
Best Drinks to Use With Cream Cheese Cold Foam
This foam works with more than plain coffee.
My favorites:
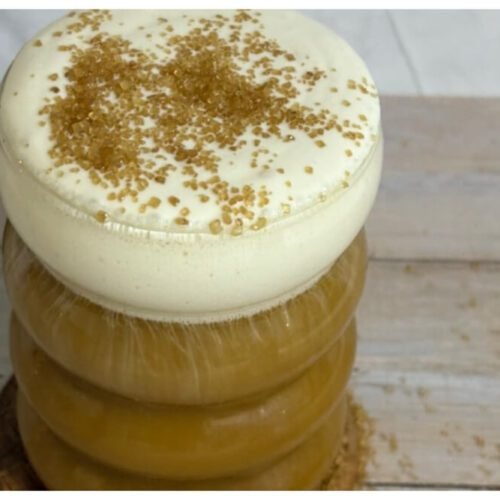
- Carrot Cake Latte
- Cold brew
- Iced latte
- Iced vanilla latte
- Iced caramel coffee
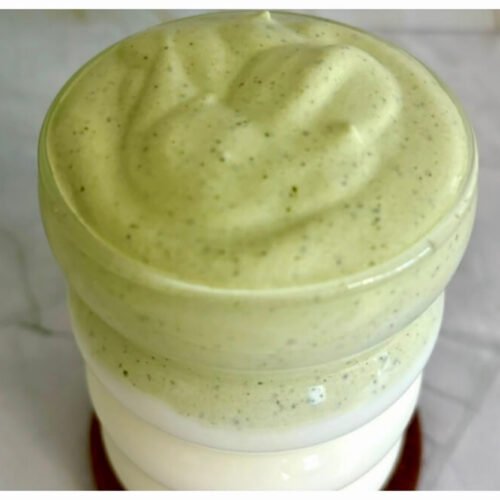
- Iced matcha latte
- Tiramisu latte
It also tastes great over iced black tea with vanilla syrup.
Flavor Variations You Can Try
Once you know the base recipe, it’s easy to change it.
Cinnamon foam: Add ¼ teaspoon cinnamon before blending.
Pumpkin spice foam: Add ½ teaspoon pumpkin spice and 1 teaspoon maple syrup.
Strawberry cream cheese foam: Add 1 tablespoon strawberry syrup.
Chocolate version: Add 1 teaspoon cocoa powder and a little extra sugar.
Each one keeps the same base texture.
Cream Cheese Cold Foam Common Mistakes
Here are the most common mistakes that happen when making cream cheese cold foam and how to fix them:
- Foam is lumpy: Cause: cream cheese too cold. Fix: blend longer or warm it slightly.
- Foam sinks immediately: Cause: too much milk. Fix: add more cream cheese.
- Foam tastes salty: Cause: too much salt. Fix: add more sweetener and milk.
- Foam separates in the fridge: Fix: re-blend before using.
Can You Make Cream Cheese Cold Foam Ahead?
Yes. Store it in a sealed jar in the fridge for up to 3 days.
Before using shake or stir and froth again if needed
Texture is best on day one, but it still works later.
Calories and nutrition (rough idea)
Cream cheese cold foam is richer than regular foam.
One serving is usually around 70–100 calories depending on:
- Milk
- Sugar
- Amount used
It’s a topping, not a full drink, so I treat it like a small upgrade rather than a daily habit.

Cream Cheese Cold Foam
Ingredients
- 2 tbsp cream cheese softened
- ¼ cup milk whole or 2%
- 1-2 tbsp sugar or vanilla syrup
- ½ tsp vanilla extract
- a tiny pinch of salt
Instructions
- Let cream cheese soften at room temperature for 10–15 minutes.
- Add cream cheese, milk, sweetener, vanilla, and salt to a blender or tall cup.
- Blend or froth for 20–30 seconds until smooth.
- Adjust thickness with more milk or cream cheese if needed.
- Taste and adjust sweetness.
- Froth for 10–15 seconds if desired.
- Spoon or pour over iced coffee and serve immediately.
Notes
- Use full-fat cream cheese for the best texture.
- Store leftovers in the fridge for up to 3 days. Re-blend before using.
- For flavored foam, add cinnamon, cocoa powder, or flavored syrup before blending.
- Works best on cold drinks, especially the tiramisu latte.

Marina is the writer behind CozyCornerCharm. She grew up on Turkish coffee, later discovering specialty brewing through her first V60, which inspired her ongoing coffee journey. She has written for Craft Coffee Spot, Home Grounds, and Barista HQ and now shares her experience here on her own coffee corner.
Leave a Reply