Strawberry syrup is one of those recipes that sounds simple but completely changes whatever you pour it on. I started making it at home after realizing how artificial most store-bought versions taste.
This homemade version uses real strawberries, real sugar, and nothing strange hiding in the ingredients list. It works for drinks, desserts, breakfast, and even coffee recipes if you like fruity flavors.
Once you make it, it becomes a staple you keep going back to, especially during strawberry season. The texture is smooth, the flavor is fresh, and you can control how sweet or thick you want it.
I also love that it keeps well in the fridge, so you can make a batch and use it all week. If you’ve ever wanted a strawberry syrup that actually tastes like strawberries, this is it.
Strawberry Syrup Ingredients
You only need a few basic ingredients to make strawberry syrup at home, which is part of what makes it so appealing.
Note: Fresh strawberries are ideal, but frozen ones work just as well when strawberries aren’t in season.
Here’s what you’ll need:
- Strawberries (fresh or frozen)
- Granulated sugar
- Water
- Lemon juice (optional, but recommended)
The lemon juice doesn’t make the syrup taste lemony. It simply brightens the strawberry flavor and helps balance the sweetness.
How to Make Strawberry Syrup Step By Step
Step 1: Prepare the Strawberries
Start by washing your strawberries thoroughly if you’re using fresh ones. Remove the green tops and slice them in half or into quarters.
You don’t need perfect cuts here since the strawberries will break down during cooking.
If you’re using frozen strawberries, there’s no need to thaw them first. You can add them straight to the saucepan, which actually helps release more juice as they heat up.
Step 2: Combine Ingredients in a Saucepan

Add the strawberries, sugar, and water to a medium saucepan. Stir everything together so the sugar starts dissolving slightly before heat is applied.
Place the saucepan over medium heat. As the mixture warms up, the strawberries will begin to soften and release their juices. You’ll notice the color deepen into a rich red fairly quickly.
At this stage, don’t rush the process. Let the mixture slowly come to a gentle simmer rather than a rapid boil.
Step 3: Simmer and Cook Down
Once the mixture starts simmering, reduce the heat slightly and let it cook for about 15 to 20 minutes. Stir occasionally to prevent sticking and to help break down the strawberries.
As the strawberries cook, they’ll become very soft and the liquid will thicken slightly. This is where the syrup really develops its flavor.
Pro tip: If you want a stronger strawberry taste, you can let it simmer closer to 20 minutes. For a lighter syrup, 15 minutes works well.
Step 4: Add Lemon Juice
After simmering, add the lemon juice if you’re using it. Stir well and let the mixture cook for another minute or two.
This small step makes a noticeable difference. The acidity helps the strawberry flavor pop and keeps the syrup from tasting flat or overly sweet.
You can skip this step if you prefer, but I always recommend including it, especially if the strawberries are very ripe.
Step 5: Strain the Syrup
Remove the saucepan from the heat and let it cool slightly. Place a fine mesh strainer over a bowl or measuring cup and carefully pour the mixture through it.
Use the back of a spoon to gently press the strawberries and extract as much liquid as possible. Take your time here, since this step determines how much syrup you end up with.
Pro tip: Once strained, discard the solids or save them for yogurt, oatmeal, or baking.
Step 6: Adjust Thickness (Optional)
At this point, check the consistency of your syrup. It will thicken more as it cools, but if you want it thicker, you can return it to the saucepan and simmer it for a few extra minutes.
If the syrup feels too thick after cooling, stir in a tablespoon or two of water until it reaches the texture you like.
Homemade strawberry syrup is flexible, which is one of its best features.
Step 7: Cool and Store
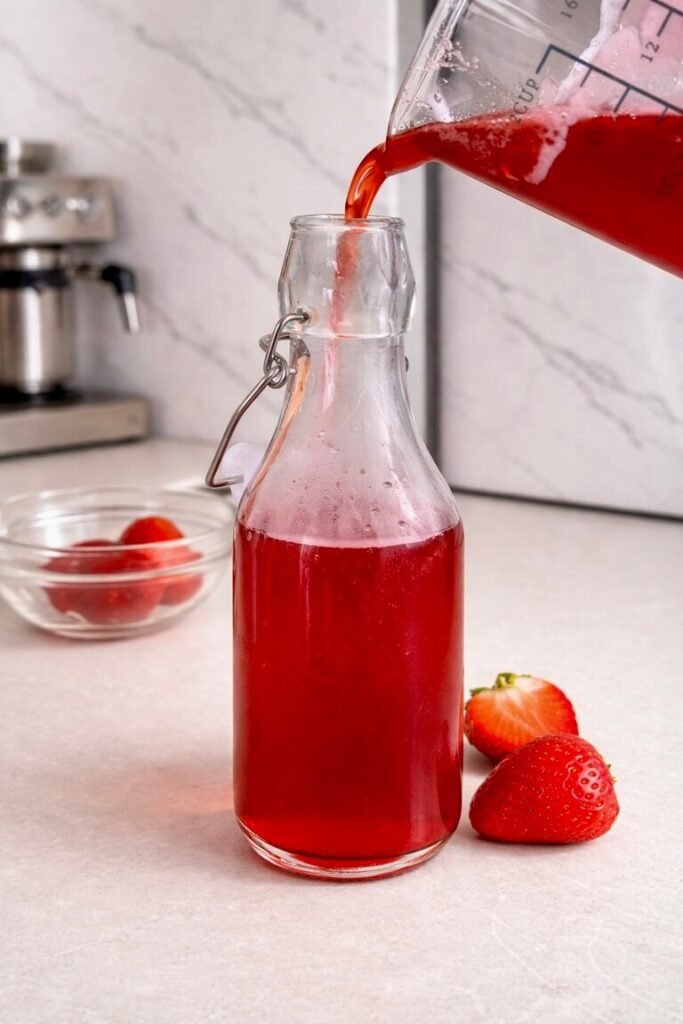
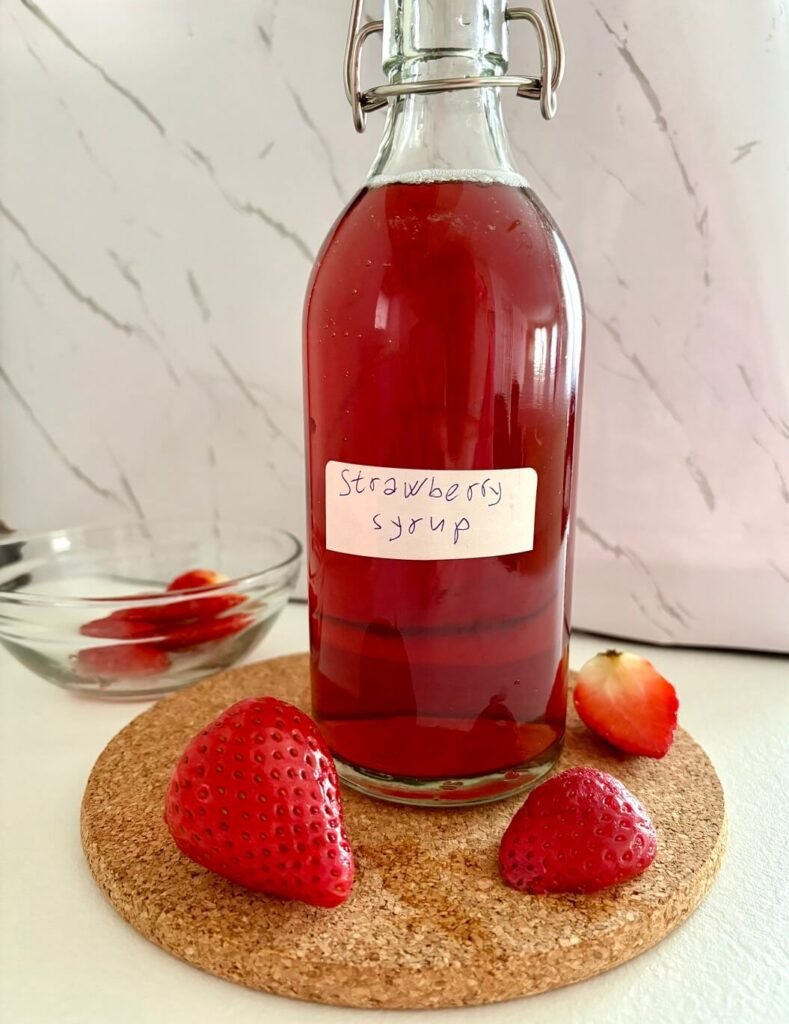
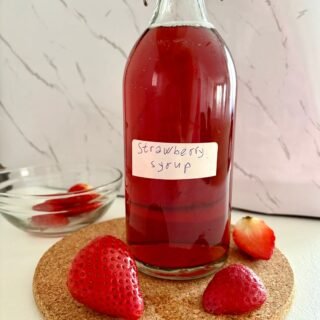
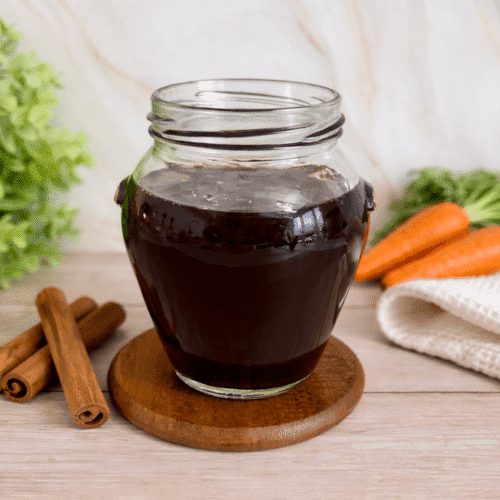
Let the syrup cool completely before transferring it to a clean jar or bottle. Once cooled, seal it tightly and store it in the refrigerator.
The syrup will keep well for up to two weeks when refrigerated. Always use a clean spoon when serving to extend its shelf life.
Ways to Use Strawberry Syrup
This strawberry syrup goes far beyond pancakes. I use it in:
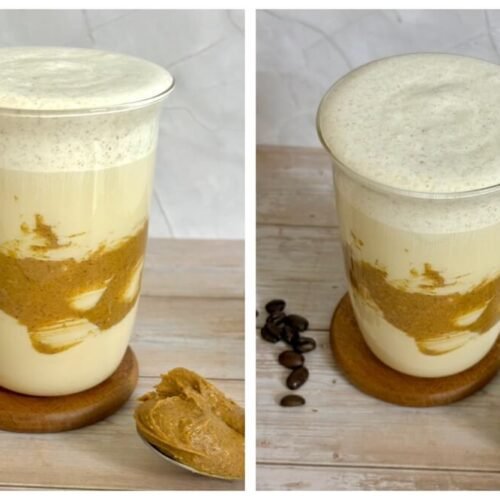
- White Chocolate Strawberry Latte
- Strawberry Cold Foam Iced Coffee
- Homemade Strawberry Latte
- Milk or strawberry milk
- Yogurt and oatmeal
- Cheesecake and ice cream
- Cocktails and mocktails
It’s also a great base for flavored cold foam or drizzled over waffles and French toast.

Tips for the Best Strawberry Syrup
- Use ripe strawberries for the strongest flavor
- Don’t boil aggressively, as it can dull the taste
- Taste before straining and adjust sweetness if needed
- Let it cool fully before judging thickness
- Store in glass containers to preserve flavor
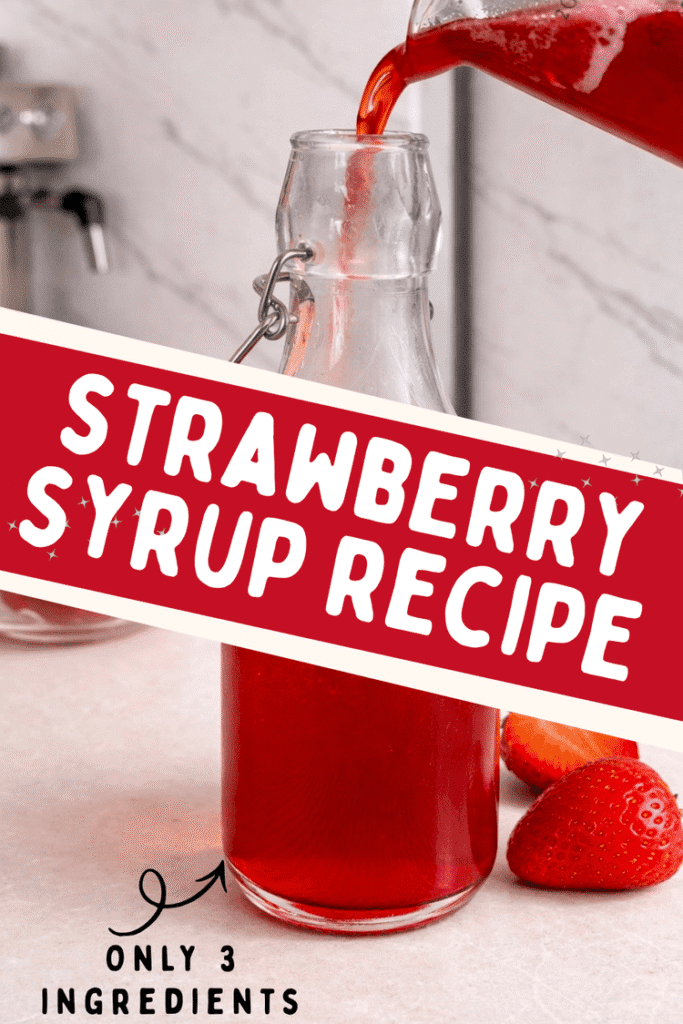
Strawberry Syrup
Ingredients
- 2 cups strawberries hulled and sliced
- 1 cup granulated sugar
- 1 cup water
- 1 tbsp lemon juice optional
Instructions
- Wash and hull the strawberries, then slice them.
- Add strawberries, sugar, and water to a saucepan.
- Heat over medium heat until gently simmering.
- Reduce the heat and simmer for 15–20 minutes, stirring occasionally.
- Stir in lemon juice and simmer 1–2 more minutes.
- Remove from heat and strain through a fine mesh sieve.
- Let cool, then transfer to a jar and refrigerate.
Notes
- Syrup thickens as it cools.
- Frozen strawberries work well.
- Adjust the sweetness by adding more or less sugar.
- Keeps in the fridge for up to 2 weeks.
- Servings and calories are calculated per tablespoon.

Marina is the writer behind CozyCornerCharm. She grew up on Turkish coffee, later discovering specialty brewing through her first V60, which inspired her ongoing coffee journey. She has written for Craft Coffee Spot, Home Grounds, and Barista HQ and now shares her experience here on her own coffee corner.

Leave a Reply