A good vanilla syrup can completely change your coffee at home.
I used to rely on store-bought bottles, but once I started making it myself, there was no going back. It tastes cleaner, more real, and you can control how strong or sweet it is.
Whether you’re making iced lattes, cold brew, or even adding something extra to your morning espresso, this simple syrup is one of those small upgrades that makes a big difference.
I’ll walk you through every step so you get that smooth, rich vanilla flavor without anything tasting artificial or overly sweet.
Vanilla Syrup Ingredients
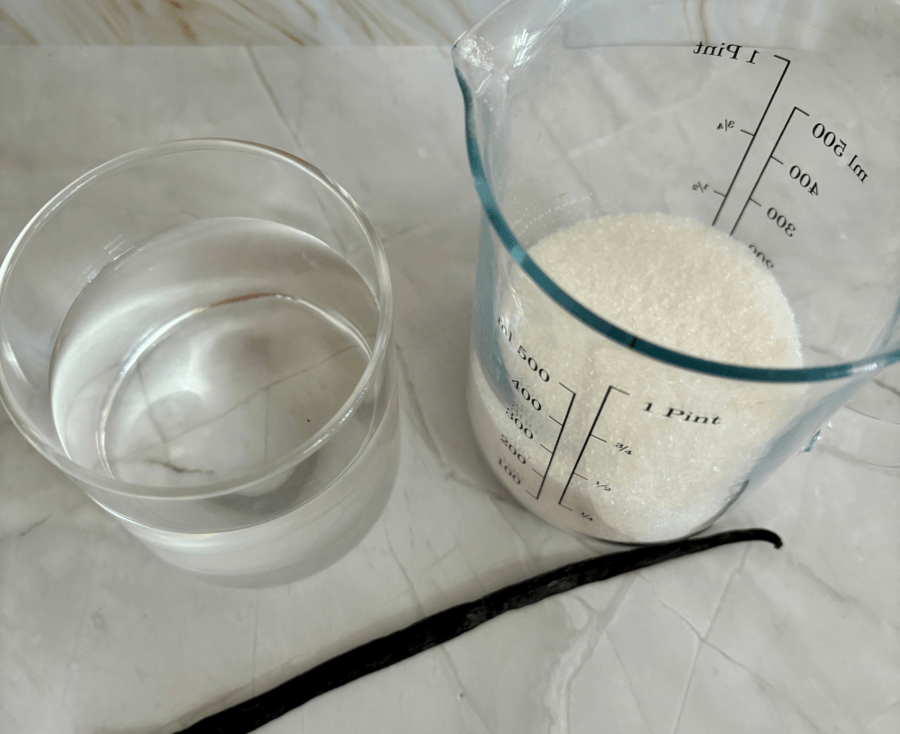
The ingredient list is short, which is exactly why quality matters here.
- 1 cup granulated sugar
- 1 cup water
- 1 tablespoon vanilla extract (or 1 whole vanilla bean)
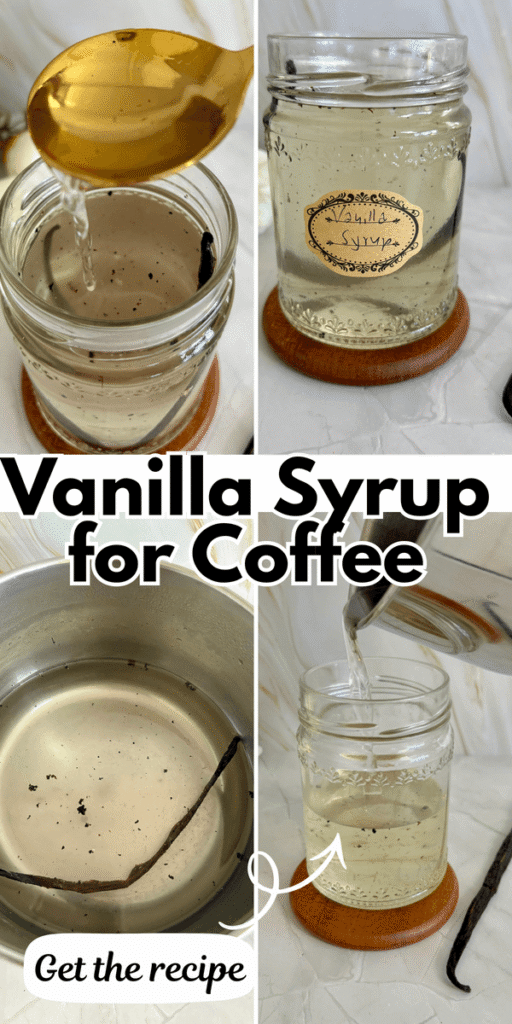
How to Make Vanilla Syrup
Step 1: Combine Sugar and Water
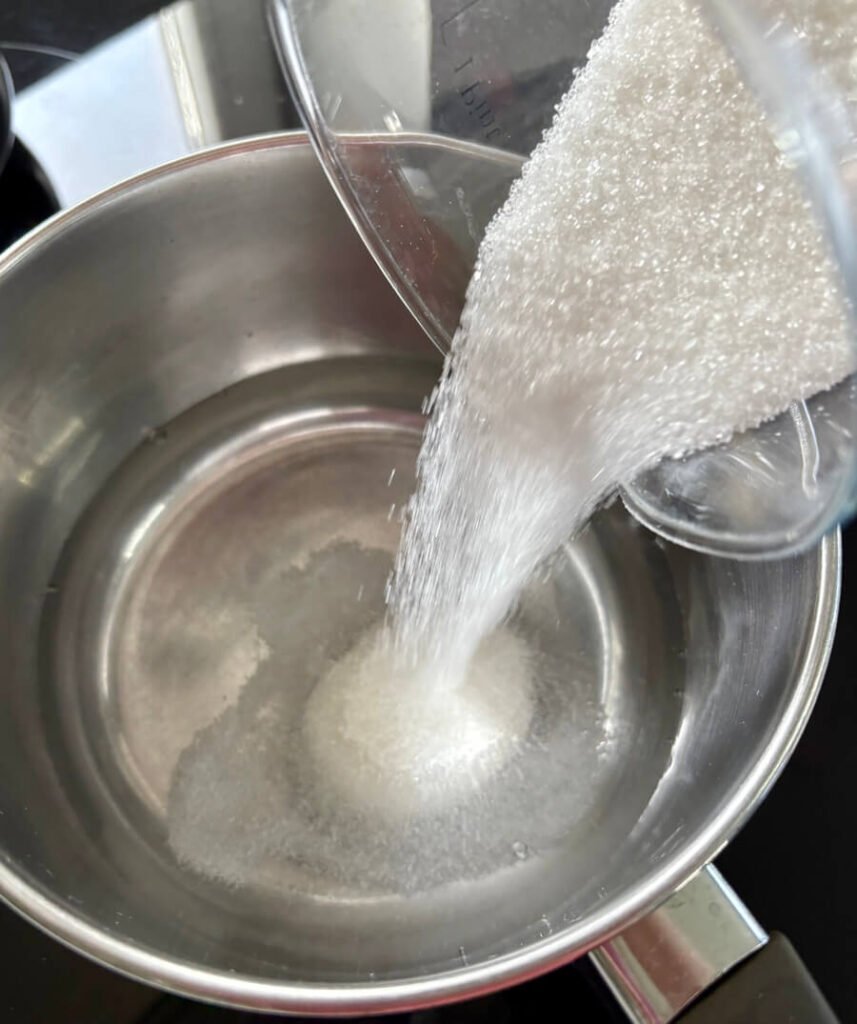
Start by adding your sugar and water to a small saucepan. I go with a 1:1 ratio because it gives that classic coffee shop syrup consistency.
Place the pan over medium heat and stir gently. You don’t need to rush this. Let the sugar dissolve slowly so the syrup stays smooth and clear.
Tip: Avoid high heat. If the mixture boils too aggressively, it can affect the texture and give it a slightly cooked taste.
Step 2: Heat Until Fully Dissolved
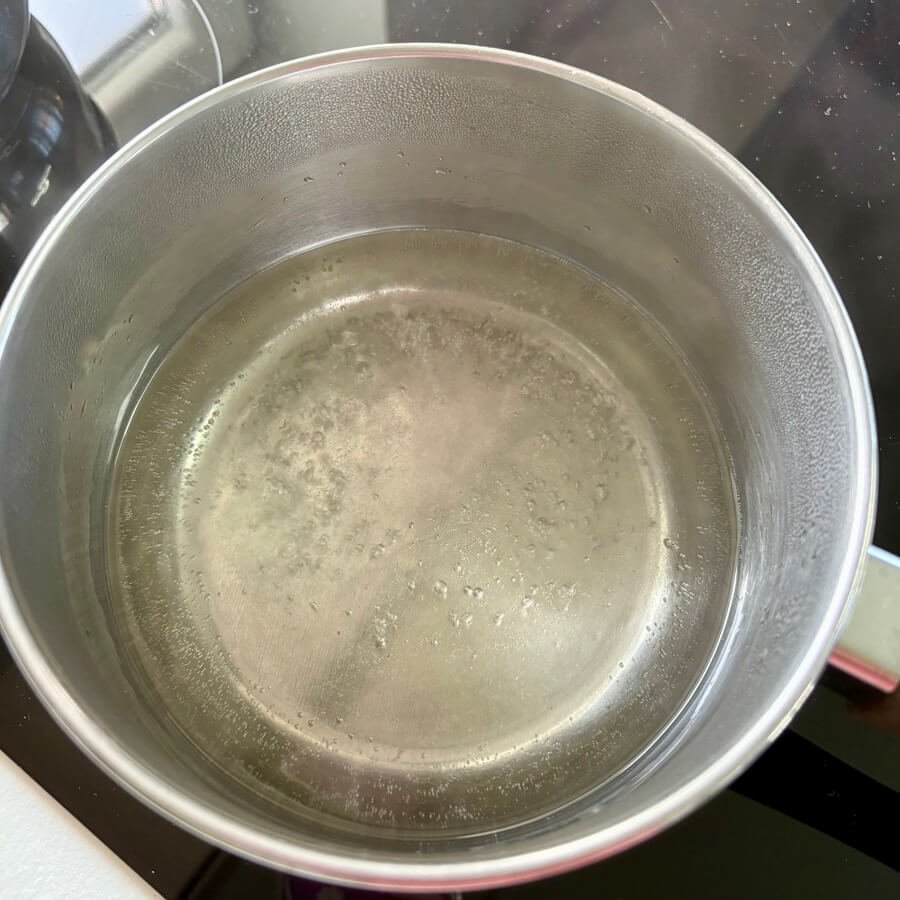
Keep stirring occasionally until the sugar is completely dissolved. You’ll know it’s ready when the liquid looks clear and there are no visible grains at the bottom.
This usually takes about 3–5 minutes.
Once everything is dissolved, let it come to a very gentle simmer. Don’t let it boil hard. A light simmer is enough to slightly thicken the syrup.
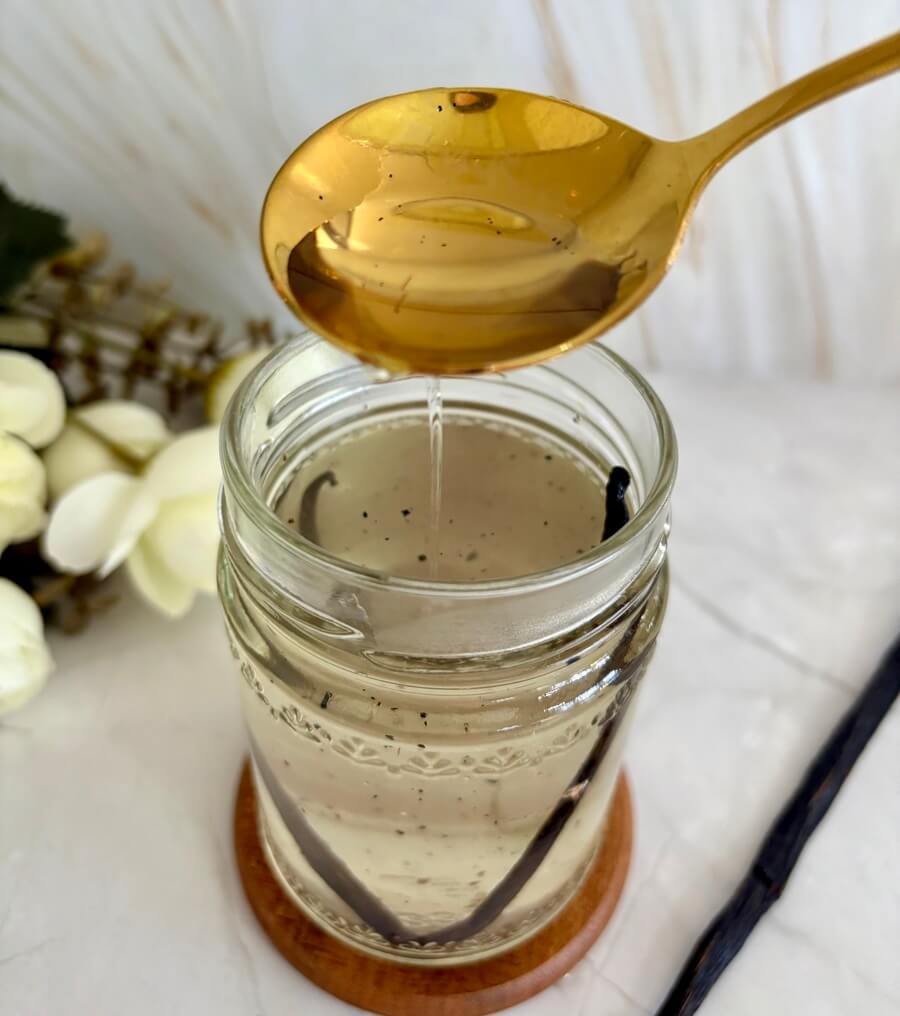
Step 3: Add the Vanilla
Remove the saucepan from heat before adding your vanilla. This step matters more than people think.
- If using vanilla extract: stir it in once the syrup is off the heat.
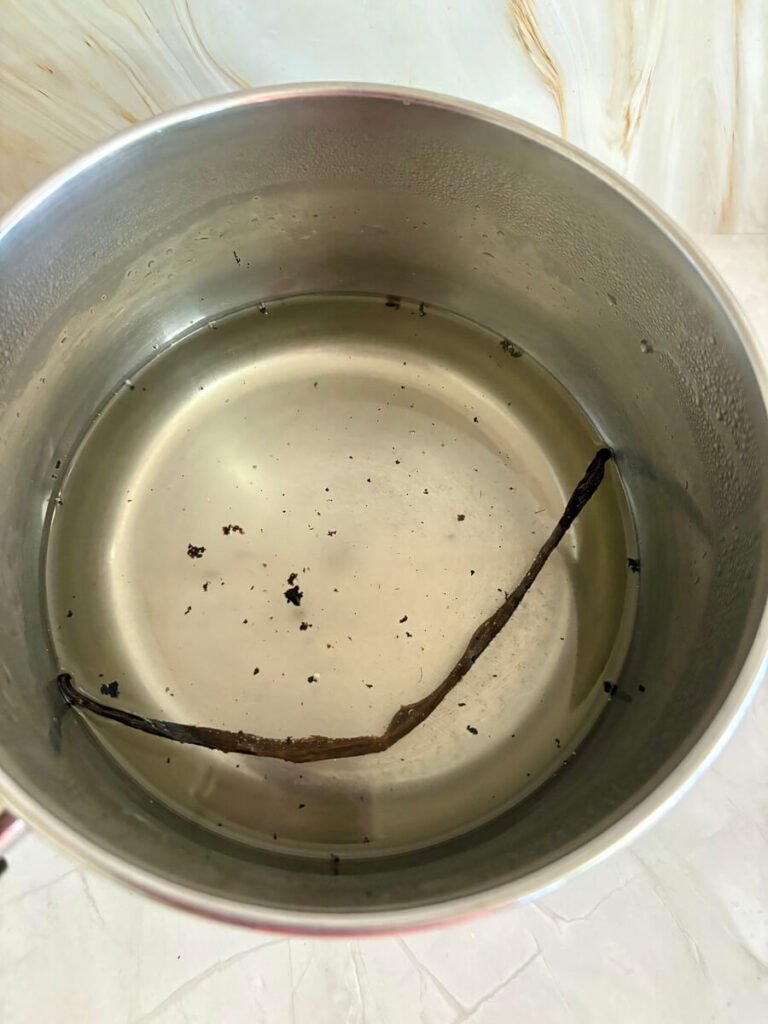
- If using a vanilla bean: slice it lengthwise, scrape out the seeds, and add both the seeds and the pod into the syrup while it’s still warm.
Letting vanilla cook too long can dull the flavor, so adding it after heating keeps it stronger and more natural.
Step 4: Let It Cool
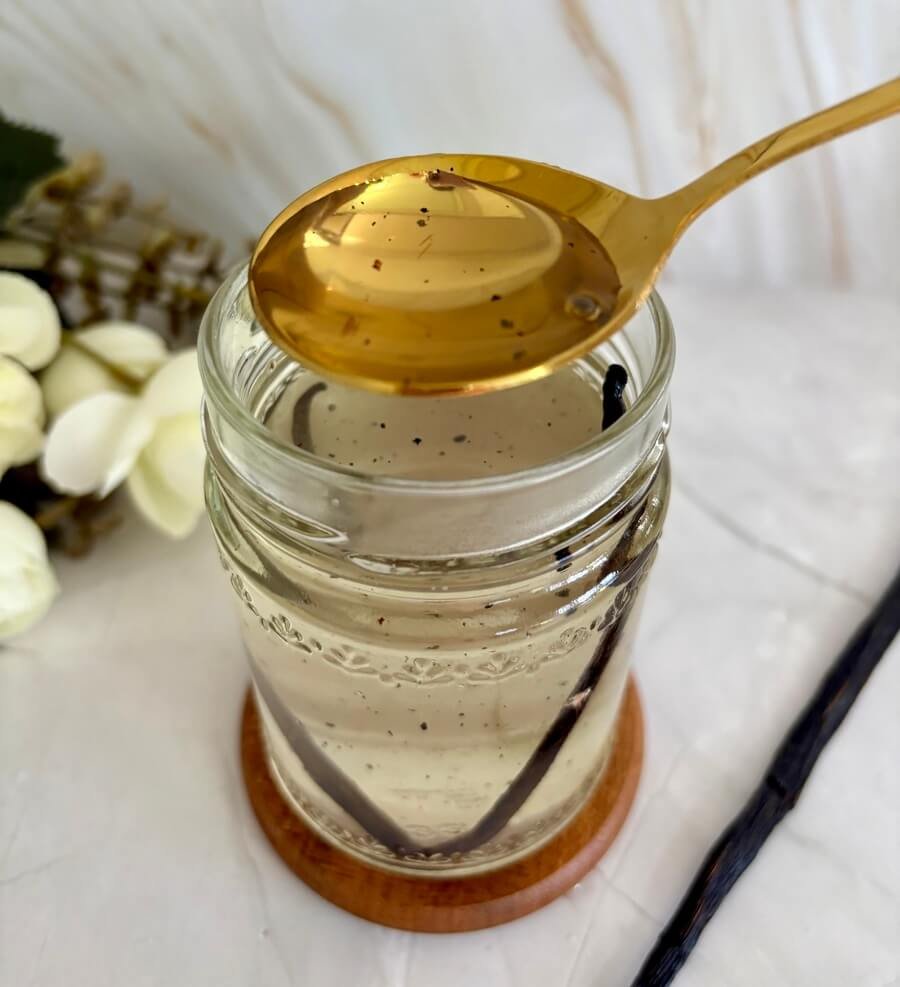
Allow the syrup to cool completely at room temperature. As it cools, it will thicken slightly.
If you used a vanilla bean, you can leave it in the syrup while it cools for extra flavor, then remove it before storing.
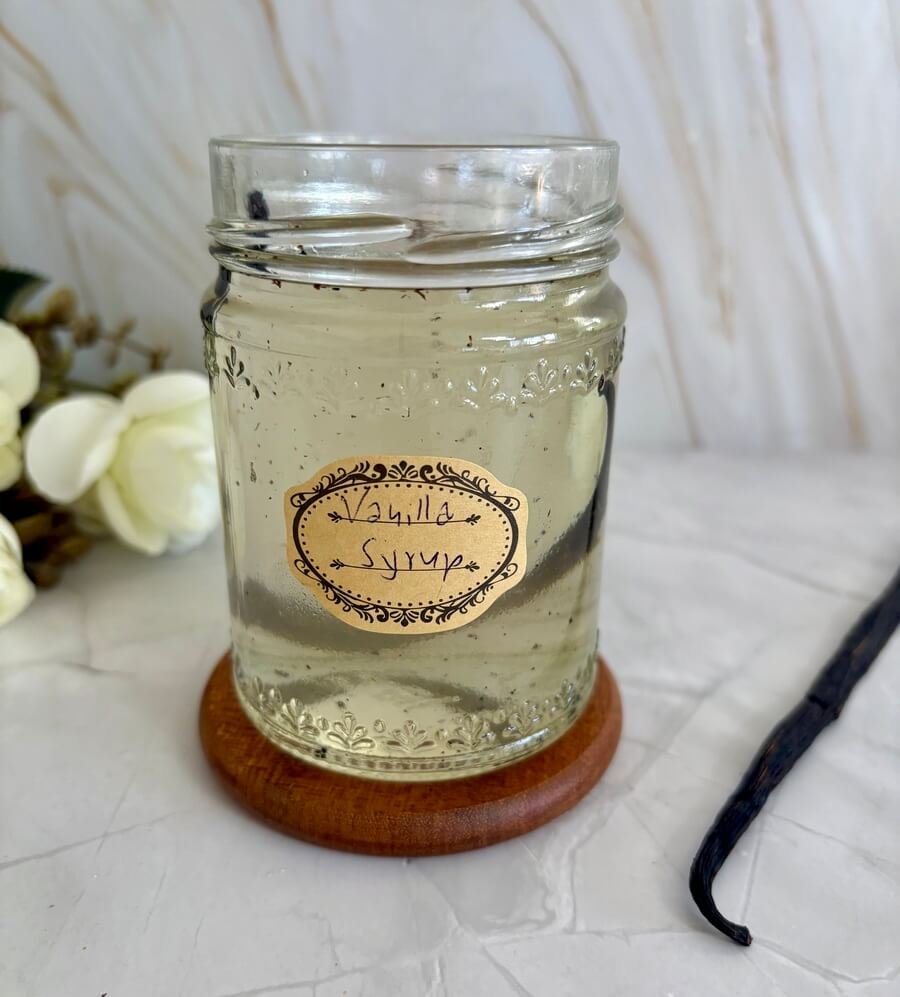
Step 5: Transfer and Store
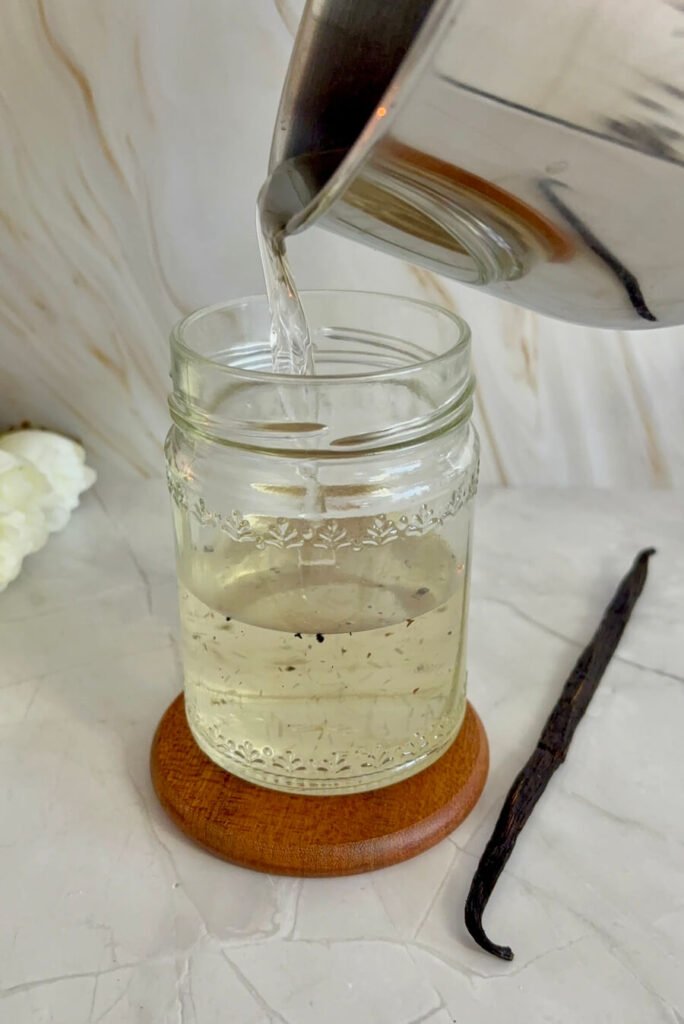
Pour the cooled syrup into a clean glass jar or bottle. I like using a squeeze bottle or a small mason jar for easy pouring.
Store it in the fridge, and it should last about 2–3 weeks.
How to Use Vanilla Syrup in Coffee
Once you have it ready, you’ll start finding excuses to use it everywhere.
Here’s how I usually use it:
- Iced vanilla latte: 1–2 tablespoons syrup + espresso + milk
- Cold brew: stir in syrup before adding ice
- Hot coffee: mix it in while the coffee is still hot so it blends smoothly
Start with 1 tablespoon and adjust based on your taste. Homemade syrup can be a bit more flavorful than store-bought, so you may not need as much.
Tips That Make a Big Difference
Use Good Vanilla: This is the main flavor, so don’t use artificial vanilla if you can avoid it. Pure vanilla extract or a real vanilla bean makes a noticeable difference.
Don’t Overcook: You’re not making caramel here. If the syrup gets too hot or reduces too much, it can become thick and overly sweet.
Adjust Sweetness: If you like a lighter syrup, you can reduce the sugar slightly. If you want something richer (closer to coffee shop style), try a 2:1 sugar-to-water ratio.
Add a Pinch of Salt: This is optional, but a tiny pinch of salt can balance the sweetness and bring out the vanilla flavor more.
Vanilla Syrup Variations
Vanilla Bean Syrup: Use a whole vanilla bean instead of extract. It gives a deeper, slightly richer flavor and those tiny black specks that look nice in drinks.
Brown Sugar Vanilla Syrup: Swap white sugar for brown sugar. This adds a warmer flavor that works really well in lattes and fall drinks.
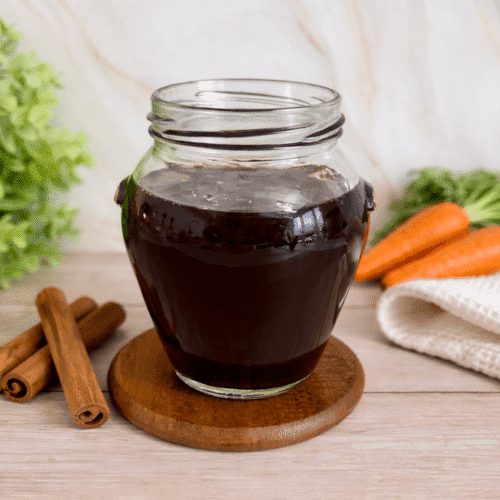
Vanilla Cinnamon Syrup: Add a cinnamon stick while the syrup heats. Remove it before storing. This version works great in iced coffee and cold brew.
Low-Sugar Option: You can reduce the sugar or try a sugar alternative like monk fruit or erythritol, but keep in mind the texture may be thinner.
Common Mistakes to Avoid
These are a few common mistakes to keep in mind:
- Adding Vanilla Too Early: If you add it while the syrup is boiling, the flavor won’t be as strong. Always add it off heat.
- Not Stirring Enough: Undissolved sugar can settle at the bottom and give you a grainy syrup. Stir until fully dissolved.
- Skipping Storage Care: Always store it in the fridge and use a clean spoon or pour spout. This helps it last longer.
How Long It Lasts
Homemade vanilla syrup typically lasts:
- 2–3 weeks in the fridge
- Up to a month if stored in a sealed, clean bottle
Note: If it starts to smell off or looks cloudy, it’s time to make a fresh batch.

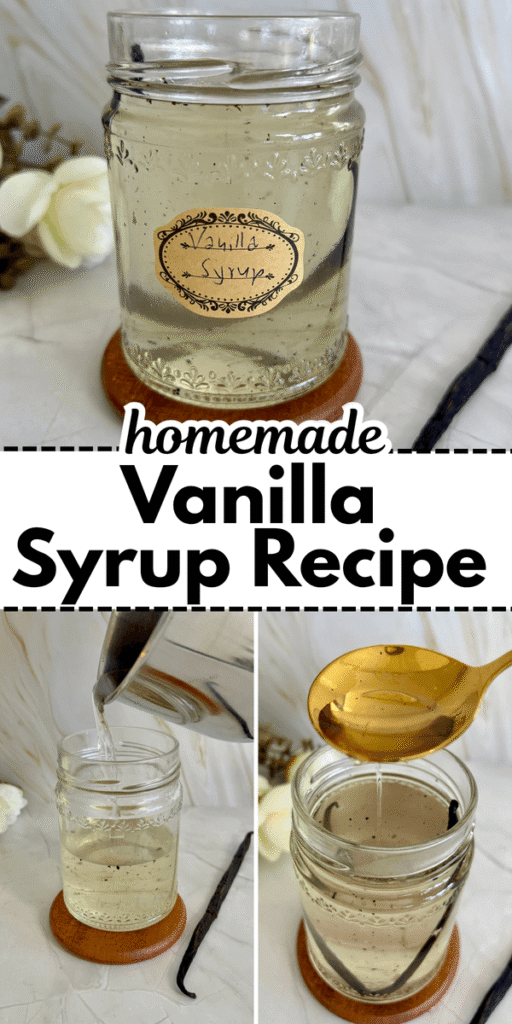
Vanilla Syrup for Coffee
Ingredients
- 1 cup granulated sugar
- 1 cup water
- 1 tbsp pure vanilla extract or 1 vanilla bean
Instructions
- Add sugar and water to a small saucepan.
- Heat over medium heat, stirring occasionally until the sugar fully dissolves.
- Let the mixture come to a gentle simmer for a few minutes.
- Remove from heat.
- Stir in vanilla extract, or add vanilla bean seeds and pod.
- Let the syrup cool completely.
- Strain if using a vanilla bean (optional).
- Transfer to a glass jar or bottle and store in the fridge.
Notes
- Use pure vanilla extract for the best flavor.
- Store in the refrigerator for up to 2–3 weeks.
- Adjust sweetness by changing the sugar ratio.
- Add a cinnamon stick or brown sugar for variations.
- A small pinch of salt can balance the flavor nicely.

Marina is the writer behind CozyCornerCharm. She grew up on Turkish coffee, later discovering specialty brewing through her first V60, which inspired her ongoing coffee journey. She has written for Craft Coffee Spot, Home Grounds, and Barista HQ and now shares her experience here on her own coffee corner.
[…] Vanilla Syrup: A small amount of vanilla syrup enhances the white chocolate flavor and adds extra sweetness. […]