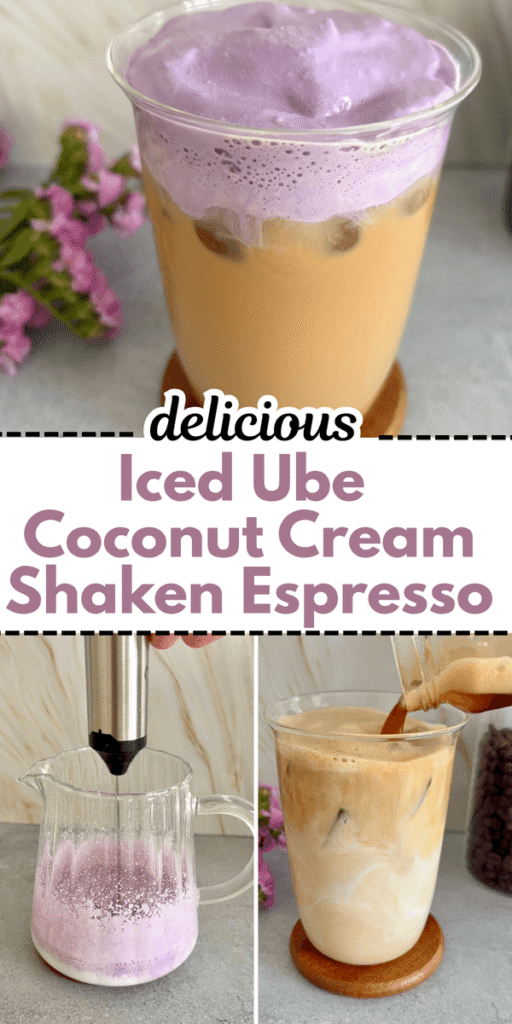
Ube and coconut is one of those combinations that feels like it should be complicated, but once you try it in coffee, it just works.
The toasted coconut syrup brings that warm, slightly nutty sweetness, while the ube cold foam adds a creamy finish that makes every sip feel a little different.
What I wanted here was something that actually tastes like a Starbucks shaken espresso, not just an iced latte with ube added in. That means keeping the espresso bold, the texture slightly frothy, and the sweetness balanced so it doesn’t overpower the coffee.
After a few tweaks, this version finally feels right. You get that light shaken texture, the coconut flavor comes through clearly, and the ube sits on top without getting lost.
Why This Iced Ube Coconut Cream Shaken Espresso Works
This drink is really about layering flavors instead of mixing everything together.
The base is a classic shaken espresso with toasted coconut syrup. That gives you sweetness and flavor directly in the coffee.
Then, instead of adding ube into the drink itself, it goes into the cold foam. That’s what Starbucks does, and it actually makes a big difference.
You taste the ube more clearly this way instead of it getting diluted.
And using oat milk keeps it close to the original. It softens the espresso without making it too heavy.
Iced Ube Coconut Cream Shaken Espresso Ingredients
For the shaken espresso:
- 2–3 shots espresso
- 2 tablespoons toasted coconut syrup
- 1 cup ice
- ½ cup oat milk
For the ube coconut cream cold foam:
- 3 tablespoons heavy cream
- 1½ tablespoon toasted coconut syrup
- ¼ teaspoon ube extract
Step-by-Step Instructions for the Shaken Espresso Base
Start by brewing your espresso. Blonde espresso works best here because it’s smoother and slightly lighter, which pairs better with coconut and ube.
If you only have regular espresso, it still works, but the drink will taste a bit stronger and more roasted.
Once your espresso is ready, let it sit for about a minute. You don’t want it boiling hot when it hits the ice, or it will melt everything too quickly and water down the drink.
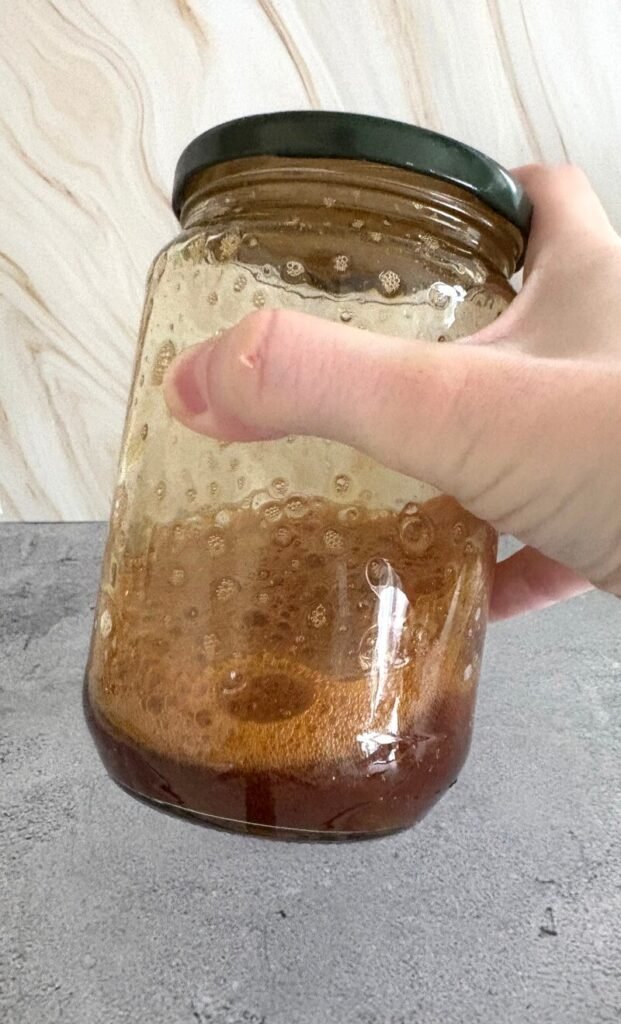
Add the espresso, toasted coconut syrup, and ice into a jar or cocktail shaker. Make sure the syrup goes in before shaking so it blends properly into the espresso instead of sitting at the bottom.
Seal and shake hard for about 15 to 20 seconds. This step is what creates that light foam and slightly airy texture.
If you’ve ever had a Starbucks shaken espresso, that texture is exactly what you’re trying to recreate here.
How to Make Ube Coconut Cream Cold Foam
Cold foam is where this drink can go wrong if you don’t get the texture right.
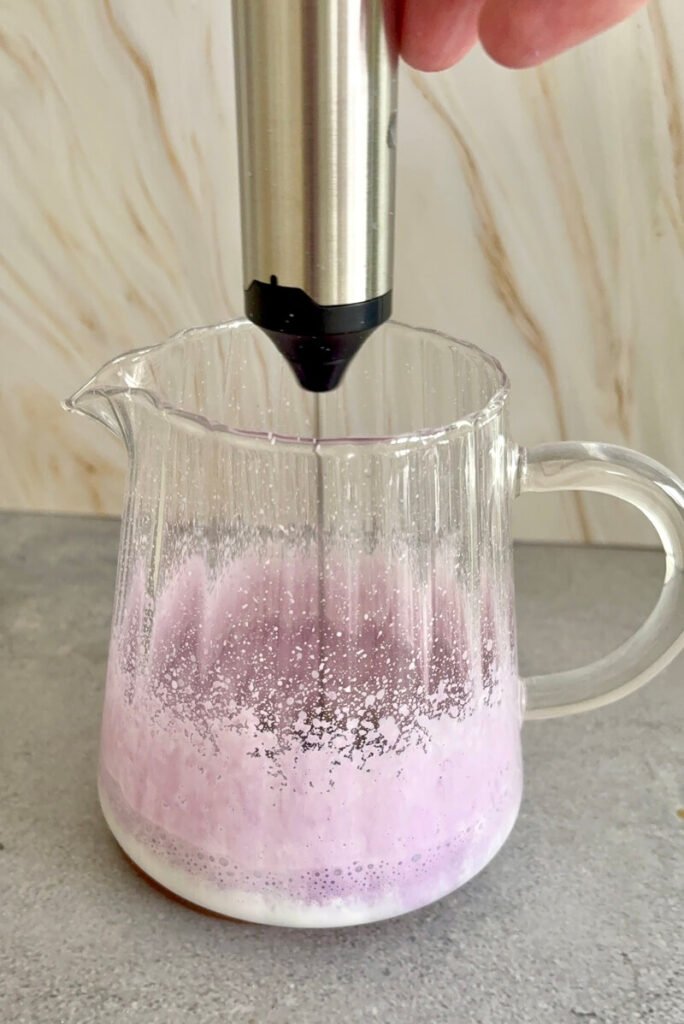
In a small glass or milk frother, combine the heavy cream, toasted coconut syrup, and ube extract.
Pro tip: Start with a small amount of ube extract because it can become overpowering quickly.
Froth until the mixture thickens but still pours easily. You’re not trying to make whipped cream. If it holds stiff peaks, it’s too thick and won’t layer properly over the drink.
A good test is to lift a spoon and let it drip. It should slowly fall back down, not sit in place.
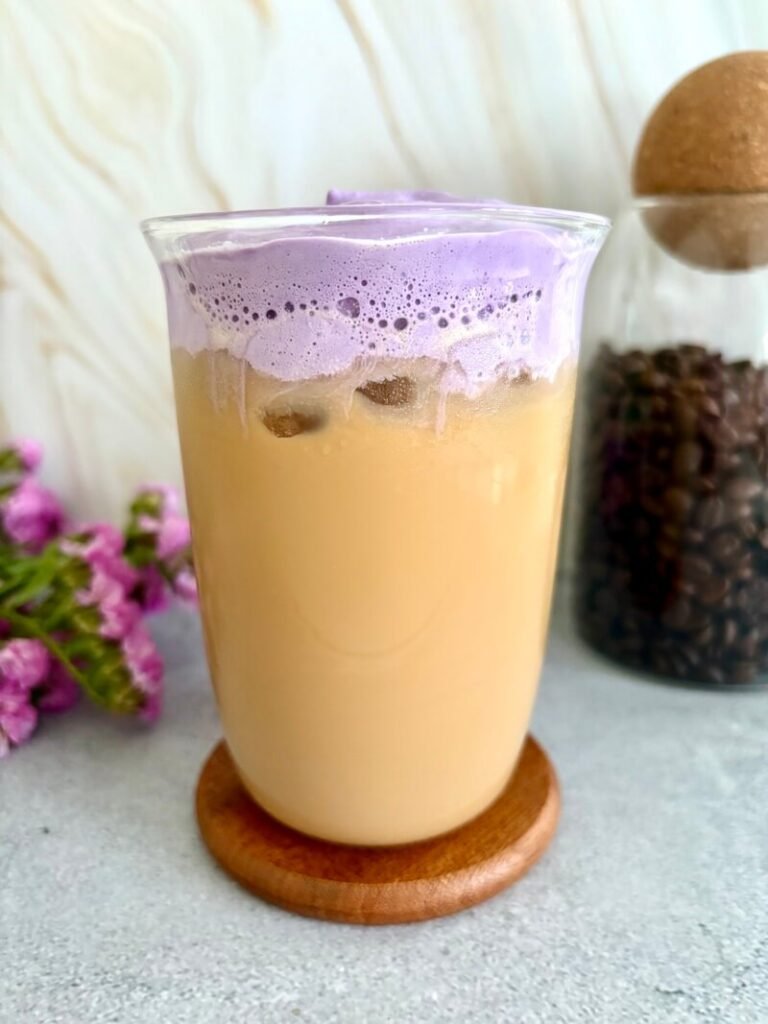
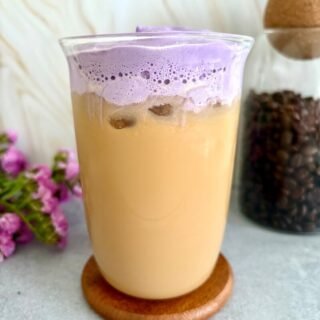
How to Assemble for the Best Layered Texture
Fill a tall glass with fresh ice, not the ice from the shaker. Using fresh ice keeps the drink colder and prevents it from getting diluted.
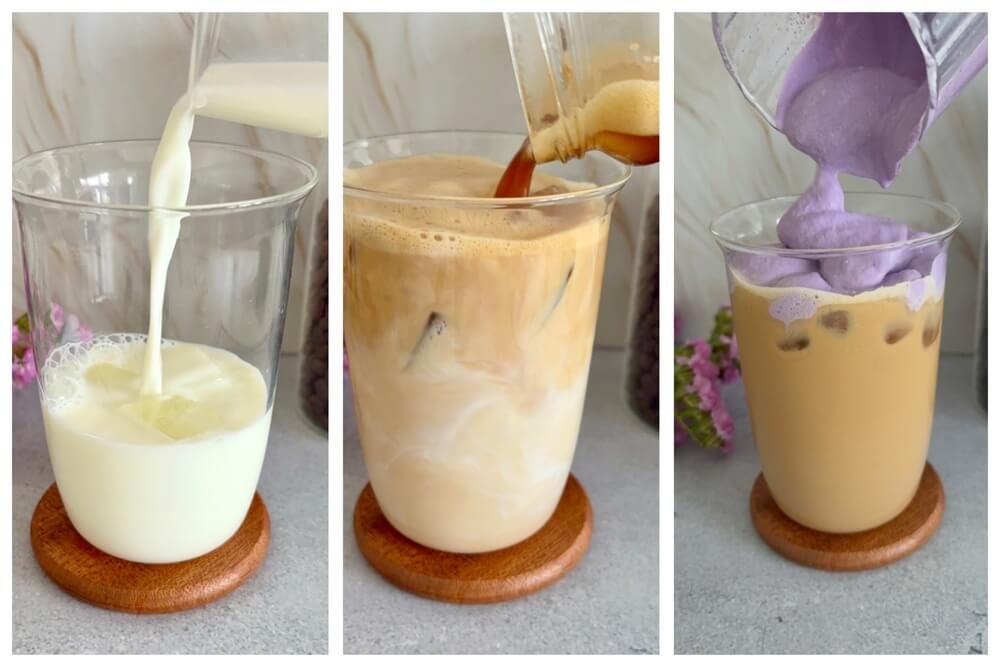
Pour the shaken espresso over the ice. You should see a light foam sitting on top.
Add the oat milk slowly. Don’t rush this step. Pouring it gently helps keep that layered look instead of mixing everything right away.
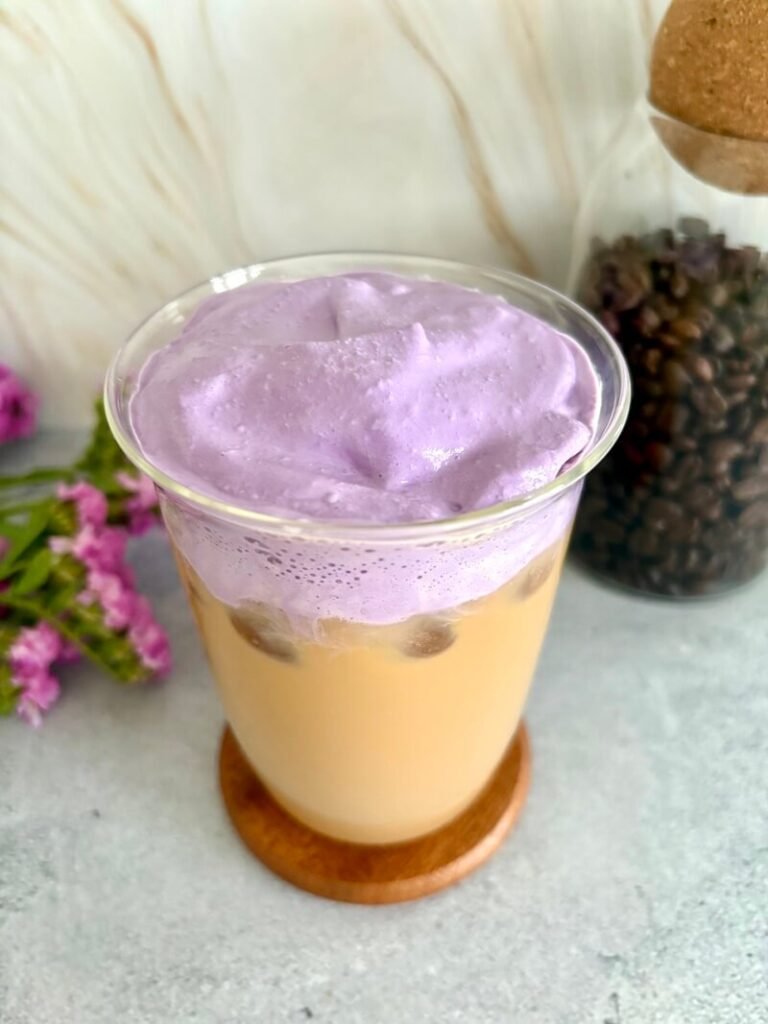
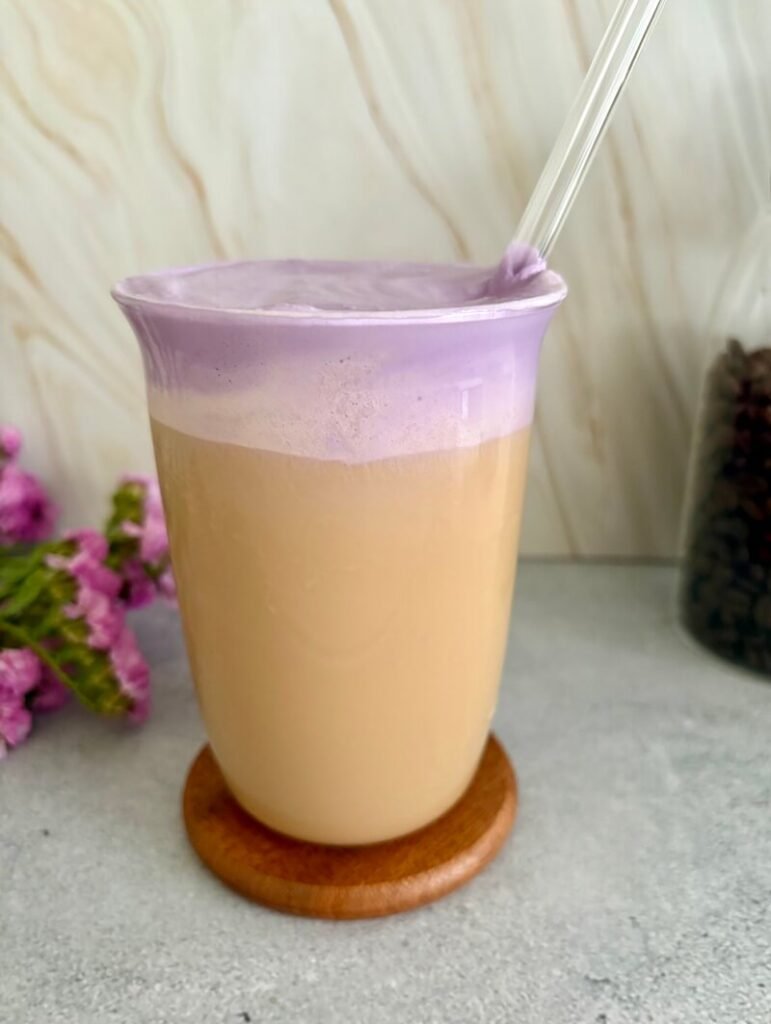
Finally, pour the ube coconut cream cold foam over the top. It should sit on the surface and slowly blend in as you drink.
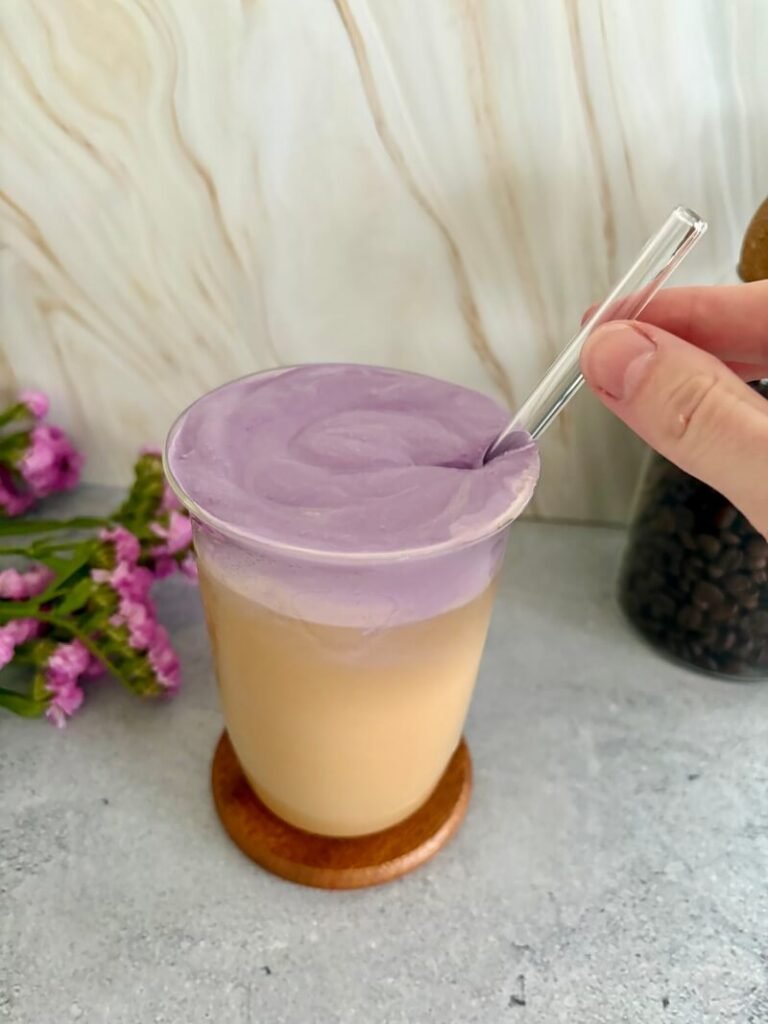
You can leave it layered or give it a gentle stir, depending on how you like it.
How to Adjust the Sweetness Without Ruining the Flavor
One of the easiest ways to mess this drink up is by making it too sweet.
Start with two tablespoons of toasted coconut syrup and taste from there. Some syrups are sweeter than others, so you might find that 1½ tablespoons is enough.
If your ube extract already has a sweet base, you don’t need to add extra sugar to the foam.
If the drink tastes too strong, don’t immediately add more syrup. Try adding a splash more oat milk instead. That keeps the balance without turning it into dessert.
Flavor Variations That Work
Stronger coffee version
If you like your drinks more coffee-forward, increase the espresso to 3 shots and slightly reduce the oat milk.
This keeps the drink from feeling diluted while still keeping the coconut flavor noticeable.
I’ve tried it both ways, and this version feels closer to a “serious coffee” drink instead of a treat.
Less sweet version
Cut the toasted coconut syrup down to 1 tablespoon in the shaker and 1 tablespoon in the foam.You’ll still get the flavor, but it won’t lean as sweet.
This is the version I end up making most often because it keeps the ube from feeling too heavy.
Creamier version
If you want something closer to a latte, increase the oat milk to about ¾ cup and reduce the ice slightly.
The drink becomes smoother and less sharp, and the foam blends in more instead of sitting on top.
Dairy-free version
Swap the heavy cream in the foam with a barista-style coconut cream or a thick plant-based cream alternative.
Not all dairy-free options foam well, so you may need to test brands.
The texture won’t be identical, but you can still get a good result.
Vanilla coconut twist
Add ½ teaspoon vanilla syrup into the shaker along with the toasted coconut syrup.
It rounds out the flavor and makes the drink feel more like something you’d order off a seasonal Starbucks menu.
Iced Ube Coconut Cream Shaken Espresso Storage Tips
This drink is best made fresh, especially because of the foam and shaken texture. Once it sits, the foam melts into the drink, and the texture flattens out.
If you want to save time, you can prep parts of it ahead.
You can brew espresso and store it in the fridge for up to 2 days. Just keep it in a sealed container so it doesn’t pick up any fridge smells.
Cold espresso actually works really well for shaken drinks because it doesn’t melt the ice as quickly.
The toasted coconut syrup can be made in advance and stored in the fridge for about a week. If it thickens, just let it sit at room temperature for a few minutes or stir it.
For the foam, you can mix the heavy cream, syrup, and ube extract ahead of time and store it in the fridge for up to 24 hours. Just don’t froth it until you’re ready to use it. Pre-frothed foam doesn’t hold its texture.
Common Mistakes to Avoid
One mistake I kept running into was overdoing the ube. It’s tempting to add more for color and flavor, but it quickly turns artificial if you go too far.
Another issue is not shaking long enough. If the drink doesn’t look slightly foamy, it won’t feel like a shaken espresso.
Using the wrong coconut product also changes the result. Coconut milk alone is too thin for foam, and coconut cream alone is too thick. You need that balance.
And finally, pouring everything too quickly can ruin the layering. Slowing down actually makes a noticeable difference in how the drink turns out.
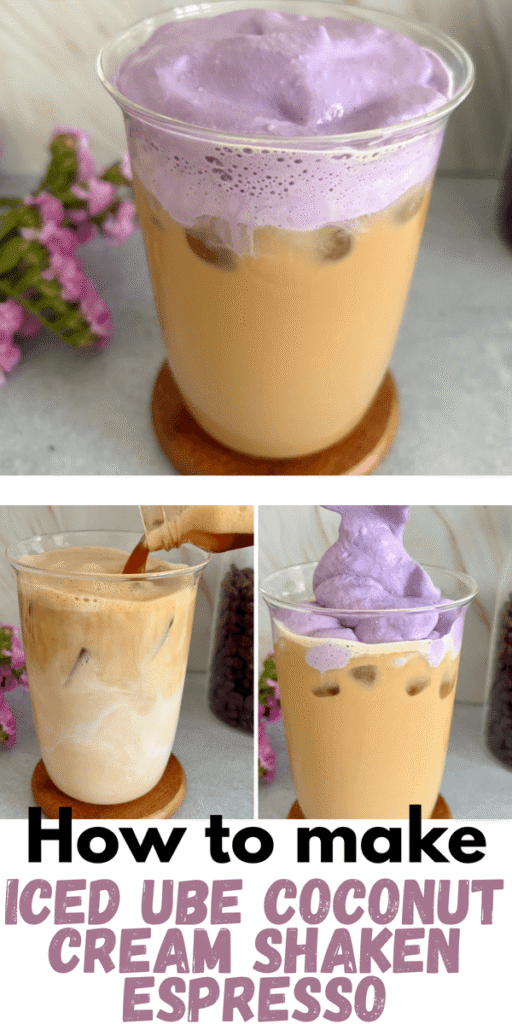
Iced Ube Coconut Cream Shaken Espresso
Ingredients
Shaken Espresso
- 2 shots espresso
- 2 tbsp toasted coconut syrup
- ½ cup oat milk
- 1 cup ice
Ube coconut cream cold foam
- 3 tbsp heavy cream
- 1½ tbsp toasted coconut syrup
- ¼ tsp ube extract
Instructions
- Brew the espresso and let it cool slightly.
- Add espresso, toasted coconut syrup, and ice to a shaker or a jar.
- Shake for 15–20 seconds until slightly frothy.
- In a separate container, combine heavy cream, toasted coconut syrup, and ube extract. Froth until thick but pourable.
- Fill a glass with fresh ice.
- Pour the shaken espresso over the ice.
- Add oat milk slowly.
- Top with ube coconut cream cold foam.
- Serve immediately.
Notes
- Adjust syrup based on sweetness preference.
- Use blonde espresso for a smoother result.
- Don’t over-froth the foam.
- Shake well for the right texture.
- Best served fresh.

Marina is the writer behind CozyCornerCharm. She grew up on Turkish coffee, later discovering specialty brewing through her first V60, which inspired her ongoing coffee journey. She has written for Craft Coffee Spot, Home Grounds, and Barista HQ and now shares her experience here on her own coffee corner.
Leave a Reply