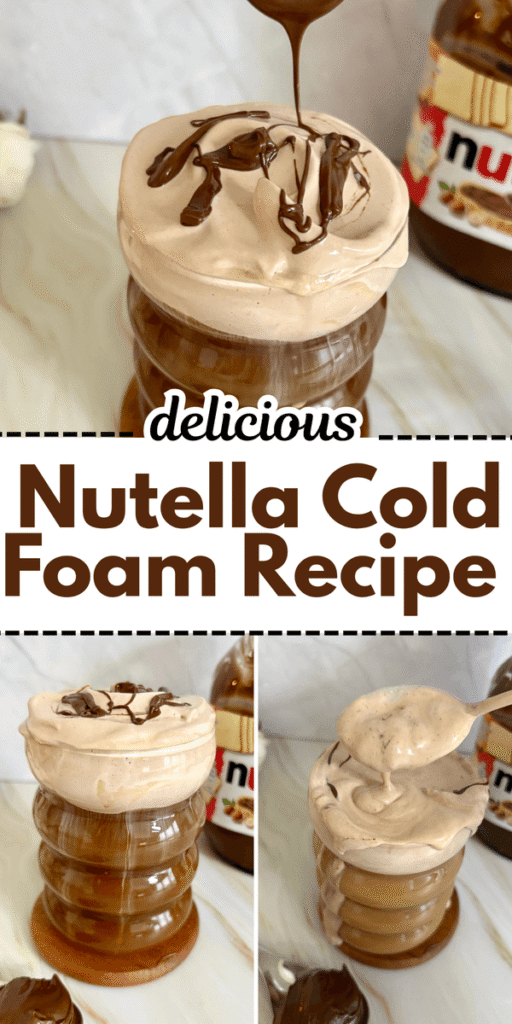
Nutella cold foam is one of those small upgrades that completely changes your iced coffee.
I started making it at home after getting tired of plain cold foam, and it feels like something you’d order at a café.
It’s creamy, slightly sweet, and has that soft chocolate-hazelnut flavor that slowly blends into the coffee as you drink.
What I like most is that it doesn’t sit heavy on top like whipped cream. It stays light, airy, and mixes into each sip.
If you already have Nutella and milk at home, this is one of the easiest ways to make your coffee feel more interesting without needing any special ingredients.
Why I Keep Coming Back to Nutella Cold Foam
There’s something about the texture that makes this stand out from other toppings.
It’s not as thick as whipped cream and not as plain as regular cold foam. It sits right in between, which makes the drink feel lighter but still satisfying.
The flavor is also more balanced than you’d expect. Nutella gives you that chocolate-hazelnut taste, but once it’s mixed with milk and turned into foam, it softens a bit.
It doesn’t overpower the coffee, it just blends into it as you drink.
I also like how easy it is to adjust. Some days I make it a bit lighter with less Nutella, other times I go a little stronger and treat it more like a dessert drink.
It’s one of those things you can tweak without ruining it.
How to Make Nutella Cold Foam
Step 1: Loosen the Nutella Properly
Start with about one tablespoon of Nutella in a small bowl.
If you want a stronger flavor, you can go up to one and a half tablespoons, but I wouldn’t go beyond that because the foam can become too heavy.
You can microwave the Nutella for about a minute, or add a small splash of warm milk to the Nutella. Not hot, just slightly warm to the touch.
Then mix it slowly with a spoon or small whisk until it turns into a smooth, glossy mixture.
If you skip this and try to mix Nutella directly into cold milk and heavy cream, it won’t fully dissolve. You’ll end up with tiny clumps, and the foam won’t be smooth.
Step 2: Combine with Cold Milk
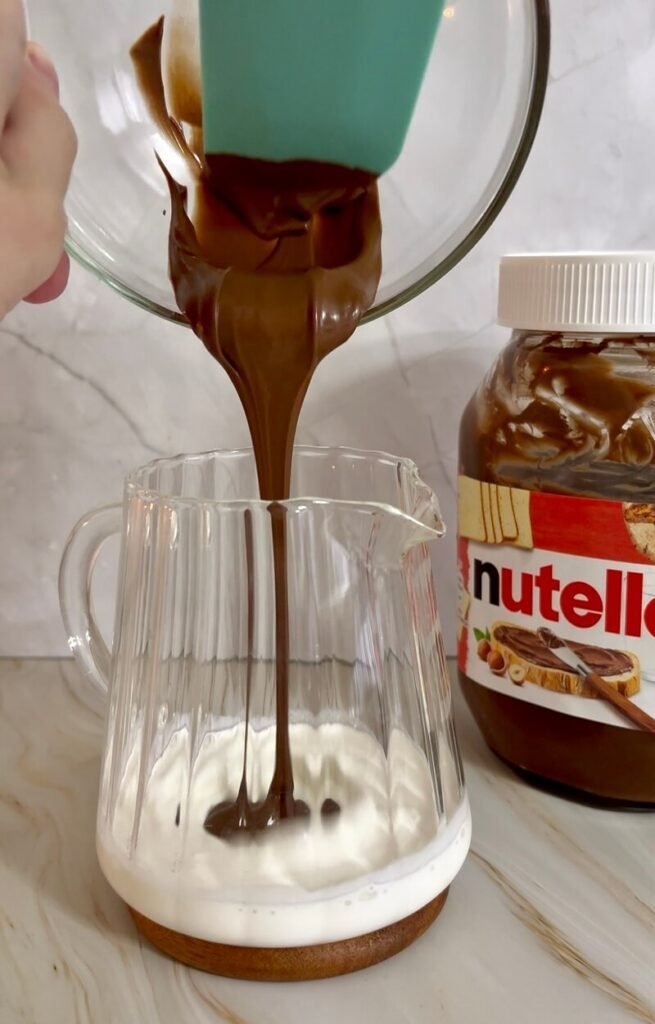
Once your Nutella base is smooth, pour in cold milk and heavy cream. About 2-3 tbsp milk and 2 tbsp heavy cream work well for one drink.
The colder the milk, the better the foam will form later, so don’t use room temperature milk here.
Step 3: Froth Until Light and Creamy
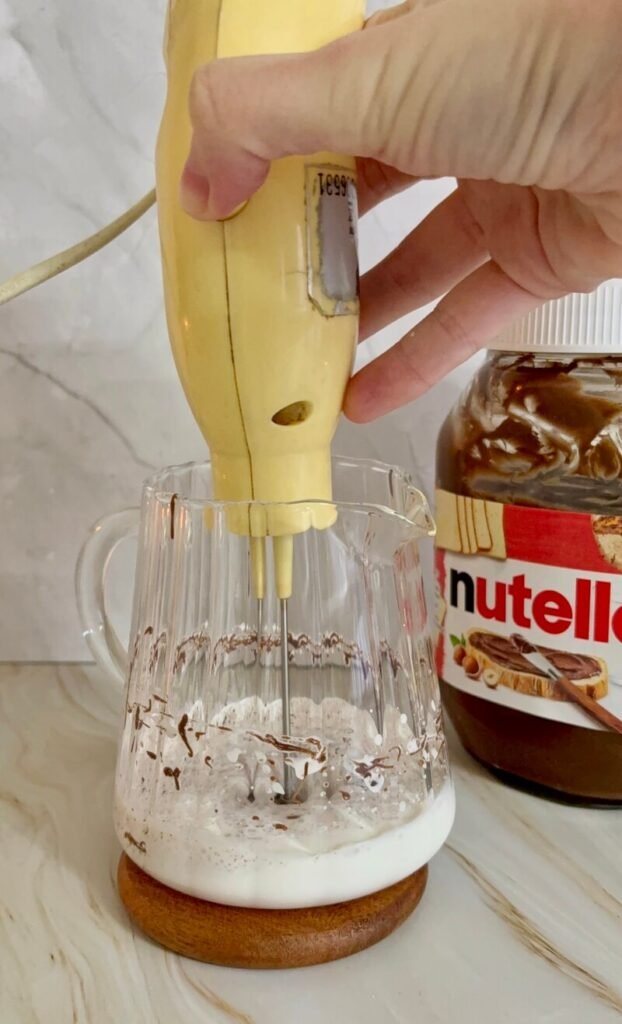
Now it’s time to turn that mixture into cold foam.
Use a handheld milk frother if you have one. Froth for about 10–20 seconds, keeping the frother just below the surface so air gets incorporated.
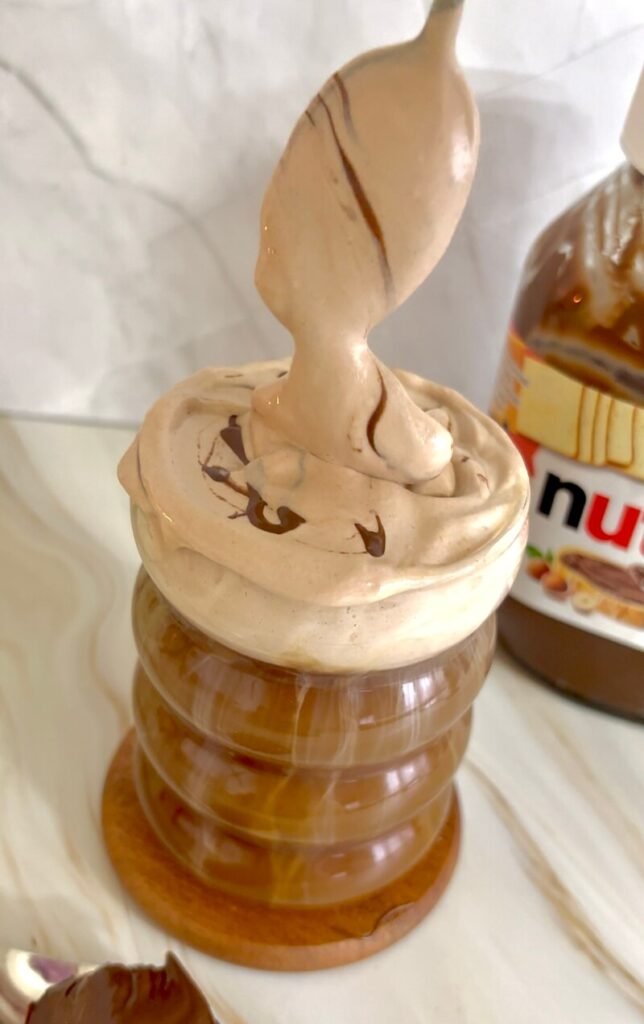
You’re aiming for a texture that is:
- creamy
- airy
- slightly thick but still pourable
Note: It shouldn’t be stiff like whipped cream. When you lift a spoon, it should slowly fall back down instead of holding a firm peak.
Step 4: Prepare Your Coffee Base
While the foam rests for a moment, prepare your drink.
Fill a glass with ice and pour in your coffee.
Cold brew works best because it’s smoother and lets the Nutella flavor stand out, but iced espresso or strong brewed coffee works just as well.
If you like your drinks slightly sweeter, you can:
- stir a little simple syrup into the coffee
- add vanilla syrup
- use it on top of Nutella latte
This step helps create a more balanced drink instead of having all the flavor only in the foam.
Step 5: Add the Nutella Cold Foam on Top
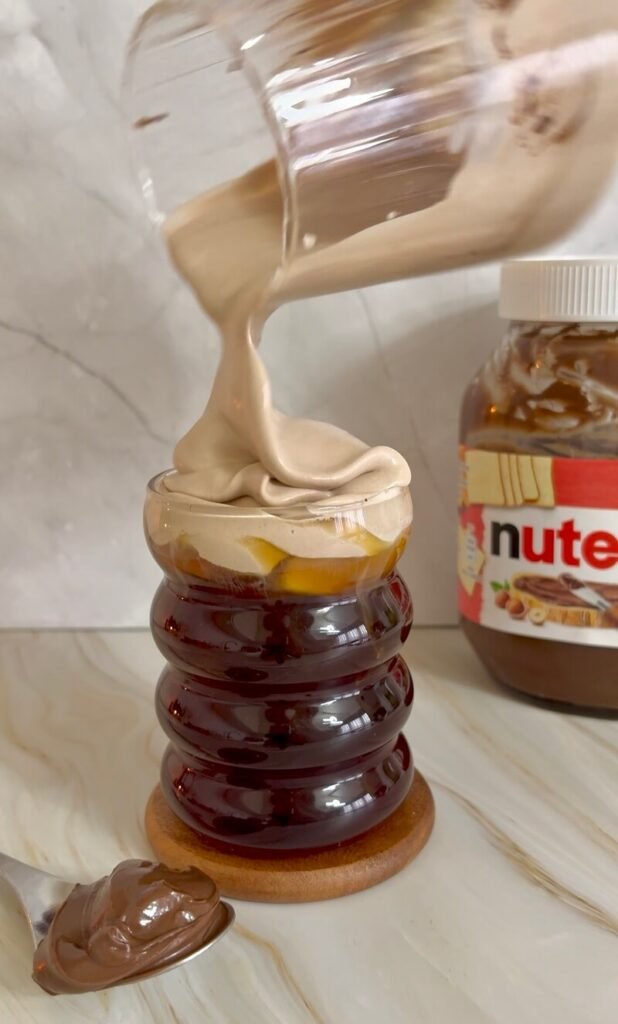
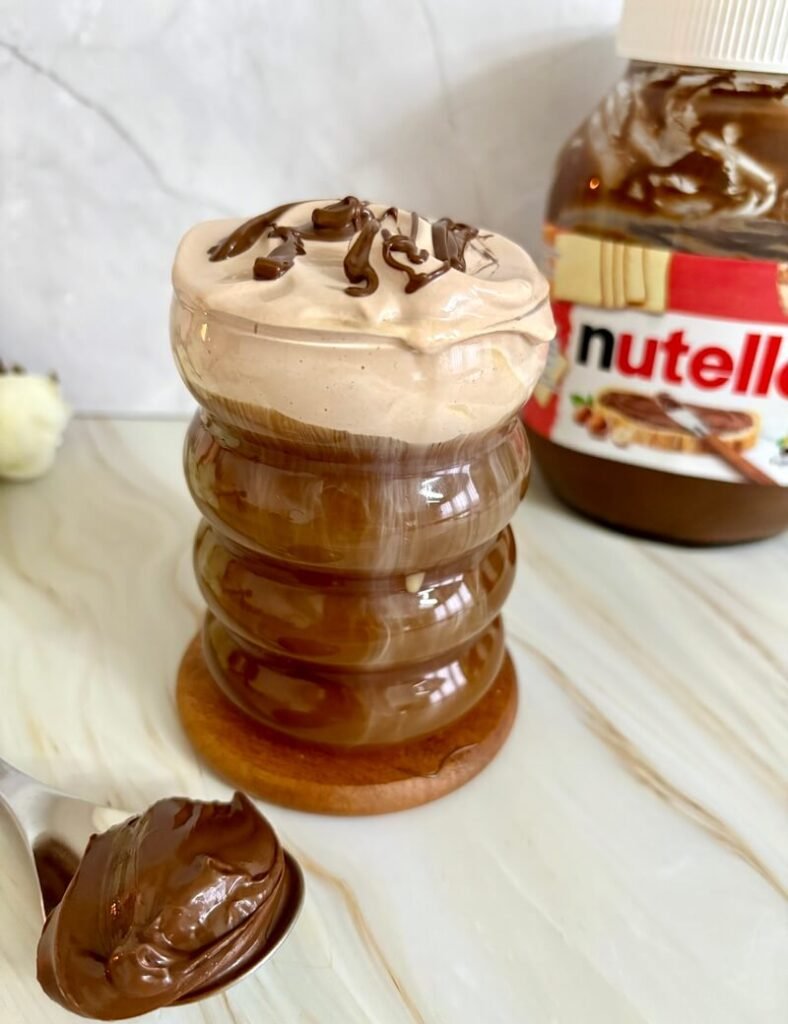
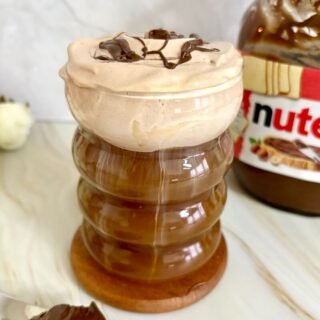
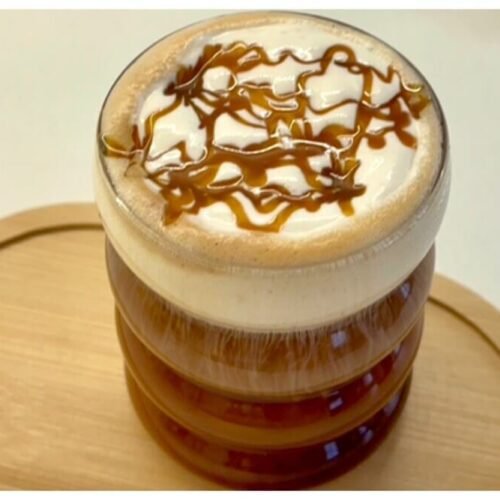
Slowly pour or spoon the Nutella cold foam over your iced coffee.
It should sit nicely on top and create that layered look. As you drink, the foam will gradually mix into the coffee, giving you that creamy chocolate-hazelnut flavor in every sip.
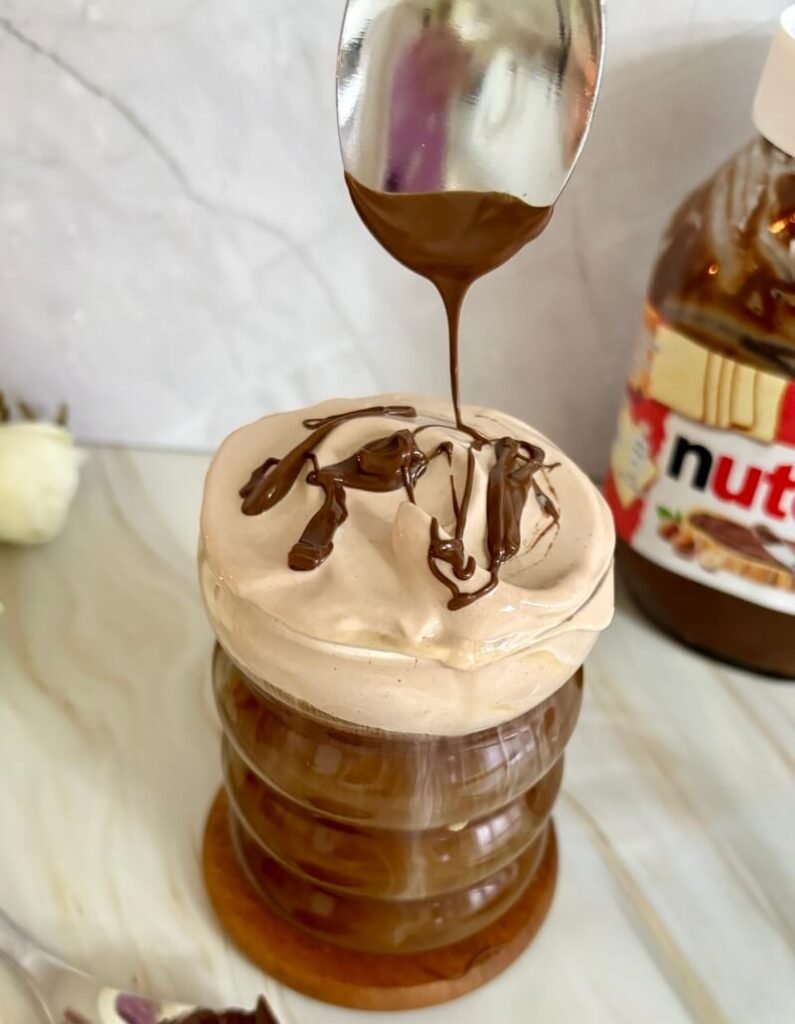
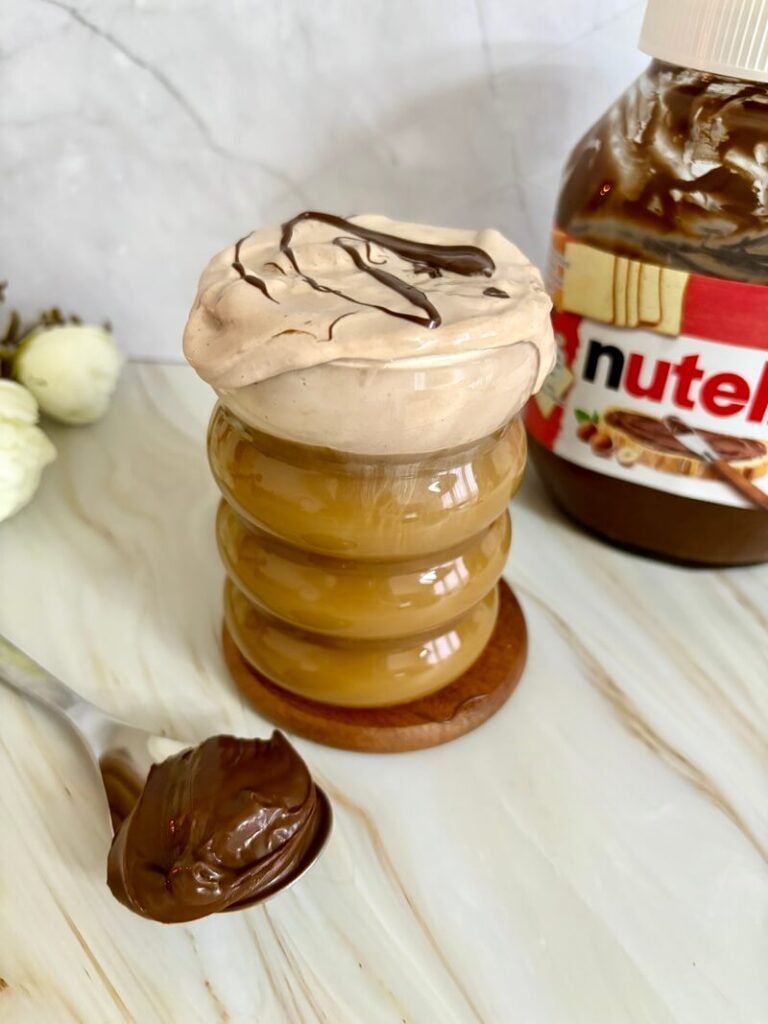
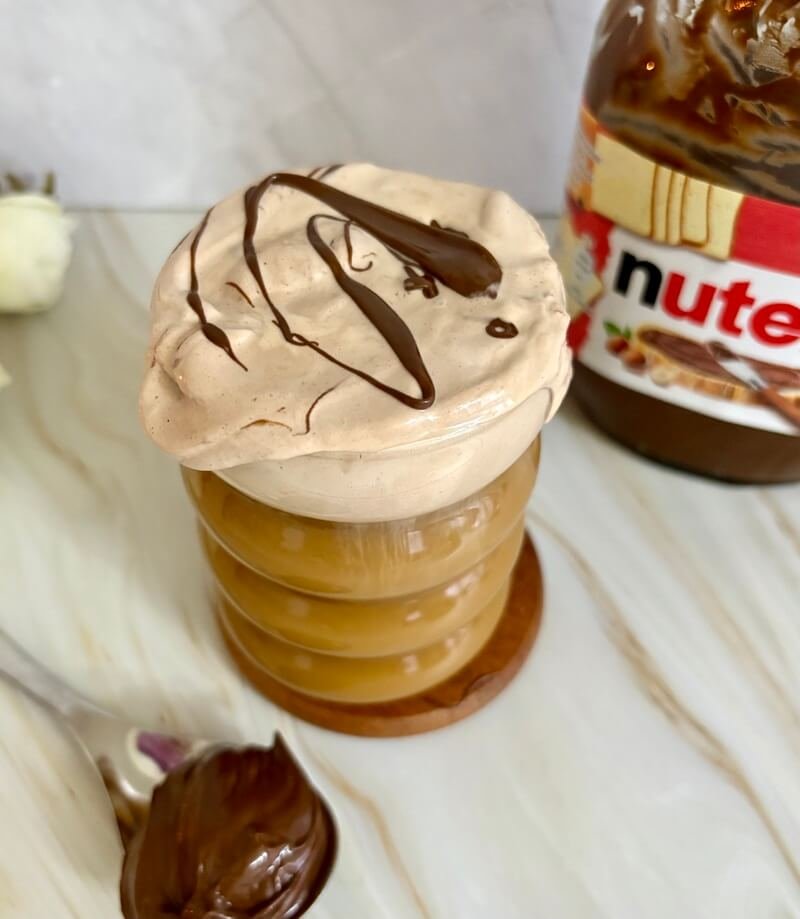
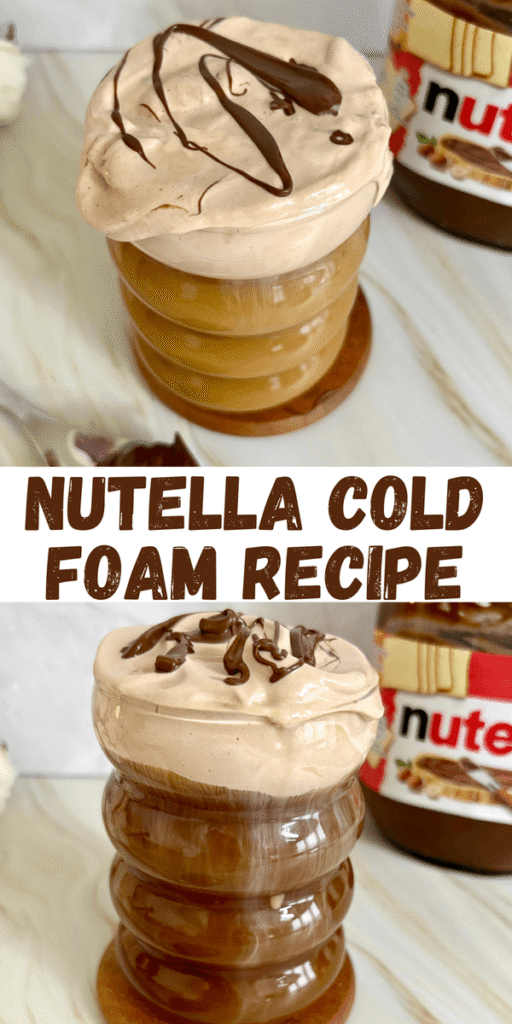
If you want to make it look a bit more like a café drink, you can add a light drizzle of Nutella on top or a small sprinkle of cocoa powder.
How to Build the Drink for the Best Flavor
Getting the balance right makes a big difference here.
If the coffee is too strong and bitter, the Nutella flavor gets lost. If the foam is too sweet and the coffee isn’t balanced, the drink can feel heavy.
What works best for me is using a smooth coffee base and letting the foam do most of the flavor work. Cold brew is ideal because it’s naturally less acidic.
If you’re using espresso, I’d recommend adding a small amount of milk or ice dilution so it’s not too intense.
Another trick is layering flavor instead of putting everything in one place. A little sweetness in the coffee and the Nutella in the foam creates a better overall taste than relying only on the topping.
Nutella Cold Foam Tips That Make a Big Difference
The biggest mistake I made at first was skipping the warm milk step. It seems small, but it completely affects how smooth the foam turns out. Without it, the Nutella doesn’t blend properly.
Milk choice also matters more than you’d expect. Whole milk gives the creamiest result and a thicker foam that holds well. 2% is still good and slightly lighter. Skim milk foams quickly but feels thinner and less rich.
Another thing to watch is the amount of Nutella. It’s easy to think more will make it better, but too much actually weighs the foam down and makes it harder to get that airy texture.
If your foam turns out too thin, just froth it a bit longer. If it feels too thick or heavy, add a splash of milk and mix again briefly.
Temperature plays a role too. Cold milk works best for structure, while the small amount of warm milk is only there to help dissolve the Nutella.
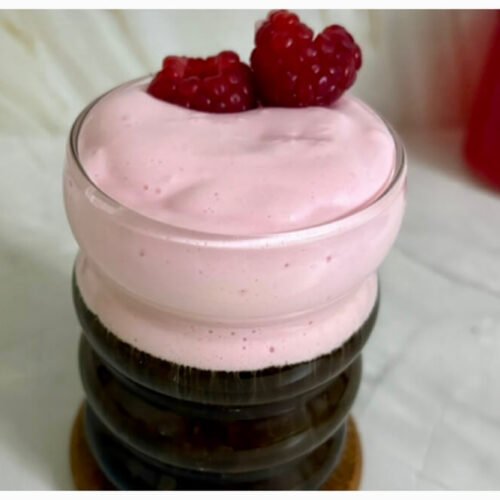
Nutella Cold Foam Variations to Try
Once you get the base recipe down, it’s easy to change it depending on what you want.
You can add a drop of vanilla extract to the Nutella mixture for a slightly softer flavor.
If you want a stronger chocolate taste, mix in a small amount of cocoa powder when you’re combining everything.
For a dairy-free version, oat milk works the best out of the non-dairy options. It won’t be quite as thick, but it still creates a nice foam.
You can also turn this into a full dessert-style drink by adding Nutella directly into the coffee base and then topping it with the foam for a delicious Nutella latte. That gives you layers of flavor instead of just one.
How to Store Nutella Cold Foam
Nutella cold foam is best when fresh, but you can store it if needed.
Keep it in the fridge in a sealed container for up to one day. The texture will settle, so you’ll need to re-froth it briefly before using.
I wouldn’t make it too far in advance because it loses that light, airy consistency over time. It’s quick enough to make fresh, which usually gives the best result.
Nutella Cold Foam
Equipment
- hand frother
Ingredients
- 1 tbsp Nutella up to 1½ tbsp for stronger flavor
- 2-3 tbsp whole milk
- 1-2 tbsp warm milk for mixing
- 2 tbsp heavy cream
Instructions
- Add Nutella to a small bowl.
- Pour in the warm milk and mix until completely smooth and glossy, with no lumps, or heat Nutella in the microwave.
- Add the heavy cream and cold milk to the mixture.
- Froth for 10–20 seconds until the foam becomes thick, creamy, and airy but still pourable.
- Use immediately on top of your drink.
Notes
- Whole milk gives the best texture.
- Don’t skip the warm milk step.
- Adjust sweetness in the coffee base if needed.
- Re-froth if storing before use.

Marina is the writer behind CozyCornerCharm. She grew up on Turkish coffee, later discovering specialty brewing through her first V60, which inspired her ongoing coffee journey. She has written for Craft Coffee Spot, Home Grounds, and Barista HQ and now shares her experience here on her own coffee corner.

Leave a Reply