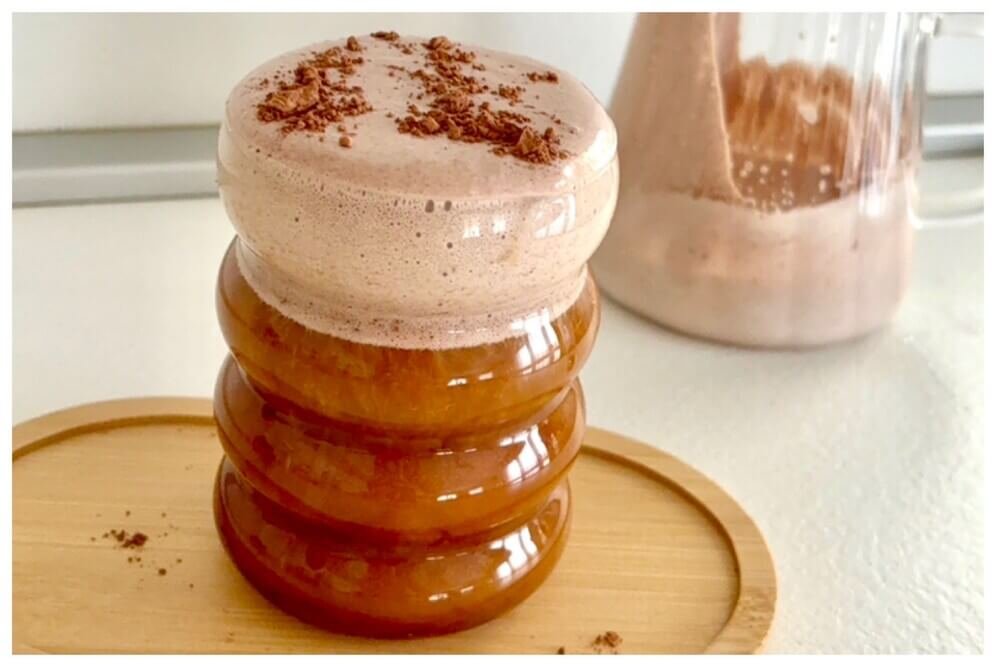
Chocolate cold foam is one of those little upgrades that makes homemade coffee feel like something you paid too much for at a café.
I started making it after realizing I was ordering the same drink again and again just for the topping. It’s light, chocolatey, and somehow makes even a simple iced coffee feel special.
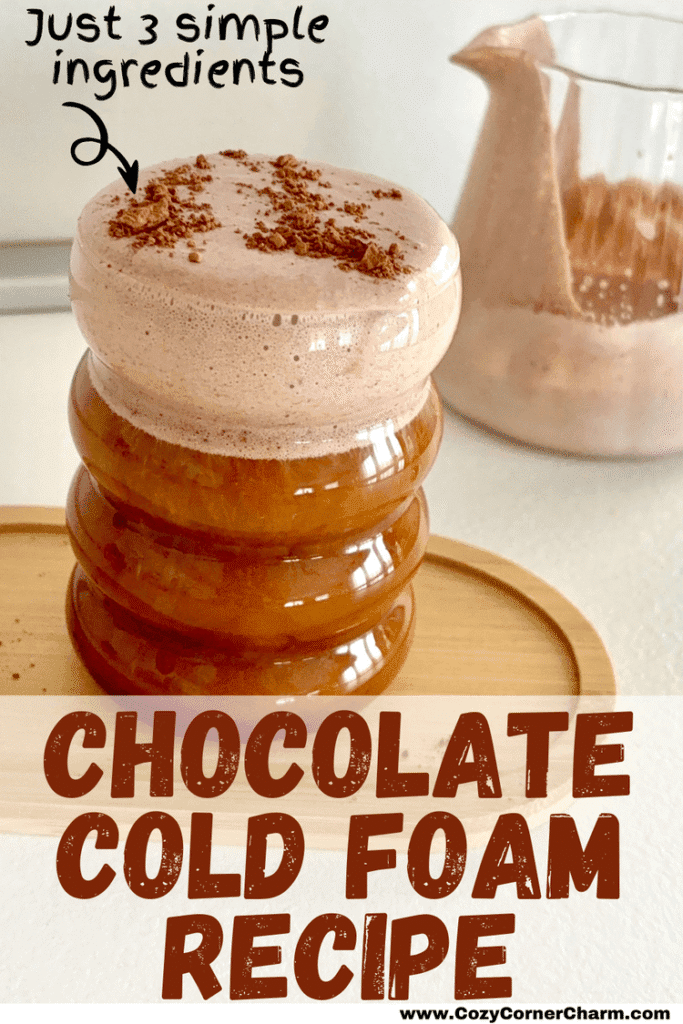
The best part is that it takes less than five minutes and uses ingredients most people already have in the fridge. No fancy equipment, no complicated steps, and no weird ingredients you’ll only use once.
If you like drinks that are not too sweet but still feel like a treat, this one hits the sweet spot. I’ll walk you through everything, from choosing the cocoa to getting that thick, cloud-like foam on top of your coffee.
What Is Chocolate Cold Foam
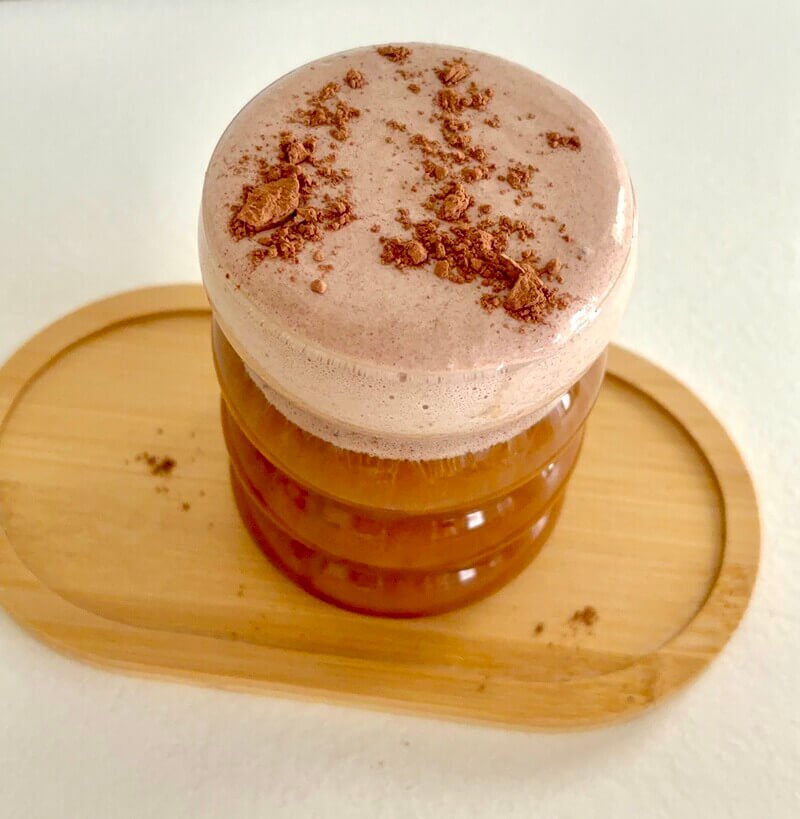
Chocolate cold foam is a whipped cold milk topping flavored with cocoa or chocolate syrup.
It’s different from whipped cream because it’s lighter, less sweet, and pourable.
Instead of sitting stiff on top of your drink, it slowly floats and blends into the coffee as you sip.
It works on:
- Iced coffee
- Cold brew
- Iced lattes
- Even iced matcha or chai if you like chocolate with them
The texture comes from using cold milk and a small amount of cream or sweetener, whipped just enough to thicken but not turn into cream.
Ingredients You Need for Chocolate Cold Foam

You don’t need much, but each ingredient plays a role:
- Milk (cold): Low-fat or 2% milk foams best. Whole milk works too, but it’s heavier.
- Heavy cream: Adds richness and helps stabilize the foam. You can skip it, but the foam will be lighter and thinner.
- Unsweetened cocoa powder or chocolate sauce: Cocoa powder gives a deeper chocolate flavor. Syrup is easier and sweeter.
- Vanilla extract (optional): Not required, but it rounds out the chocolate flavor nicely.
Equipment to Use
You don’t need anything fancy:
- Milk frother (best and fastest)
- Handheld frother
- Blender (small cup)
- Jar with a lid (shake method)
I usually use a handheld frother, but I’ve tested all methods and they work.
Find 4 methods of making cold foam at home here.
Step-by-step: how to make chocolate cold foam
Step 1: Chill everything
Cold foam works best when everything is cold.
Use milk straight from the fridge.
Pro tip: If possible, chill your mixing cup for 5 minutes. This helps the foam thicken faster and hold its shape.
Step 2: Mix the base
In a small cup or jar, add:
- Milk
- Heavy cream
- Cocoa powder or chocolate sauce
- Vanilla (optional)
If using cocoa powder, stir well first to dissolve it before frothing. This prevents chocolate clumps
Step 3: Froth until thick
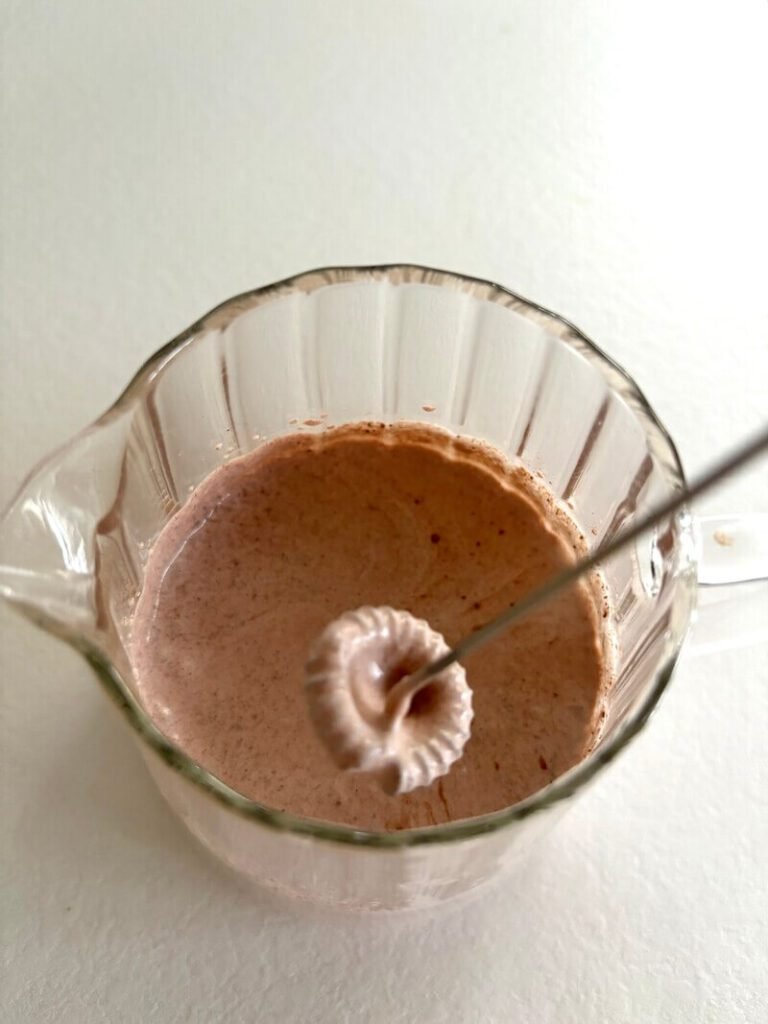
Use your method:
With a milk frother, froth for 15–25 seconds until thick but still pourable.
With a handheld frother, froth for about 30 seconds.
With a blender, blend on low for 10–15 seconds.
With a jar, close tightly and shake hard for 30–45 seconds.
You’re looking for a texture like melted ice cream, not whipped cream.
Step 4: Taste and adjust
Before pouring it on your coffee, taste the foam. Add sweetener if needed.
Add a tiny pinch of cocoa if you want it darker.
Froth again for 5–10 seconds after adjusting.
Step 5: Prepare your coffee
Chocolate cold foam shines on cold drinks:
- Brew strong coffee or espresso
- Add ice
- Add milk if making a latte
- Sweeten the coffee lightly if you want
Leave about 2–3 cm of space at the top for the foam.
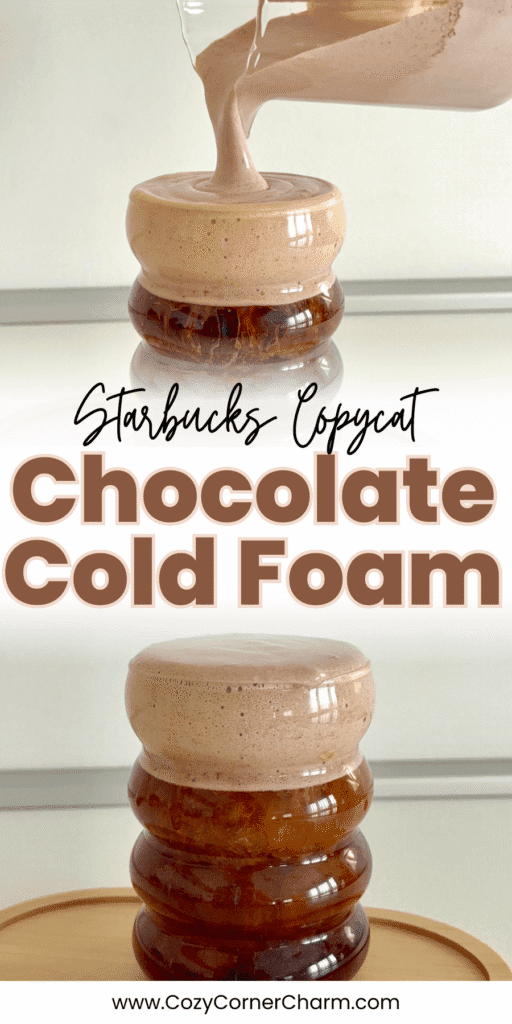
Step 6: Pour and enjoy
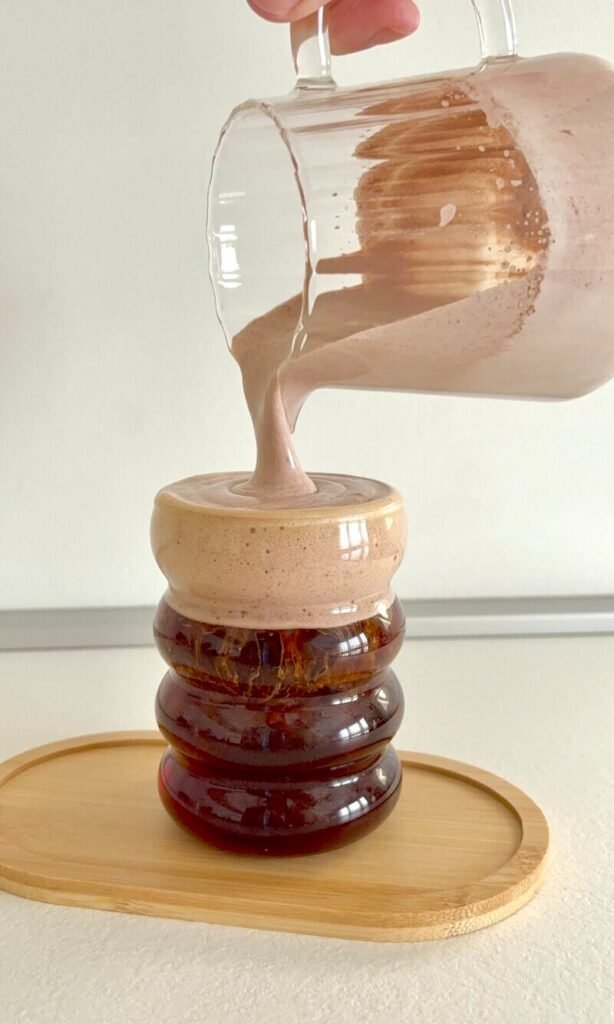
Slowly spoon or pour the chocolate cold foam on top.
It should float for a bit, then slowly melt into the drink as you sip.
Flavor variations to try
Once you master the basic version, these are fun:
- Mocha foam: Add 1 teaspoon chocolate syrup + cocoa powder together.
- Dark chocolate: Use only cocoa powder and less sweetener.
- Mint chocolate: Add 1–2 drops peppermint extract.
- White chocolate foam: Use white chocolate syrup instead of cocoa.
- Protein chocolate foam: Replace some milk with a chocolate protein shake.
Common Mistakes (and how to fix them)
Here are a few common mistakes that happen when you make chocolate cold foam and how to avoid them:
- Foam too thin: Add 1 tablespoon more cream or use colder milk.
- Foam too thick: Add a splash of milk and re-froth.
- Chocolate clumps: Dissolve cocoa in a teaspoon of warm water first, then mix in.
- Foam sinks instantly: You over-mixed or used warm ingredients.
How Long Does Chocolate Cold Foam Last
Fresh is best, but you can store it in the fridge for up to 24 hours.
Make sure to re-froth before using. It won’t be as thick as freshly made, but is still good.
Check out more cold foam recipes:
- Salted Caramel Cold Foam Recipe
- Pistachio Cream Cold Foam Cold Brew Recipe
- Matcha Cold Foam Recipe
- Strawberry Cold Foam Iced Coffee Recipe (Starbucks Copycat)

Chocolate Cold Foam
Ingredients
- ½ cup cold milk 2% or whole
- 2 tbsp heavy cream
- 1 tbsp chocolate sauce or 2 teaspoons unsweetened cocoa powder
Instructions
- Add milk, heavy cream, chocolate syrup or cocoa powder to a small cup or jar.
- If using cocoa powder, stir well until fully dissolved.
- Froth using a milk frother, handheld frother, blender, or shake in a jar for 30–45 seconds. Continue until the mixture is thick but still pourable.
- Pour over iced coffee or cold brew and serve immediately.
Notes
- Use very cold milk for the best foam texture.
- For dairy-free, use oat milk barista style + coconut cream.
- Store leftovers in the fridge for up to 24 hours and re-froth before using.
- For a darker chocolate flavor, use cocoa powder instead of syrup.

Marina is the writer behind CozyCornerCharm. She grew up on Turkish coffee, later discovering specialty brewing through her first V60, which inspired her ongoing coffee journey. She has written for Craft Coffee Spot, Home Grounds, and Barista HQ and now shares her experience here on her own coffee corner.


[…] Find the chocolate cold foam recipe here. […]