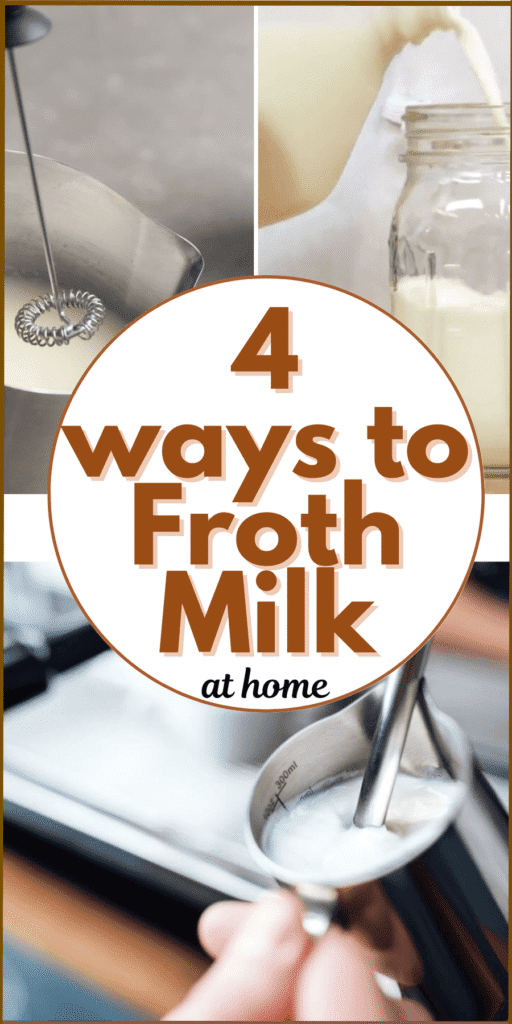
Learning how to froth milk completely changed my coffee at home. Once I understood the difference between airy bubbles and creamy microfoam, every cup started tasting like a café drink.
I’ve tried every method: steam wand, handheld frother, French press, and even a jar, and realized each one can work if you know how to control temperature and air.
The real secret isn’t expensive tools; it’s the small details, like when to stop adding air or how hot the milk should feel in your hand.
I’ll show you exactly how I froth milk for lattes, cappuccinos, and iced drinks, step by step, with all the lessons and tricks that make a difference.

Choosing the Right Milk Before You Begin
The milk you start with sets the foundation for the foam you get.
Whole milk has the right amount of fat and protein to create that creamy, rich texture you find in a latte. I reach for it when I want a smooth, velvety foam.
Two-percent milk froths well but feels lighter, while skim milk can give more foam with less taste.
When I use plant-based milks, I always go for barista versions because they’re formulated to behave like dairy milk.
Oat milk is the closest match. It creates a fine, glossy foam that’s easy to control. Almond milk is trickier and tends to separate if the temperature gets too high.
The trick with any milk, dairy or not, is to make sure it’s cold and freshly opened. Milk that’s been sitting for days just doesn’t froth the same.
Understanding Temperature and Texture
Temperature is the single biggest factor in good froth.
Milk proteins stretch and trap air best between 140°F and 150°F (60–65°C). Once you go past that, the milk scalds, loses sweetness, and collapses into flat foam.
I don’t always use a thermometer. Over time, I learned to rely on touch. When I can barely hold the bottom of the pitcher for more than two seconds, I know it’s around the right range.
Starting with cold milk gives me more time to aerate before it heats up.
I also make sure my frothing pitcher or container is cold; even a quick rinse with cold water helps.
Frothing with a Steam Wand
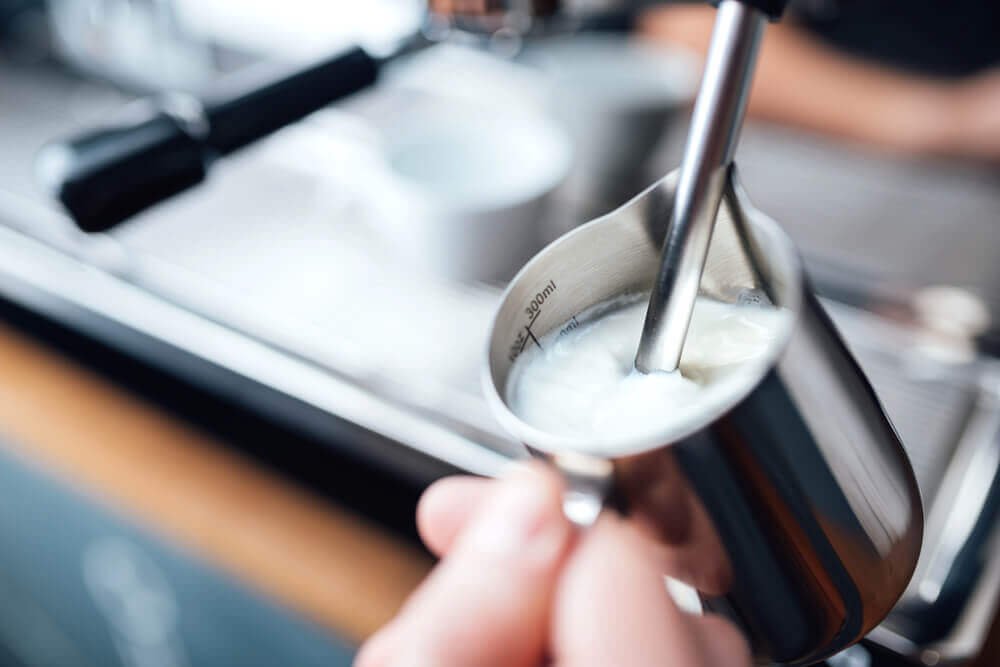
Most mornings, I use the steam wand on my espresso machine. It’s the fastest, most reliable method once you get the rhythm. Here’s how I do it:
- I fill my stainless-steel pitcher about one-third full with cold milk.
- I purge the wand first to release any leftover water.
- Then, I position the wand just under the surface of the milk at a slight angle: not too deep, not touching the bottom.
- I turn on the steam and listen. The sound should be a gentle hiss, not a loud screech. That means air is entering slowly.
- As the milk expands, I lower the pitcher slightly to keep the tip near the surface, then gradually move it deeper to mix the air evenly.
When the milk feels hot to the touch, I stop steaming and tap the pitcher on the counter to pop any large bubbles.
A few swirls at the end turn it glossy and uniform, which is the sign of good microfoam. It should look more like wet paint than bubbly foam.
Frothing with a Handheld Frother
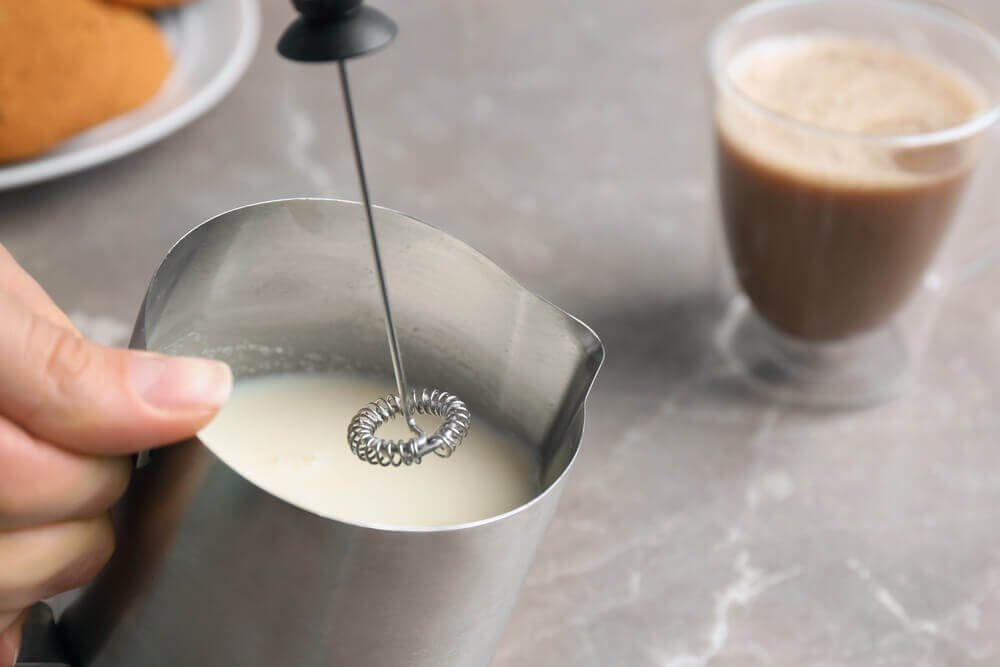
When I’m making an iced latte or matcha drink, I skip the steam wand and grab a handheld frother. It’s smaller, faster, and doesn’t heat the milk too much.
I warm my milk first. About 30 seconds in the microwave is enough. Then I immerse the frother just below the surface.
I move it slowly up and down while it spins to incorporate air evenly.
Within 30 seconds, the milk doubles in volume. I let it sit for 10 seconds so the foam rises, then pour.
Note: The main trick here is not to over-froth. It’s easy to make stiff, meringue-like bubbles that don’t blend with coffee.
I aim for smaller bubbles and a pourable texture, which gives me that nice layer of foam instead of foam overload.
Using a French Press for a Thick, Frothy Finish
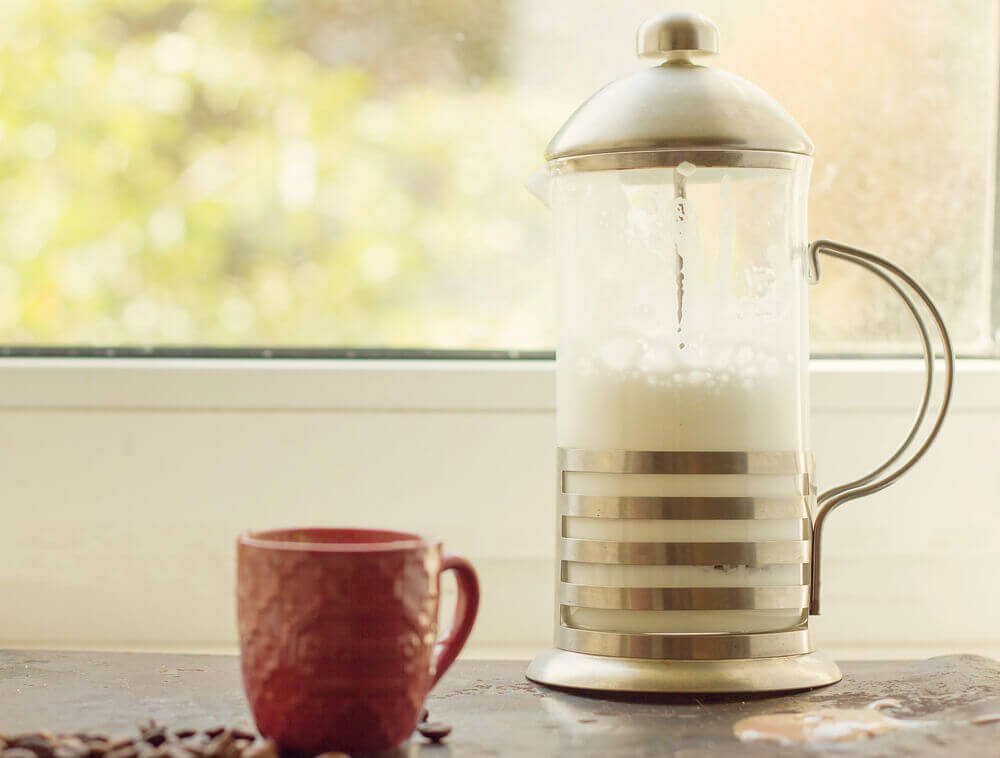
Before I bought a frother, I used my French press, and it still surprises me how well it works.
I heat the milk on the stove or microwave until warm, not hot, then pour it into the French press, filling it about one-third full.
With the lid on, I pump the plunger up and down quickly for 20–30 seconds.
The result is dense and creamy foam, though a bit thicker than what a steam wand makes. If I want it smoother, I swirl the milk in the French press for a few seconds after frothing.
This method is especially useful when making cappuccinos, where you actually want that thicker foam.
No Frother? Try a Jar or a Whisk
Traveling or out of gadgets? A simple jar works surprisingly well.
I pour in warm milk, close the lid tightly, and shake for 30 seconds. Then I let it rest so the foam rises to the top. It won’t be silky like a café latte, but it gives texture to plain coffee.
Whisking works too, just heat the milk and whisk quickly until it thickens. It’s more physical effort, but it gets the job done in a pinch.
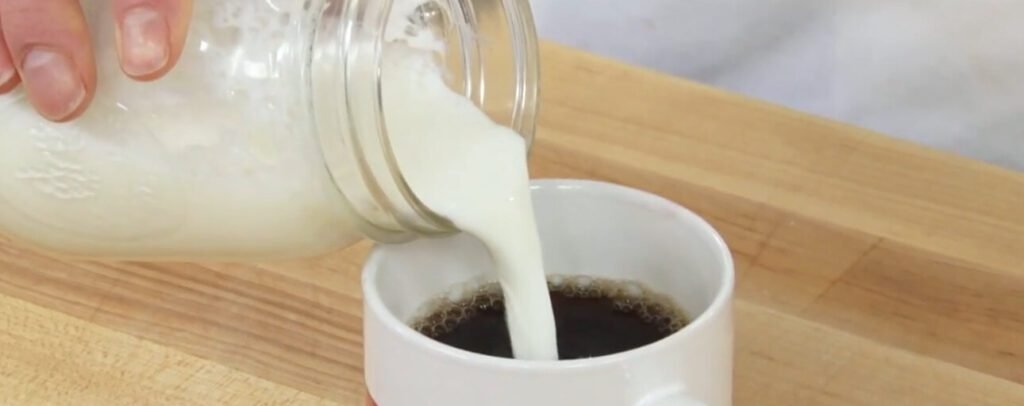
How to Pour Frothed Milk

How you pour matters as much as how you froth.
I swirl the milk in my pitcher before pouring so the foam and liquid mix together.
When making a latte, I start pouring high to blend milk and espresso, then lower the pitcher to let the foam settle on top. The last few seconds of the pour create that creamy cap that makes every sip feel smooth.
If you ever notice your foam sitting separately on top like a dry bubble layer, it usually means the milk wasn’t swirled or integrated before pouring. Always give it that quick motion first.
Common Mistakes and How to Fix Them
Overheating is the number one culprit of flat, burnt milk. Once that happens, there’s no saving it.
I used to keep my steam wand too close to the surface, which made loud squealing sounds and big bubbles. Now I watch for a steady hiss, which is the sweet spot.
If your foam looks too stiff or separates into dry bubbles, it means too much air went in too early. Keep the wand lower next time or froth for a shorter period.
With a handheld frother, moving it too fast creates the same issue. Gentle movements work best.
Why Frothing Milk Is Worth Learning
After years of doing this daily, I still find it satisfying to watch milk transform from liquid to silky foam. It’s one of those small rituals that make home coffee feel like a treat.
Once you learn how the milk reacts to temperature and movement, you can recreate café-level drinks without any guesswork.
No matter what tool you use — steam wand, frother, French press, or jar — the principles stay the same: start cold, heat gently, introduce air slowly, and swirl to finish.
With practice, you’ll get a feel for the sound, texture, and even smell of perfectly frothed milk.
It becomes instinctive, and that’s when your morning coffee starts feeling like an art form.
Now that you know how to froth milk like a pro, check out delicious coffee recipes:
- 20 Espresso Coffee Drinks To Keep Your Routine Interesting
- 20 Best Copycat Starbucks Recipes to Make at Home
- 14 Easy Caramel Coffee Recipes That Taste Like a Café Treat

Marina is the writer behind CozyCornerCharm. She grew up on Turkish coffee, later discovering specialty brewing through her first V60, which inspired her ongoing coffee journey. She has written for Craft Coffee Spot, Home Grounds, and Barista HQ and now shares her experience here on her own coffee corner.


Leave a Reply