If you’re anything like me, you love your morning coffee. There’s nothing quite like that first cup of coffee to kickstart your day.
But what happens to those used coffee grounds after you’ve brewed your perfect cup? Many of us just toss them in the trash, not realizing that we’re throwing away something incredibly valuable.
The good news is that dried coffee grounds have countless uses, from enhancing your garden to reducing food waste, and even in beauty routines.
Today, I’m going to guide you through the best ways to dry coffee grounds and explore some amazing practical uses for them.
5 Best Methods to Dry Coffee Grounds
Air Drying Coffee Grounds
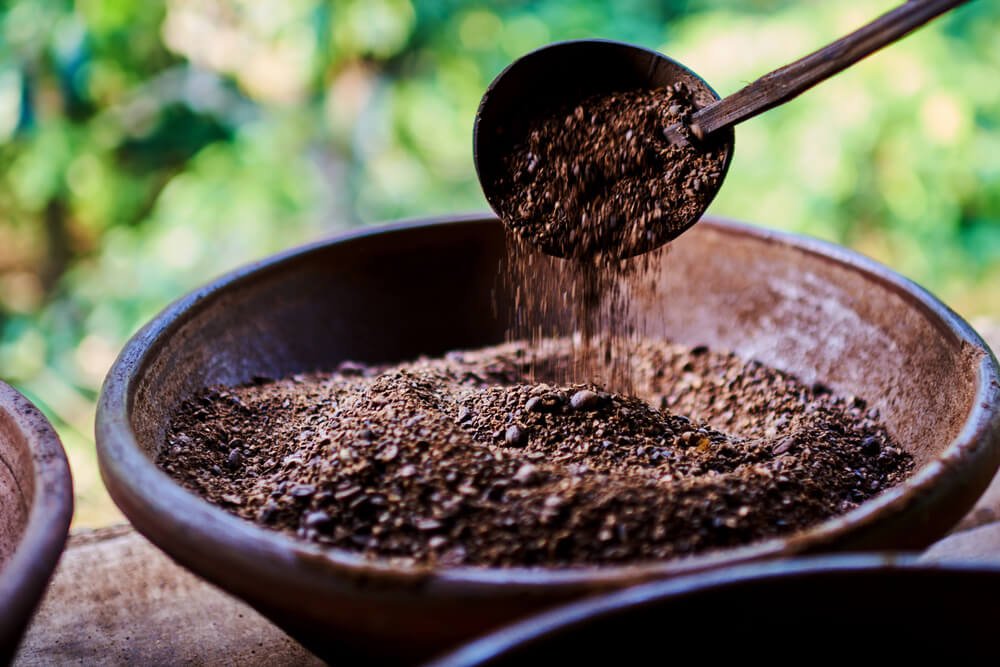
Air drying is one of the simplest and most cost-effective methods to dry your coffee grounds. Here’s a step-by-step guide to help you get started:
- Preparation: Collect your used coffee grounds in a container. It’s best to start drying them as soon as possible to prevent mold growth.
- Spread the Grounds: Spread a thin layer of wet coffee grounds on a cookie sheet. The thinner the layer, the quicker and more evenly they will dry. Aim for no more than 1/4 inch thick.
- Placement: Place the cookie sheet in a well-ventilated area at room temperature. Good locations include a sunny spot on your kitchen counter, a screened-in porch, or any other dry, cool place where air can circulate freely.
- Stir Occasionally: To ensure even drying and prevent clumping, stir the grounds every few hours. This helps expose all the grounds to air and speeds up the drying process.
- Check for Dryness: Depending on the humidity and temperature, air drying can take anywhere from a couple of days to a week. The grounds are ready when they feel dry and crumbly to the touch and no longer clump together.
Oven Drying

If you’re looking for a faster method, oven drying is the best way to go. Here’s how to do it:
- Preheat the Oven: Set your oven to the lowest possible temperature, usually around 200°F (93°C). If your oven has a convection setting, use it to enhance air circulation.
- Prepare the Grounds: Spread the wet coffee grounds in a thin, even layer on a cookie sheet. As with air drying, aim for no more than 1/4 inch thick to ensure even drying.
- Bake the Grounds: Place the cookie sheet in the oven. Let the grounds bake for about an hour. Every 15 minutes, take the sheet out and stir the grounds to prevent burning and ensure even drying.
- Check for Doneness: The coffee grounds are done when they feel dry and crumbly. Depending on your oven and the initial moisture content, this could take a bit longer than an hour.
Using Dehydrators
This method is incredibly efficient, especially for drying large quantities of coffee grounds. Here’s how to do it:
- Prepare the Grounds: Spread the coffee grounds evenly on the dehydrator trays. Try to distribute them in a thin, even layer to achieve consistent drying.
- Set the Dehydrator: Set your dehydrator to a low heat setting suitable for drying organic material, usually around 120°F to 140°F (49°C to 60°C).
- Dry the Grounds: Let the coffee grounds dry for several hours. Check periodically to ensure they are drying evenly. Stirring occasionally can help speed up the process and prevent clumping.
- Completion Check: The coffee grounds are ready when they are completely dry and crumbly. This process can take anywhere from 4 to 12 hours, depending on the moisture content and the dehydrator’s efficiency.
Cloth Bags or Old Socks
If you want to be completely environmentally friendly, use old cloth bags or socks.
- Preparation: Place the wet coffee grounds in a cloth bag or an old sock. Make sure the bag or sock is breathable to allow air circulation.
- Hanging: Hang the bag or sock in a well-ventilated area. A laundry room, garage, or outdoor shaded area works well.
- Drying Time: Let the grounds air dry naturally. This method can take several days to a week, depending on the environment’s humidity and temperature.
- Check for Dryness: Squeeze the bag or sock occasionally to feel for dryness. The grounds are ready when they are no longer clumping and feel dry to the touch.
Paper Coffee Filters

Another easy method is to use paper coffee filters. Here’s how to do it:
- Preparation: Spread the wet coffee grounds on paper coffee filters. Place the filters on a wire rack to allow air to circulate underneath.
- Placement: Put the rack in a well-ventilated area. A sunny window or a well-ventilated room works best.
- Drying Time: Leave the grounds to dry naturally. Stir them occasionally to ensure even drying and prevent mold.
- Check for Dryness: The grounds are ready when they are dry and crumbly, which can take a few days depending on the conditions.
Best Practices for Drying Coffee Grounds
Here are a few tips and tricks to keep in mind to get completely dried coffee grounds.
Ensure Complete Dryness
Properly drying your coffee grounds is essential to avoid mold growth and to ensure they remain usable for a long time. Here’s how to ensure complete dryness:
- Visual and Tactile Check: Regularly inspect the coffee grounds during the drying process. They should transition from wet and clumpy to dry and crumbly. Visually, the grounds should no longer appear shiny or wet. Tactilely, they should feel like a fine powder and should not stick together.
- Moisture Content Testing: You can use a moisture meter designed for small organic materials. Insert the meter into the coffee grounds; they should register as dry, typically below 10% moisture content. This step is more advanced but ensures precision.
- Even Drying: Make sure that the grounds are drying evenly by spreading them thinly and stirring them regularly. Uneven drying can result in pockets of moisture that may encourage mold growth. If you’re using air drying or a dehydrator, periodically rotate the trays or cookie sheets to promote uniform drying.
- Extended Drying: If in doubt, extend the drying time. It’s better to dry the grounds a bit longer than to risk them being damp. In humid environments, this might be particularly necessary. If you’re using an oven or dehydrator, check the grounds every 15-30 minutes towards the end of the drying process.
How Best to Store Dried Coffee Grounds
Once your coffee grounds are completely dry, proper storage is key to maintaining their quality and preventing mold or contamination. Here are some storage tips:
- Airtight Containers: Store the dried coffee grounds in airtight containers to keep out moisture and air, which can lead to mold and staleness. Glass jars with tight-sealing lids or sealed metal containers are excellent options. They prevent moisture from seeping in and keep the grounds fresh.
- Avoid Plastic Bags: Plastic bags are not ideal for storing coffee grounds as they can trap residual moisture, which leads to mold growth. Even if you use zip-lock bags, they rarely seal as completely as needed. If you must use plastic, ensure it is heavy-duty and designed for airtight storage.
- Cool, Dry Storage Location: Keep the container in a cool, dry place away from direct sunlight. Excess heat and light can degrade the quality of the coffee grounds. A pantry or cupboard is usually a good spot.
- Labeling and Dating: Label your containers with the date the grounds were dried. This helps you keep track of their age and ensures you use the oldest grounds first, maintaining a rotation that keeps your supplies fresh.
Benefits and Practical Uses for Dried Coffee Grounds
In the Garden
Dried coffee grounds are fantastic for gardening. Here are some ways you can use them:
- Soil Enrichment: Sprinkle dried coffee grounds on the soil surface to provide essential nutrients. They’re a great addition to green compost material, promoting plant growth.
- Pest Repellent: Use coffee grounds to repel pests naturally. They can deter slugs and snails, protecting your garden plants.
- Natural Acids: Add them to the soil of acid-loving plants like blueberries and azaleas. The natural acids in coffee grounds can help these plants thrive.
Around the House
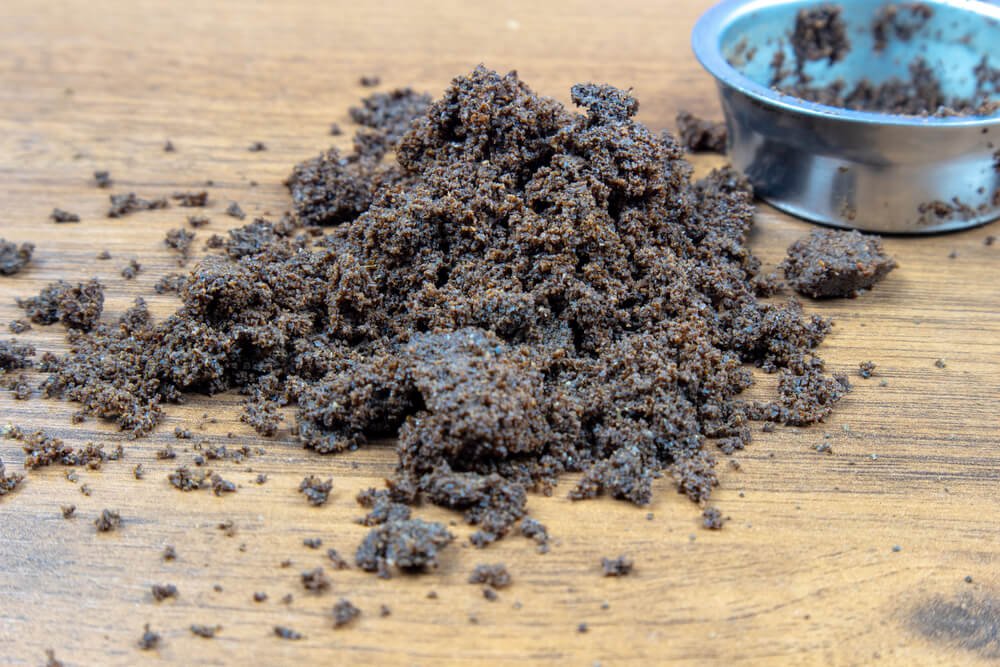
There are numerous household uses for dried coffee grounds:
- Natural Dye: Coffee grounds can be used as a natural dye for Easter eggs, fabrics, and even paper. They give a beautiful, earthy color that’s both unique and environmentally friendly.
- Deodorizing: Place a bowl of coffee grounds in your fridge or gym bag to neutralize unpleasant odors. They also work well in the kitchen sink to freshen up drains.
Health and Beauty

Coffee grounds aren’t just for the garden and house; they can also be part of your beauty routine:
- Under-Eye Circles: Mix coffee grounds with a bit of coconut oil and apply under your eyes to reduce puffiness and dark circles. The caffeine helps to constrict blood vessels and reduce swelling.
- Hair Growth: Some anecdotal evidence suggests that coffee grounds can promote hair growth. Use them as a scalp scrub to remove buildup and stimulate hair follicles.
- Exfoliating Scrub: Mix dried coffee grounds with coconut oil for a homemade exfoliating scrub. It’s a great way to remove dead skin cells and improve blood flow.
In the Kitchen
Dried coffee grounds can improve your culinary creations:
- Dry-Rub Recipes: Add coffee grounds to your dry-rub recipes for meats. They provide a rich, earthy flavor that complements grilled and roasted dishes.
- Crispy Crusts: Sprinkle coffee grounds on baked goods for a unique crispy crust. They add a subtle coffee flavor and a satisfying crunch.
How to Handle and Prepare Coffee Grounds

Proper handling and preparation of coffee grounds are crucial to ensure they are clean, dry, and ready for use. Here are some tips:
Proper Collection:
- Dedicated Container: Use a separate, airtight container specifically for collecting used coffee grounds. This keeps them from getting contaminated by other kitchen waste.
- Immediate Transfer: Transfer the used coffee grounds to the container immediately after brewing. This helps prevent them from getting too wet or starting to mold.
- Clean Equipment: Ensure that the container and any tools you use for transferring the grounds are clean. Regularly wash and dry them to avoid contamination.
Drying Large Quantities:
- Efficient Drying Methods: When dealing with large quantities of coffee grounds, using a dehydrator or oven is highly efficient. This ensures that the grounds dry evenly and quickly.
- Batch Processing: If you collect a lot of grounds, consider drying them in batches. This prevents overcrowding and ensures each batch dries thoroughly.
- Organization: Label and date your batches of dried coffee grounds. This helps you keep track of their freshness and use them in the order they were dried.
How to Dry Coffee Grounds: Final Thoughts
Drying coffee grounds is a simple and rewarding process that opens up a world of possibilities. From enhancing your garden and household to incorporating them into your beauty routine, dried coffee grounds are a versatile and eco-friendly solution.
So, next time you brew your morning coffee, think twice before tossing those used grounds. Start drying them today and discover all the great uses for this everyday waste product. Happy brewing and happy drying!
You might be interested in:
- How Much Ground Coffee for 4 Cups: Get the Perfect Brew Every Time
- How Much Coffee for 12 Cups?
- How Much Coffee for 45 Cup Coffee Maker?


Marina is the writer behind CozyCornerCharm. She grew up on Turkish coffee, later discovering specialty brewing through her first V60, which inspired her ongoing coffee journey. She has written for Craft Coffee Spot, Home Grounds, and Barista HQ and now shares her experience here on her own coffee corner.


[…] How to Dry Coffee Grounds: Step-By-Step Guide + Storing Tips […]